How to Carve a Pumpkin Like a Pro: Advanced Carving Techniques and Templates

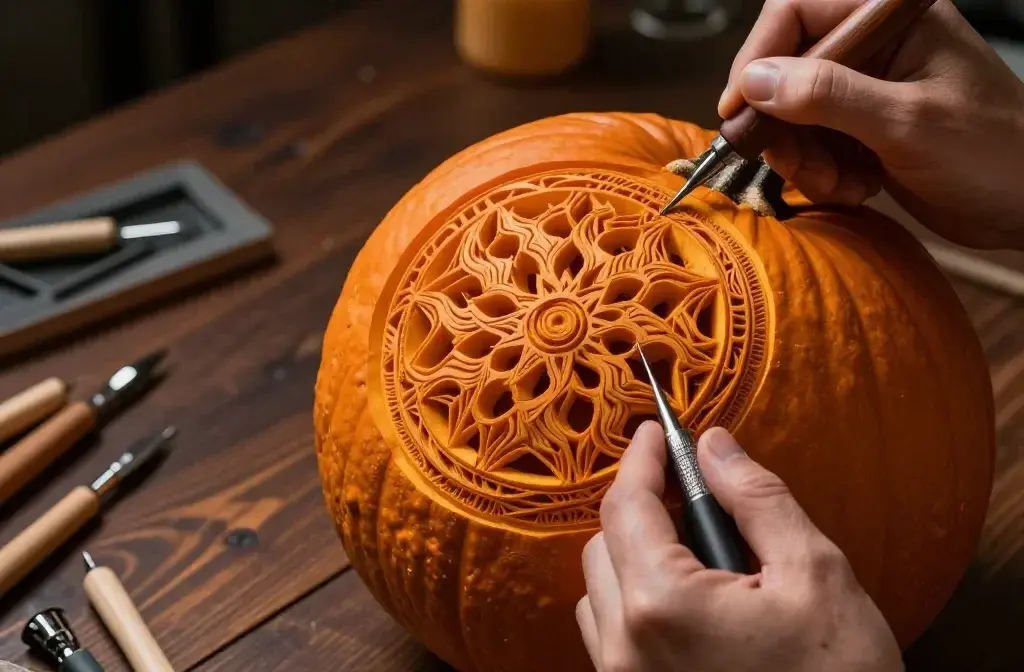
Americans will spend $13.5 billion on Halloween this year. Forty two percent of them will carve a pumpkin. But most of those pumpkins will end up with the same triangle eyes and jagged smile you carved as a kid.
You want something better. You want a pumpkin that looks sculpted, not stabbed. And you’re tired of your best work turning to mush by October 31.
This guide covers advanced pumpkin carving techniques that actually work. You’ll learn the tools pros use, the difference between basic carving and real sculpting, how to use a template without it looking store bought, and how to keep your pumpkin fresh past Halloween night.
By the end, you’ll know how to carve a pumpkin like a pro. No art degree needed.
The Tools Professional Pumpkin Carvers Actually Use
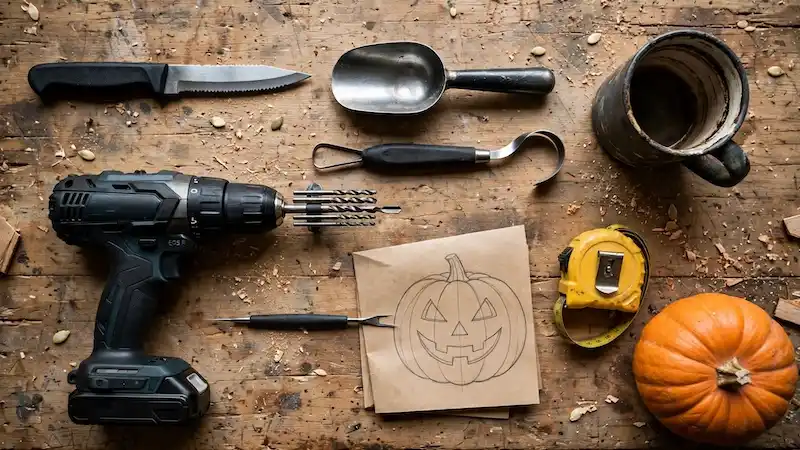
Most carving disasters start with the wrong tool. A kitchen knife is fine for cutting off the top. It is terrible for detail work. It tears the flesh instead of slicing it clean.
Here is what a real toolkit looks like:
| Tool | What it’s for |
|---|---|
| Serrated pumpkin knife | Cutting the lid and outlining shapes |
| Pumpkin scoop | Gutting the inside fast and clean |
| Clay or linoleum sculpting tool | Shaving away skin for relief carving |
| Cordless drill with mixed bits | Drilling dots and texture patterns |
| Poke or transfer tool | Tracing a template onto the surface |
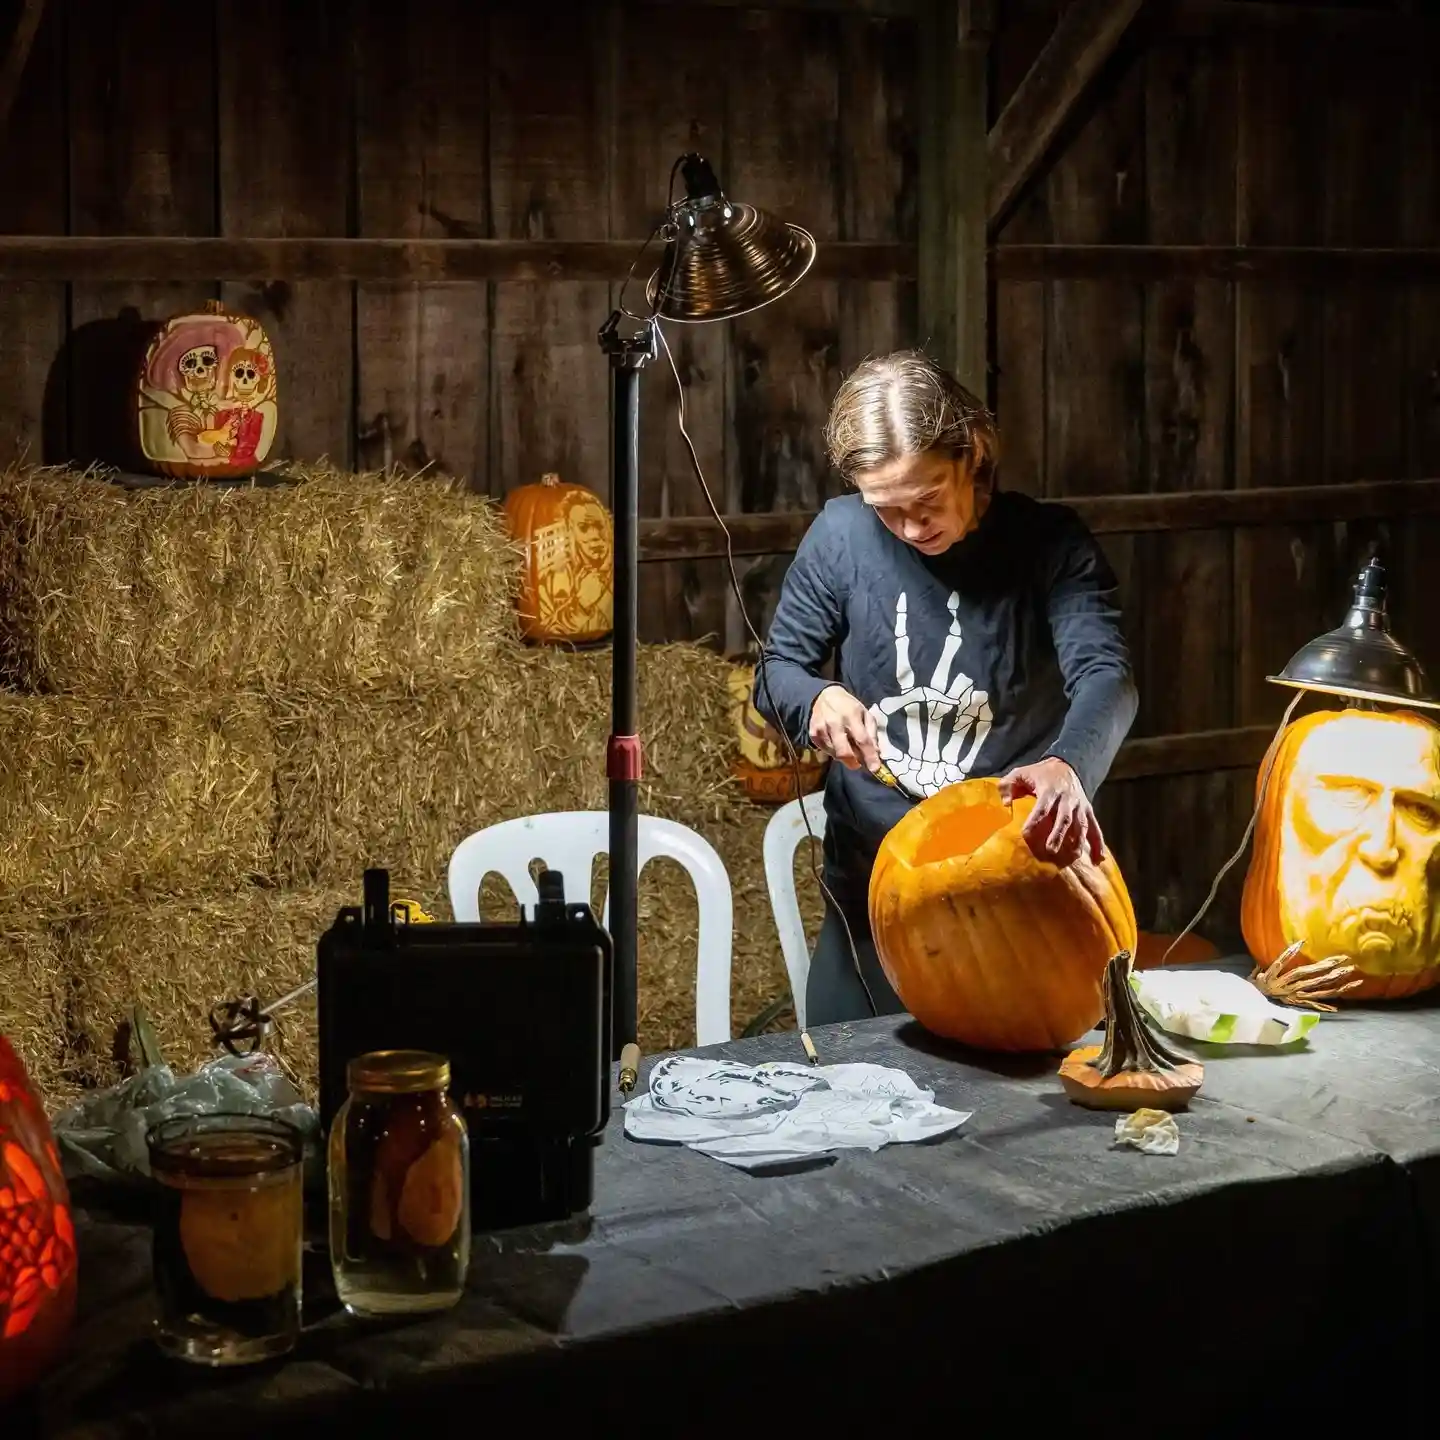
HGTV asked professional carver Adam Bierton what he reaches for. He said small paring knives work best for fine detail. He likes a grapefruit knife for curved cuts. And for anything intricate, he uses a battery powered carving knife instead of a manual one.
That clay sculpting tool is the one most people skip. It is also the tool behind almost every advanced pumpkin carving technique you have seen online. It lets you shave off thin layers of skin instead of cutting all the way through. That is what creates shadow and light effects instead of flat cutouts.
Good tools will not make you an artist overnight. But they remove the excuses. Once you have the right tools, the technique is what actually separates a pro pumpkin from a basic one. That is next.
Advanced Pumpkin Carving Techniques Beyond the Basic Jack-o’-Lantern
Picture a pumpkin lit from inside at night. Instead of one flat glowing face, you see layers. Some parts glow bright. Some parts glow soft. Some parts barely glow at all. That is what these techniques do.
1. Skin peeling, or relief carving.
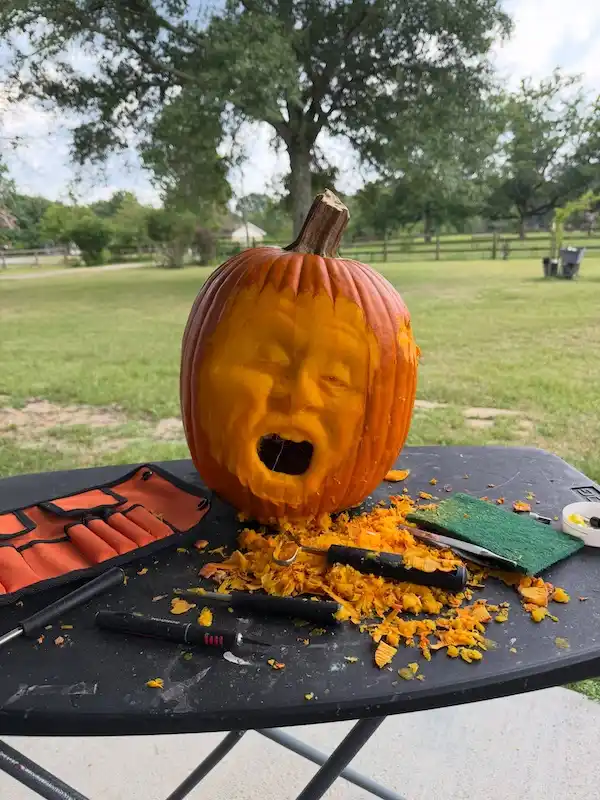
Instead of cutting all the way through, you shave off just the outer skin. Light shines through the thin flesh underneath in a soft glow. This is the easiest advanced technique to start with, and it is a good first project.
2. 3D sculpting.
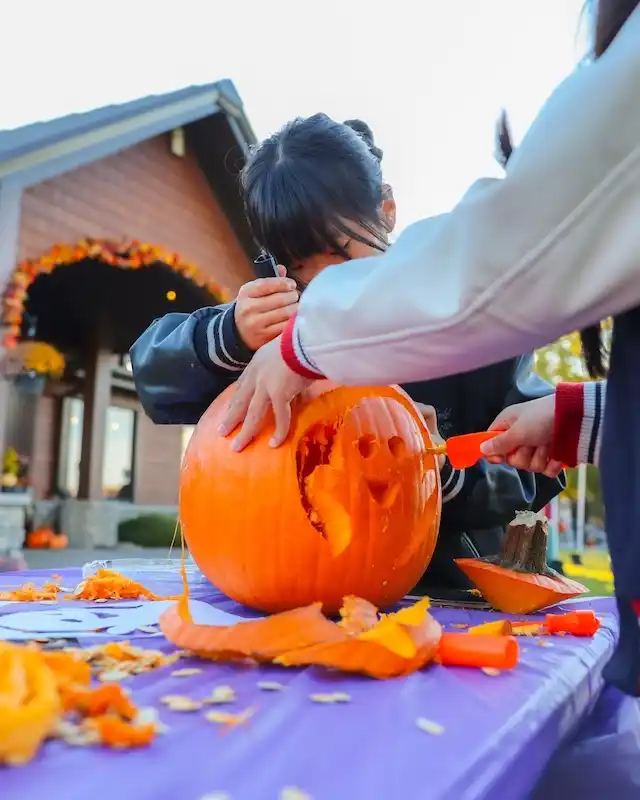
This is the technique Ray Villafane made famous. Villafane is a two time winner of Food Network’s Outrageous Pumpkins and has carved pumpkins for the White House. His method removes the pumpkin’s skin and carves straight into the flesh to build real depth, like a face with a brow bone, cheekbones, and wrinkles. It looks less like a carving and more like a sculpture. Villafane has said every pumpkin holds the potential for something like this, not just the giant ones you see in photos.
3. Drilling for texture.
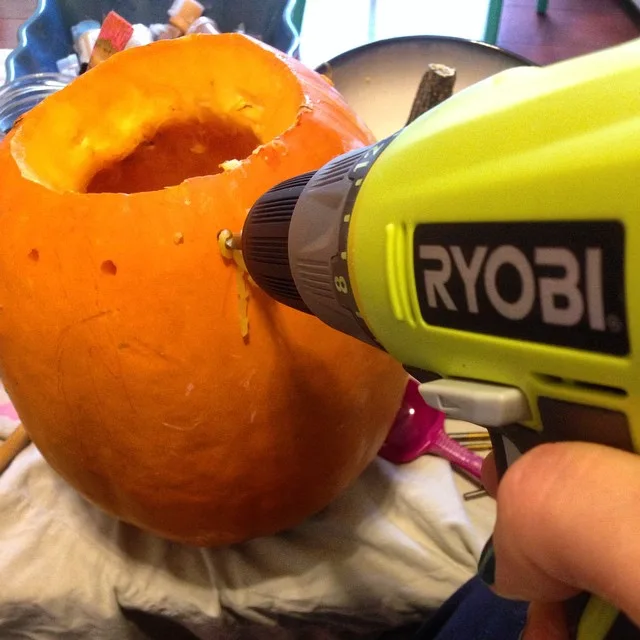
A cordless drill with different bit sizes lets you punch clean, even dots into the surface. Use it for stars, fur texture, or a stippled shading effect that a knife cannot copy.
4. Layered depth carving.
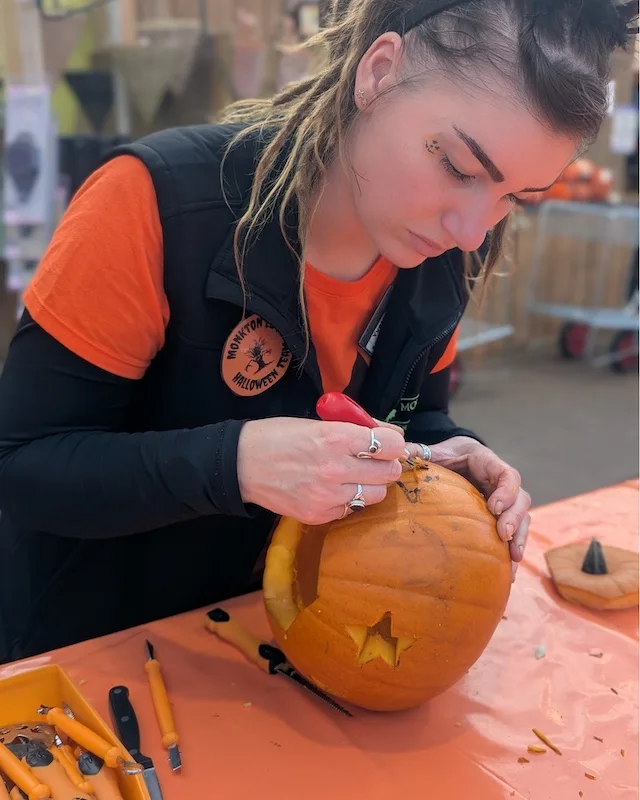
Cut through at different depths across the same pumpkin. A cut that goes all the way through glows bright. A cut that only goes halfway glows dim. Mixing depths in one design gives it a sense of distance, almost like a painting with light and shadow.
5. Combining paint with carving.
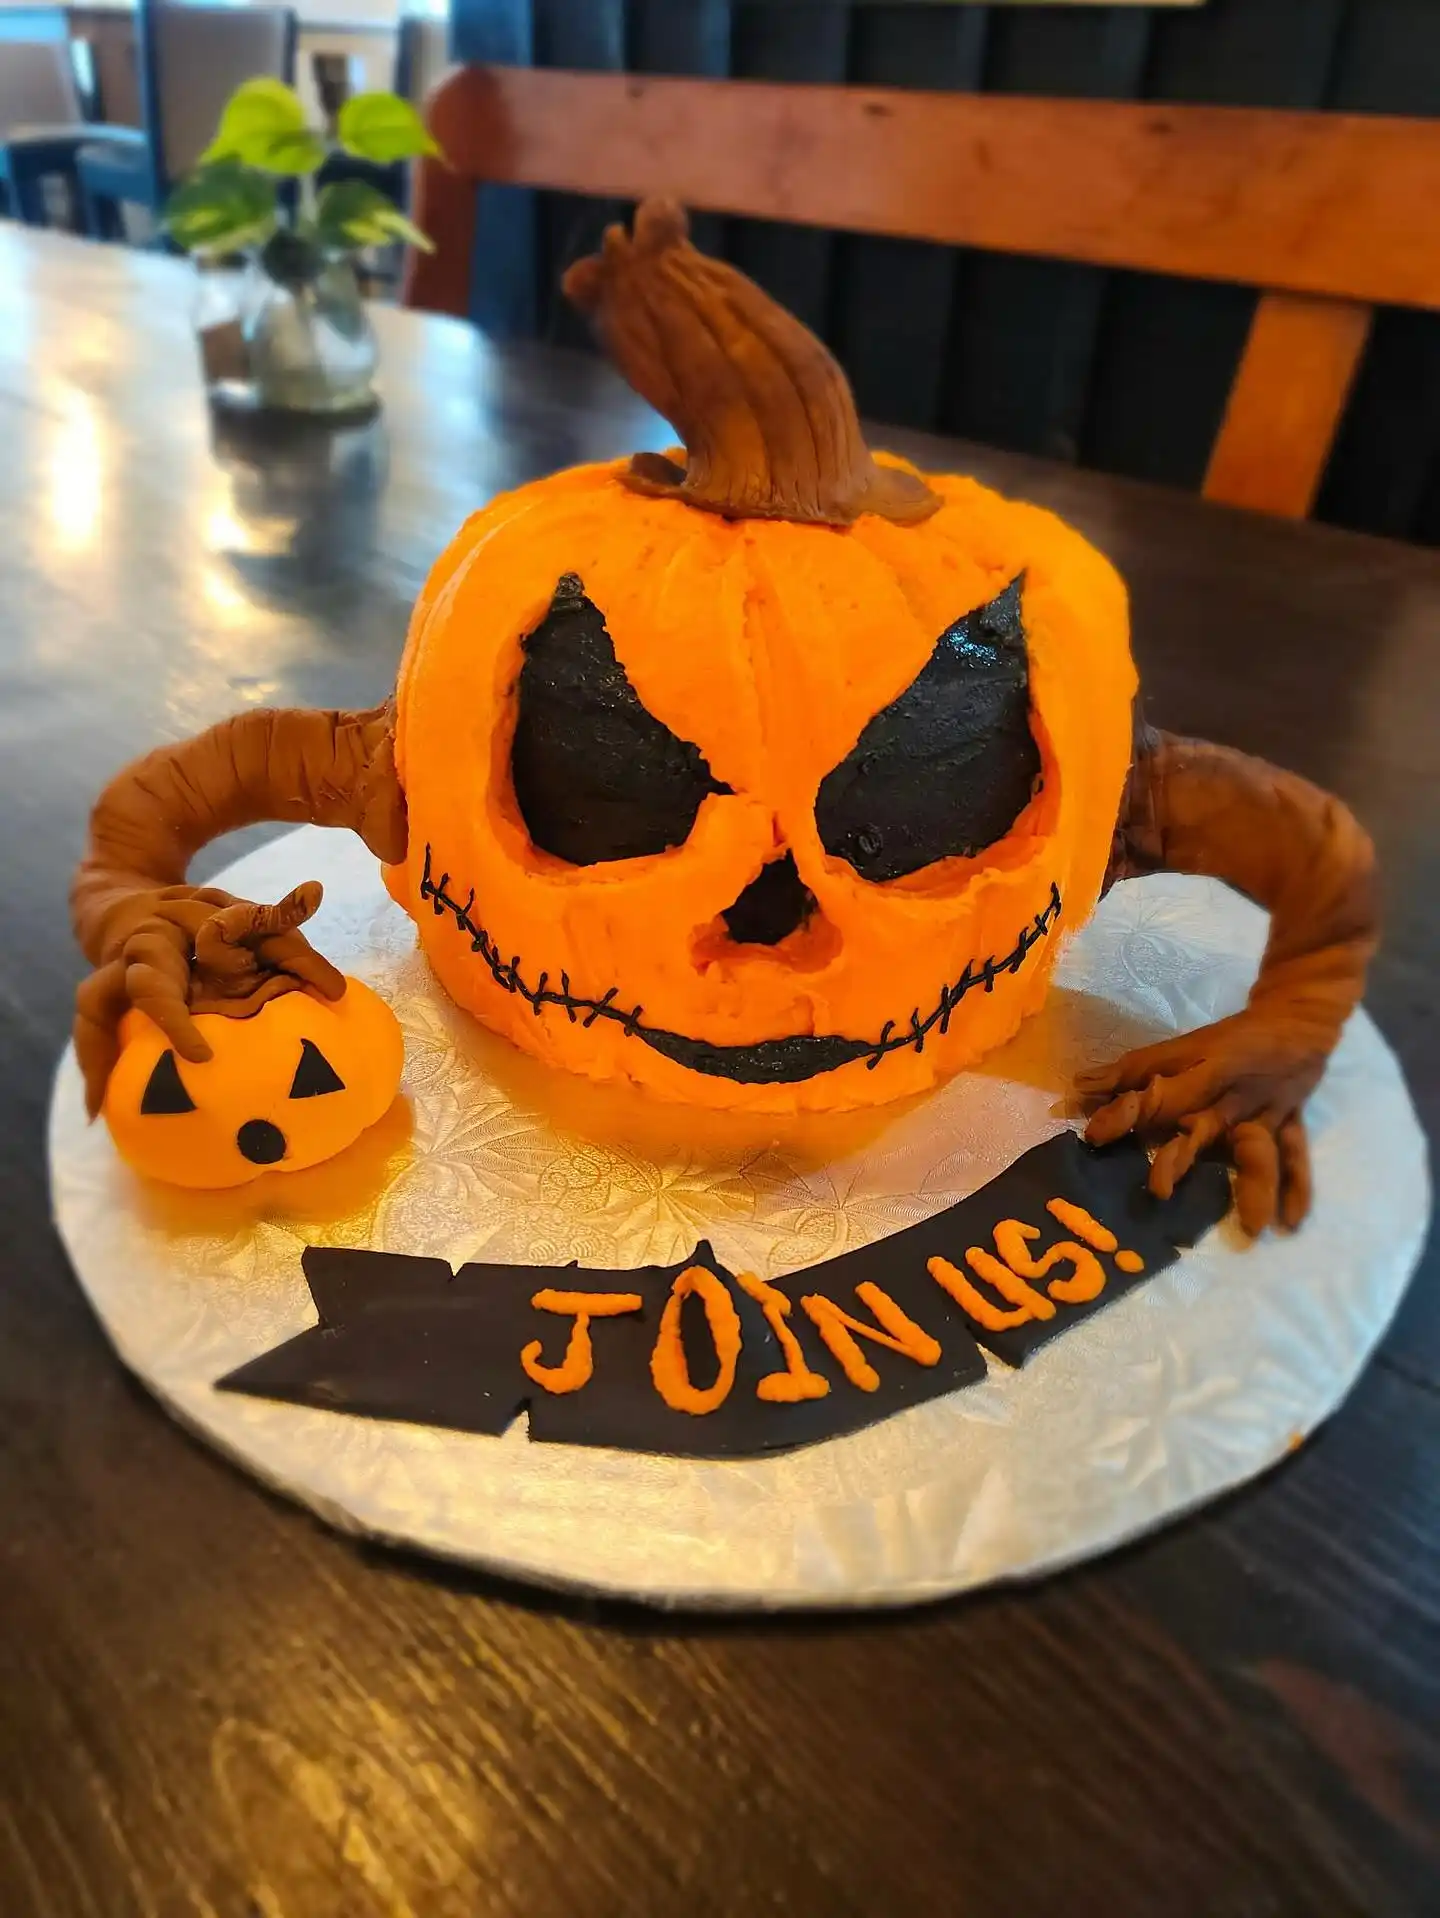
Paint the parts you do not want lit, and carve the parts you do. This saves you from carving fine details like eyelashes or fur, and it lets you add color your knife cannot.
6. Etching for surface texture.
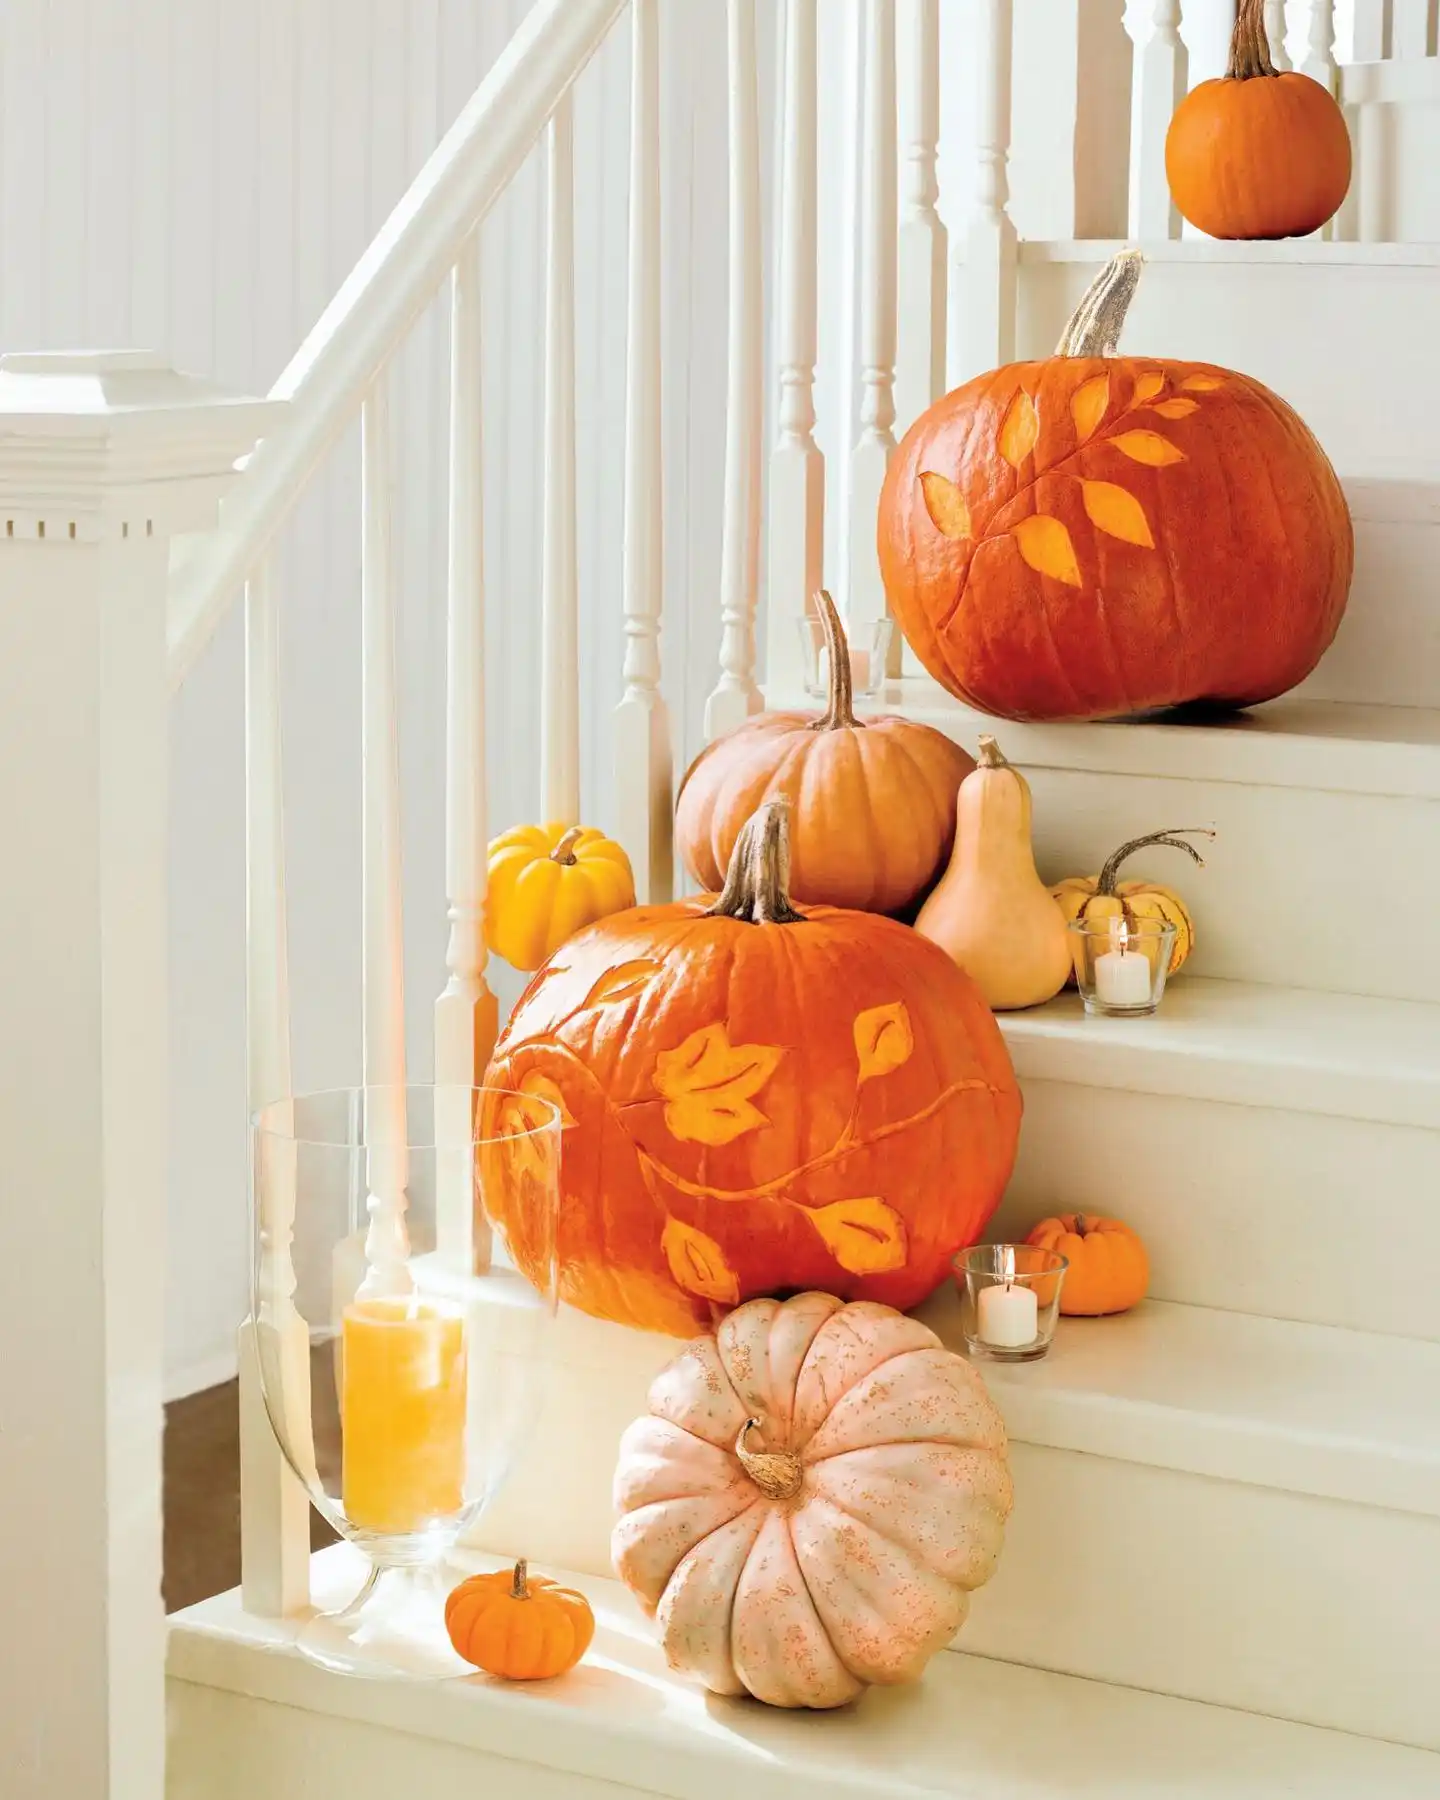
Instead of cutting through, scratch shallow lines into just the top layer of skin. This works for things a full cut can’t — wood grain, scales, wrinkles, fabric folds. It’s subtle in daylight and shows up as fine detail once the candle’s lit behind it.
7. The 45-degree angle cut.
Most people carve straight down through the pumpkin. Angling your knife to 45 degrees instead changes how light hits the edge, giving even a simple cutout a sharper, more finished look. It’s a small change that makes everything you carve look more deliberate.
Start with skin peeling if you are new to this. Save full 3D sculpting for once you are comfortable, since it takes the most time and the thickest pumpkin walls. Speaking of which, none of these techniques work on the wrong pumpkin. That is the next thing to get right.
How to Pick and Prep a Pumpkin for Detailed Carving
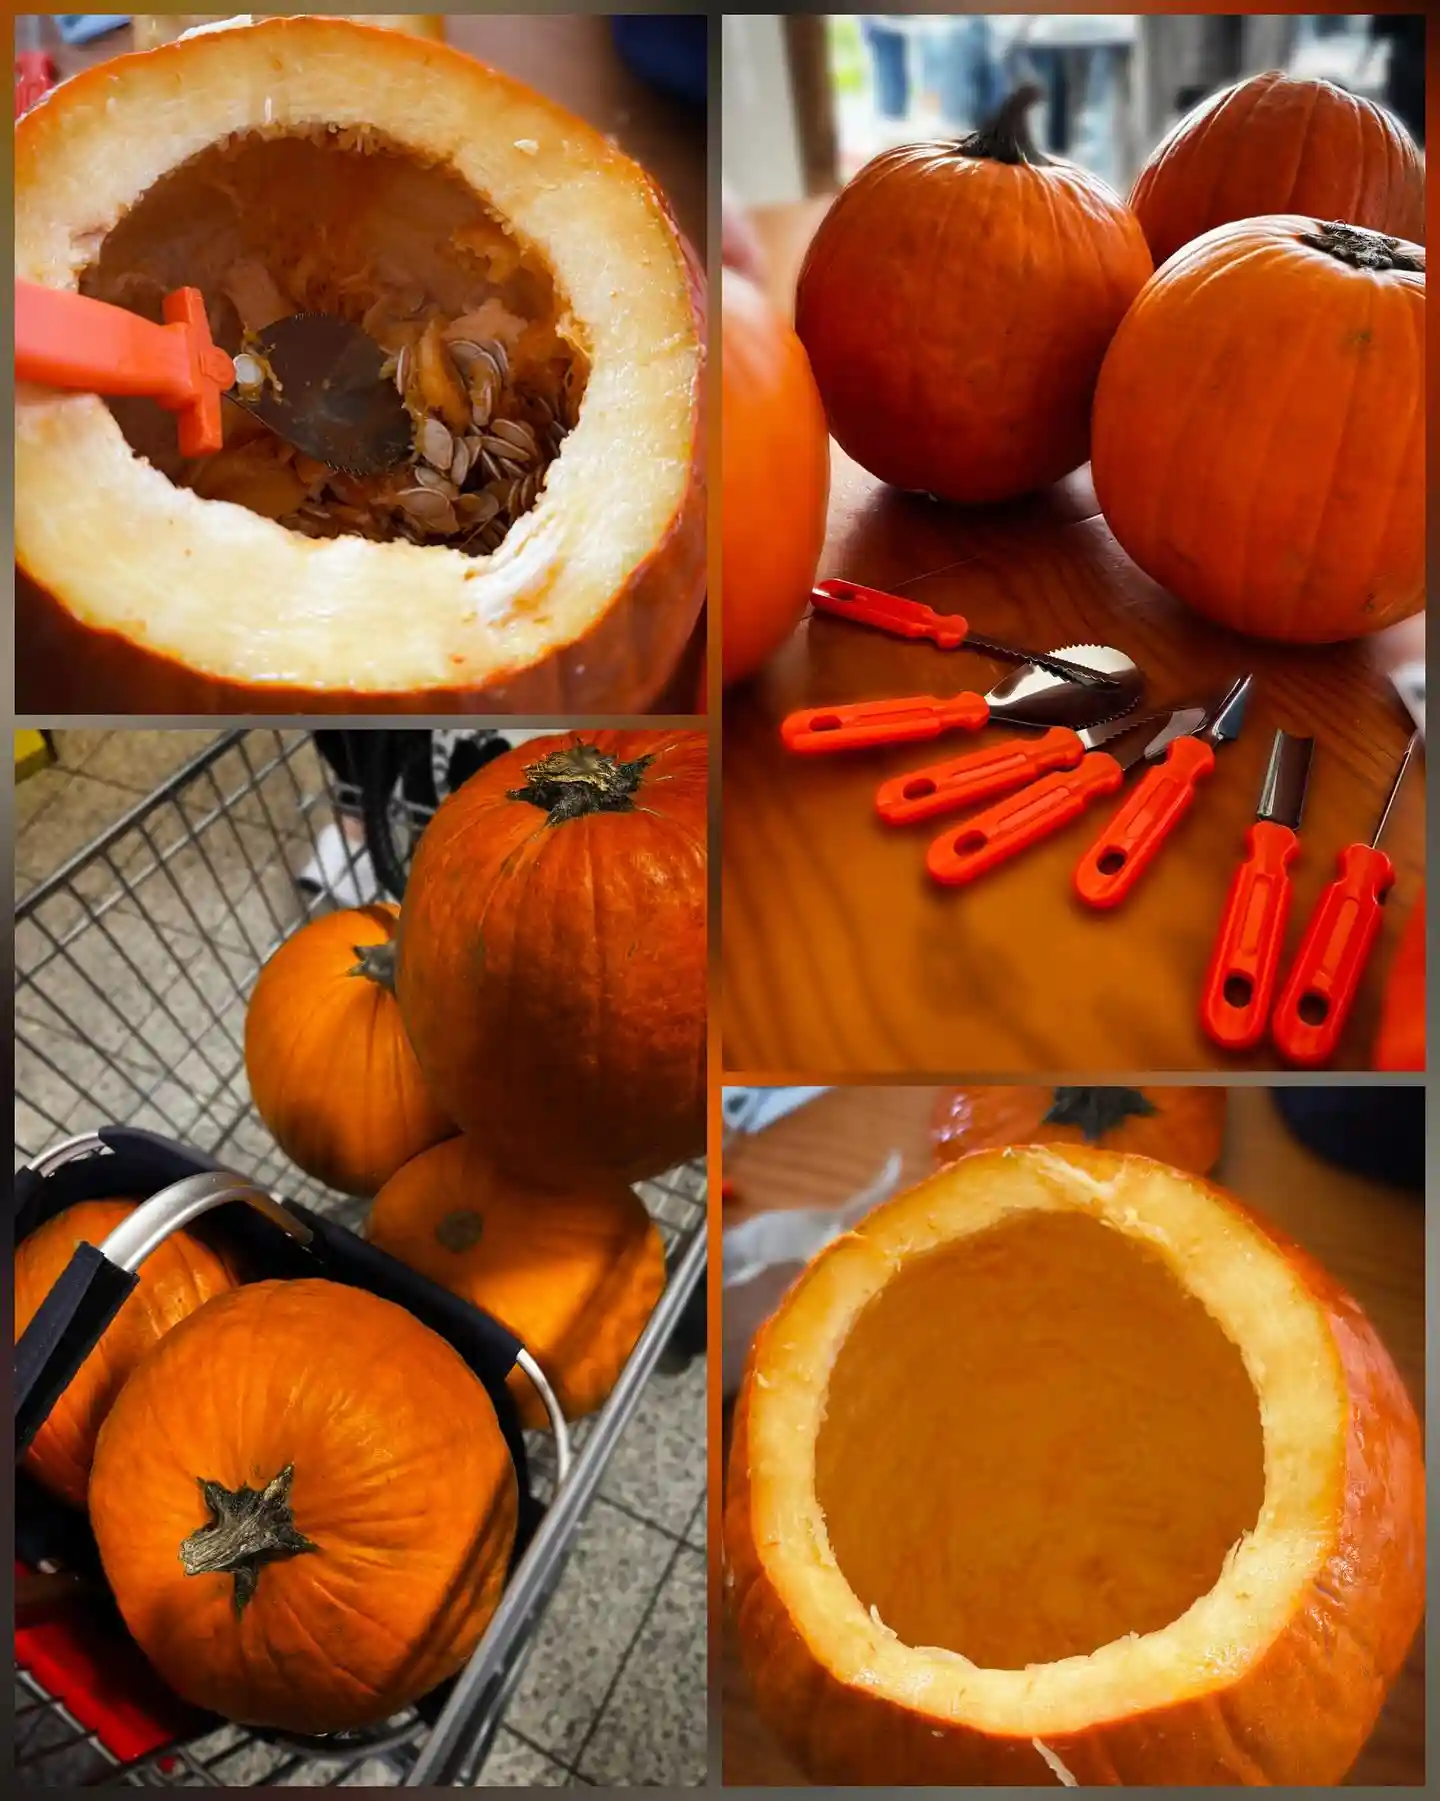
Give your pumpkin a light thump. A good carving pumpkin sounds a little hollow but still firm, not soft or dull. Then check the stem.
A green stem that has not shriveled is the single best sign of a fresh pumpkin. That freshness means more moisture inside, which means your design will hold its shape longer instead of caving in halfway through Halloween week.
A few more things to check before you buy:
- Base. Pick one with a flat bottom so it will not roll while you work.
- Wall thickness. Thicker walls give you more room to carve depth. Thin walled pumpkins are fine for simple cutouts but will not hold up to 3D sculpting.
- Surface. Smooth and free of soft spots or bruises.
Once home, wash the outside and cut off the top. Scoop out the seeds and guts until the inner wall feels clean, not stringy. Save the seeds. You can roast them later.
Here is a step pros use that most people skip: a pre carve disinfecting dip. Soak the whole pumpkin in water mixed with a small amount of bleach for about 30 minutes before you carve anything. This kills mold and bacteria sitting on the surface before you even pick up a knife. Rinse it well and let it dry completely.
Now your pumpkin is clean, fresh, and ready for a design. That is where a template comes in, and where most carvers accidentally make their pumpkin look fake.
Using Pumpkin Carving Templates Without Making It Look Store Bought
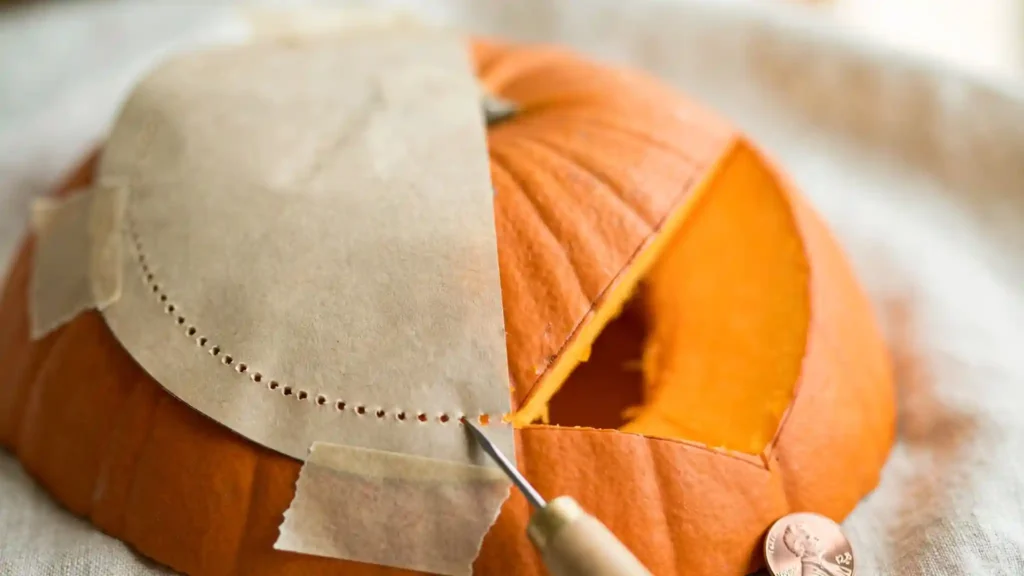
Templates get a bad reputation. People worry a stencil will make their pumpkin look printed on instead of carved by hand. It does not have to.
How to transfer a template properly:
- Trim the template to size and tape it onto the pumpkin, smoothing out creases.
- Use a poke tool to punch small holes along every line of the design.
- Remove the paper. You will see a dotted outline on the surface.
- Connect the dots with your knife, following the pattern instead of copying it exactly.
That last step matters. You are using the template as a guide, not a coloring book. Adjust a curve slightly if it fits your pumpkin’s actual shape better.
Combine this with the 45-degree edge cut from the techniques section above for the cleanest results.
Only pull templates from sites that clearly allow personal use, and size them to your pumpkin’s actual face before you tape anything down. A template made for a large pumpkin will look stretched and wrong on a small one.
Your pumpkin is carved. Now you need it to survive the week.
How to Make a Carved Pumpkin Last Longer (Pro Preservation Methods)
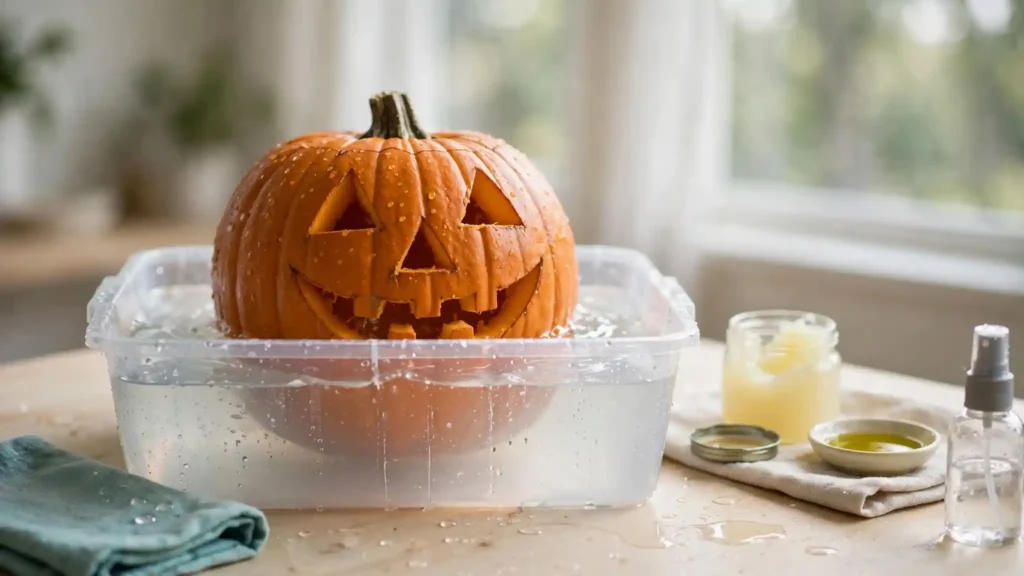
You just spent two hours sculpting a face. Do not let it collapse by Thursday.
The biggest threat to a carved pumpkin is exposed flesh. Once you cut through the skin, mold and bacteria have an easy way in. A few pro methods slow that down a lot.
Bleach soaks. Mix one tablespoon of bleach per gallon of water. Fully submerge the carved pumpkin for two to three hours, then rinse it well and let it air dry. Plant pathologists point out that bleach only kills what is on the surface. It does not soak into the flesh. So repeat this every few days, not just once.
Petroleum jelly on cut edges. Rub a thin layer over every carved surface, especially the edges. Petroleum jelly repels water, so it locks in the pumpkin’s own moisture while keeping outside moisture out. One catch: it can attract squirrels, since they are drawn to the taste. If wildlife is a problem where you live, use olive oil instead. It does a similar job without the risk.
Keep it cool. Store your pumpkin in the fridge or a cool garage when it is not on display, and keep it out of direct sun during the day. Heat and sunlight speed up decay faster than almost anything else.
Commercial preservative sprays. These are worth it if you want a “set it and forget it” option, since they combine antifungal ingredients into one spray instead of juggling bleach, jelly, and fridge space yourself.
Do all four and a detailed carving can last well past Halloween night instead of collapsing three days early.
Time and Difficulty — What to Actually Expect
Do not expect a Villafane style sculpture on your first attempt. Even professionals spend two to four hours on a complex design, depending on how much detail they add.
If this is your first advanced project, start with relief carving. Save full 3D sculpting for round two, once you know how your knife and your pumpkin behave together.
Watch for these common mistakes:
- Walls too thin. You cannot sculpt depth into a pumpkin with barely any flesh to work with.
- Pumpkin too soft. A soft pumpkin tears instead of slicing clean, no matter how sharp your knife is.
- Rushing the transfer. Skipping the poke and connect step and cutting straight into an unmarked pumpkin is where most designs go crooked.
Give yourself more time than you think you need. A rushed two hour project usually looks like a rushed twenty minute one.
Conclusion
Tools matter more than talent when you are starting out. But relief carving and 3D sculpting are what actually separate a pro pumpkin from a basic one. And none of that effort is worth much if your pumpkin rots by the weekend, so preservation is not optional.
Pick one advanced pumpkin carving technique from this guide and try it this year. Skin peeling is the easiest place to start. Once you carve a pumpkin like a pro for the first time, the triangle eyed version is going to feel pretty boring.