
How to Remove Paint From Thrifted Furniture to Restore Its Original Beauty

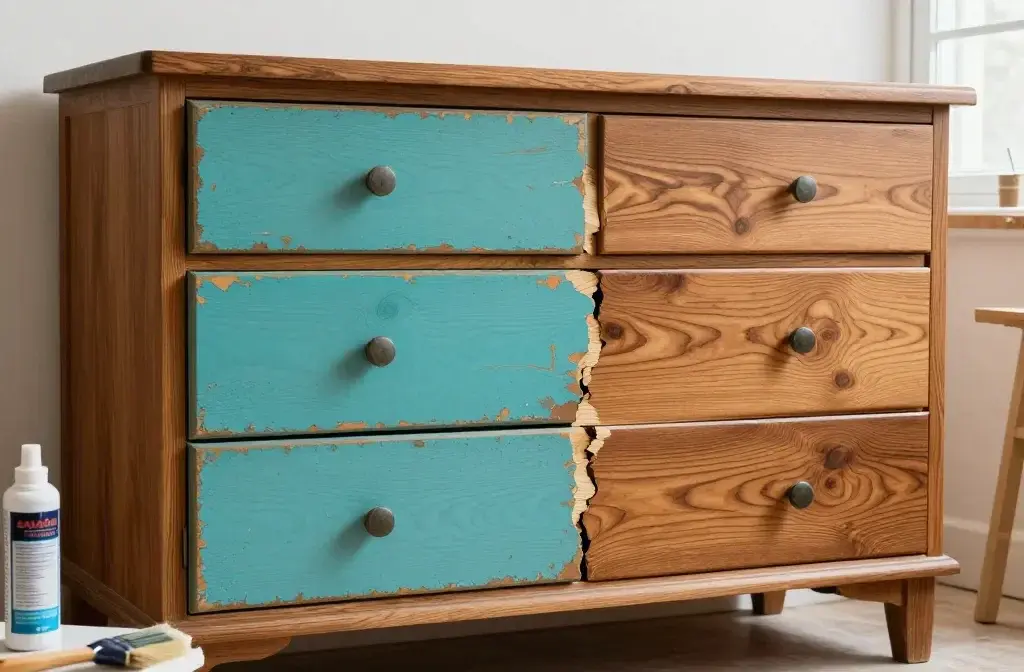
You know that feeling when you spot an amazing old dresser at a thrift store, only to discover someone painted it bright turquoise in 2003? Yeah, we’ve all been there. The good news is that underneath that questionable paint job, there’s probably gorgeous wood just waiting to make its comeback. Let me walk you through exactly how to strip away those layers and bring that furniture piece back to life.
Why Bother Stripping Paint in the First Place?
Before we dive into the messy stuff, let’s talk about why you’d want to tackle this project. Sure, you could just slap a fresh coat of paint over the existing nightmare, but hear me out.
Original wood finishes have character that paint just can’t replicate. We’re talking beautiful grain patterns, natural color variations, and that warm patina that only develops over decades. Plus, vintage furniture was often made from solid hardwoods like oak, walnut, or maple – stuff that’s way too expensive to buy new these days.
And honestly? There’s something incredibly satisfying about revealing what’s been hidden under layers of paint. It’s like furniture archaeology, except you actually get to keep your discoveries.
Figuring Out What You’re Working With
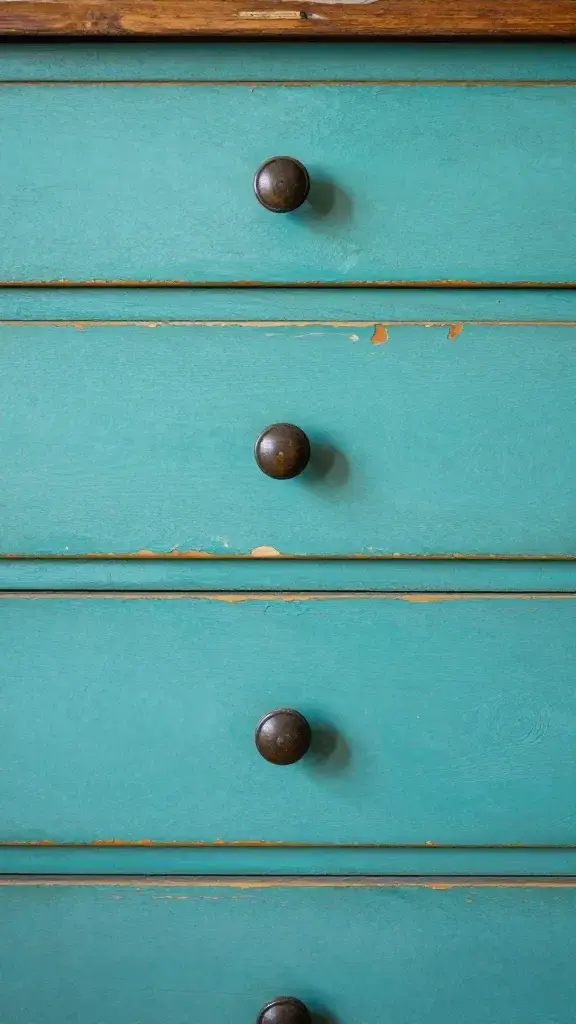
Not all paint jobs are created equal, and knowing what you’re dealing with will save you tons of frustration down the road.
Testing for Lead Paint
If your furniture was made before 1978, you need to test for lead paint. Period. Grab a lead test kit from any hardware store (they’re like $5), and follow the instructions. If it tests positive, you’ll need to take extra safety precautions or honestly consider whether this project is worth it.
Identifying the Paint Type
Run your finger over the paint. Does it feel chalky? That’s probably old milk paint or chalk paint, which comes off pretty easily. Is it super glossy and hard? You’re likely dealing with oil-based paint or polyurethane, which requires more aggressive stripping methods.
You can also do a quick acetone test on an inconspicuous spot. Dab some nail polish remover on the paint – if it gets gummy, it’s latex. If nothing happens, it’s oil-based.
Gathering Your Arsenal of Supplies
Let’s talk about what you’ll actually need for this project. Trust me, having everything ready before you start will make your life so much easier.
Essential supplies include:
- Chemical paint stripper (gel formula works best for vertical surfaces)
- Paint scraper or putty knife
- Steel wool or stripping pads in various grits
- Rubber gloves – the thick kind, not those flimsy disposable ones
- Safety glasses
- Drop cloths or plastic sheeting
- Mineral spirits or denatured alcohol
- Old toothbrush for detail work
- Rags (lots of them)
You might also want to grab a respirator mask if you’re working indoors. Those chemical fumes are no joke, and your future self will thank you for protecting your lungs.
The Chemical Stripping Method
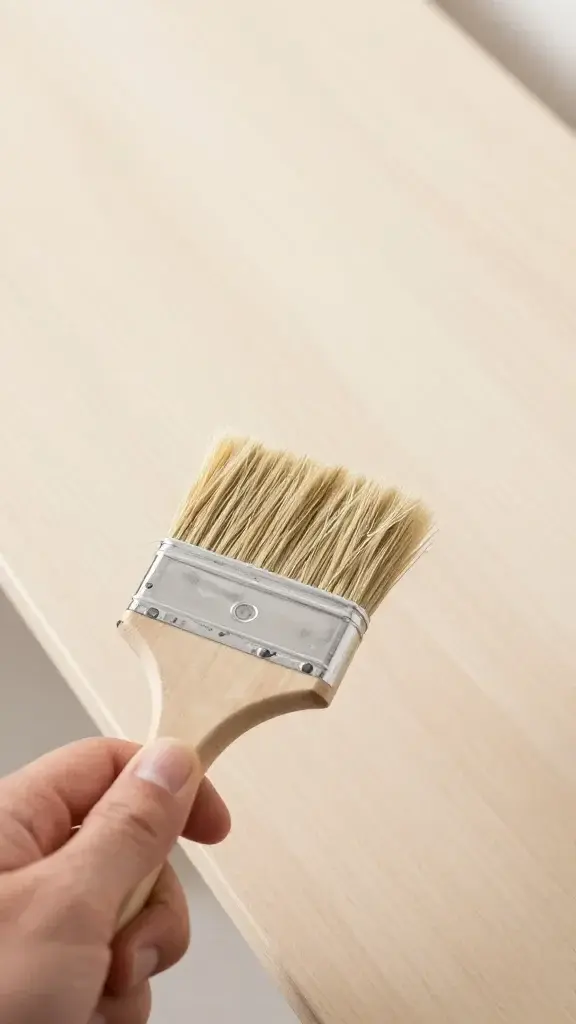
Okay, this is where the magic happens. Chemical strippers are your best friend for removing multiple layers of stubborn paint.
Application Process
Work in a well-ventilated area – and I mean really well-ventilated. Outside is ideal, but if you’re stuck inside, open every window and set up fans. Apply a thick layer of stripper with a cheap brush (one you’re okay with tossing afterward). You want it thick enough that it doesn’t dry out too quickly.
Now comes the hard part: waiting. Most strippers need 15-30 minutes to work their magic, though some stubborn paints might need longer. You’ll know it’s ready when the paint starts bubbling and wrinkling up like it’s having a bad reaction to something.
Scraping Away the Gunk
Grab your scraper and start removing the loosened paint. Work with the grain of the wood when possible to avoid gouging. The paint should come off in satisfying goopy strips. For carved details or tight corners, that old toothbrush becomes your MVP.
You’ll probably need to do multiple applications. Don’t get discouraged – this is totally normal, especially with furniture that has three or four layers of paint.
Alternative Methods for the Chemically-Averse
Not thrilled about working with harsh chemicals? I get it. Here are some gentler options.
Heat Gun Stripping
A heat gun softens paint so you can scrape it off without chemicals. Just keep it moving constantly – if you stay in one spot too long, you’ll scorch the wood (ask me how I know). This method works great for flat surfaces but can be tricky around details and curves.
Sanding
For thin layers of paint or as a finishing step, sanding can work. Start with 80-grit sandpaper and work your way up to 120-grit. FYI, this creates a ridiculous amount of dust, so definitely wear a mask and maybe warn your roommates.
Citrus-Based Strippers
These are less toxic but take longer to work – sometimes 24 hours or more. They’re perfect if you’re not in a rush and want to avoid the heavy-duty chemical smell.
Dealing With Stubborn Spots and Details
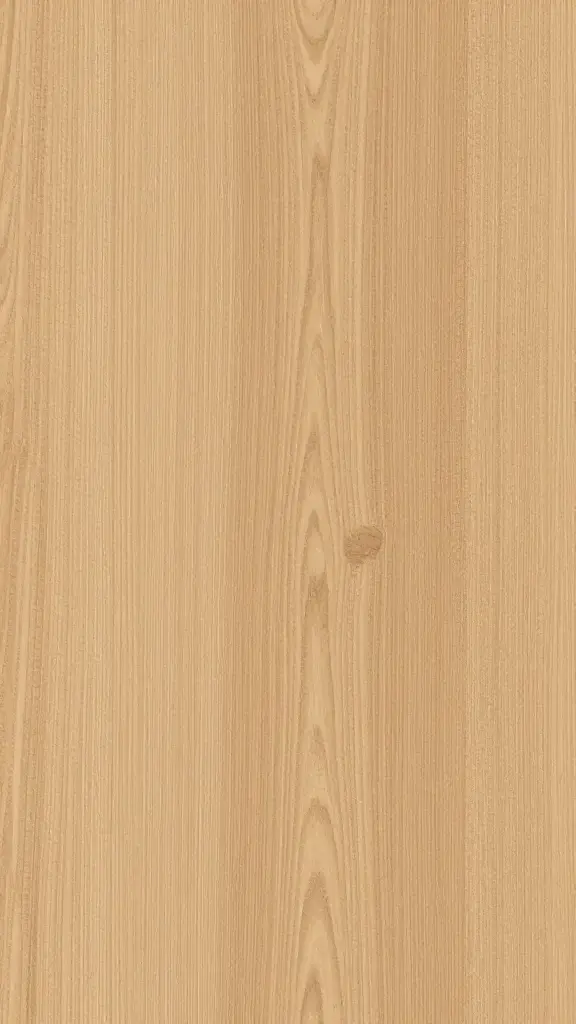
So you’ve stripped most of the paint, but there are still some annoying spots clinging on for dear life. Welcome to the detail work phase.
For intricate carvings and grooves, switch to steel wool dipped in stripper. Work it into the details gently. Dental picks or wooden skewers can also help you get into those tiny crevices without damaging the wood.
Sometimes paint gets trapped in the wood grain itself. If you’ve done multiple rounds of stripping and it’s still there, you might need to accept that some ghost shadows will remain. That’s okay – it’s part of the piece’s history, and honestly, it usually adds character rather than detracting from it.
Cleaning and Prepping for Refinishing
Once you’ve removed all the paint you can, you’re not quite done yet. The wood needs to be neutralized and cleaned before you can apply any new finish.
Wipe down the entire piece with mineral spirits or the neutralizer recommended by your stripper’s manufacturer. This removes any chemical residue that could interfere with your finish. Let it dry completely – and I mean bone dry, which usually takes at least 24 hours.
Give everything a final once-over with fine-grit sandpaper (220-grit is perfect). This smooths out any rough patches and opens up the wood grain to accept stain or finish better. Wipe away all the dust with a tack cloth.
Now step back and admire your work. See that gorgeous wood grain? That’s what you uncovered!
FAQ Section
How long does the entire paint removal process usually take?
Plan for at least a weekend, possibly longer depending on the furniture’s size and paint layers. A simple chair might only need a day, but a dresser with multiple coats of paint could easily take a week of on-and-off work. The actual hands-on time isn’t too bad, but you’ll spend a lot of time waiting for stripper to work and for things to dry.
Can I strip furniture indoors during winter?
You can, but you’ll need serious ventilation. Chemical strippers release fumes that you absolutely don’t want to breathe for hours. Set up fans pointing outward in windows, wear a respirator, and take frequent breaks to get fresh air. IMO, if you can wait for warmer weather to work outside, that’s way more pleasant.
What if I discover the wood underneath isn’t worth restoring?
It happens! Sometimes you’ll find particle board, damaged wood, or just plain ugly wood that was meant to be painted. If that’s the case, you can always paint it again – at least now you know you tried. Or get creative with stains that can add color while still showing some wood texture.
Do I need to strip paint before repainting furniture?
Not necessarily. If the existing paint is in good condition (not chipping or peeling) and you’re planning to paint it anyway, you can just sand it lightly for tooth and paint over it. Stripping is really only necessary if you want to see the natural wood or if the existing paint is in terrible shape.
How do I dispose of paint stripper and paint sludge?
Don’t pour it down the drain! Scrape up the gunk and let it dry out completely in a cardboard box lined with newspaper, then check your local hazardous waste disposal guidelines. Most cities have drop-off days for this stuff. The dried residue can usually go in the regular trash.
Is it worth stripping painted furniture or should I just buy unpainted pieces?
This totally depends on the piece and your patience level. High-quality vintage furniture with solid wood construction is absolutely worth stripping. That same craftsmanship would cost a fortune new. But if it’s a cheaply-made piece with veneers, you might want to pass unless you just love the shape and plan to paint it anyway.
Wrapping It All Up
Stripping paint from thrifted furniture isn’t the quickest or cleanest project you’ll ever tackle, but it’s definitely one of the most rewarding. There’s something magical about watching decades-old wood emerge from underneath layers of paint, revealing its natural beauty.
Just remember to be patient with the process. Your first attempt might not go perfectly, and that’s totally fine. Every piece of furniture teaches you something new about wood types, paint adhesion, and your own tolerance for chemical fumes.
The best part? Once you’ve restored one piece, you’ll start seeing potential everywhere. That hideous painted dresser at the thrift store suddenly becomes a challenge rather than an eyesore. Happy stripping!