
How to Swirl Soap Designs: Step-by-Step Color Swirling Techniques

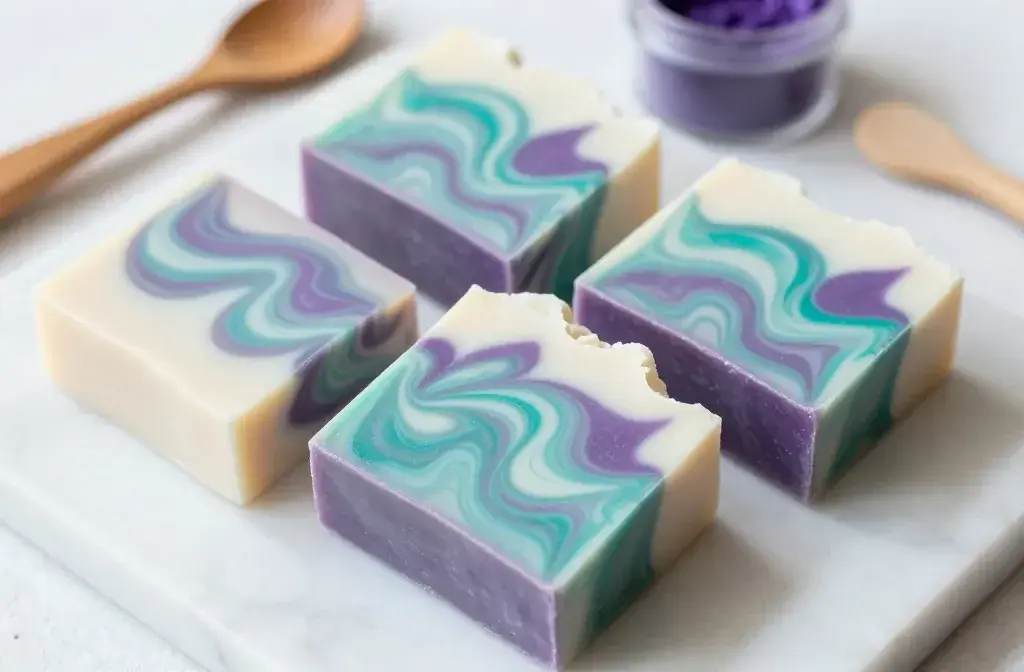
You’ve probably seen those gorgeous handmade soaps with mesmerizing swirls of color that look like edible works of art. Good news: creating those Instagram-worthy designs isn’t reserved for soap-making wizards. With a few basic techniques and a little practice, you can turn your plain bars into showstoppers that’ll make people wonder if they should wash with them or frame them.
Getting Your Supplies and Soap Base Ready
Before you start channeling your inner soap artist, you need to set yourself up for success. The consistency of your soap base matters way more than you might think—pour too thick and your swirls will look like blobs, too thin and everything mushes together into muddy nothingness.
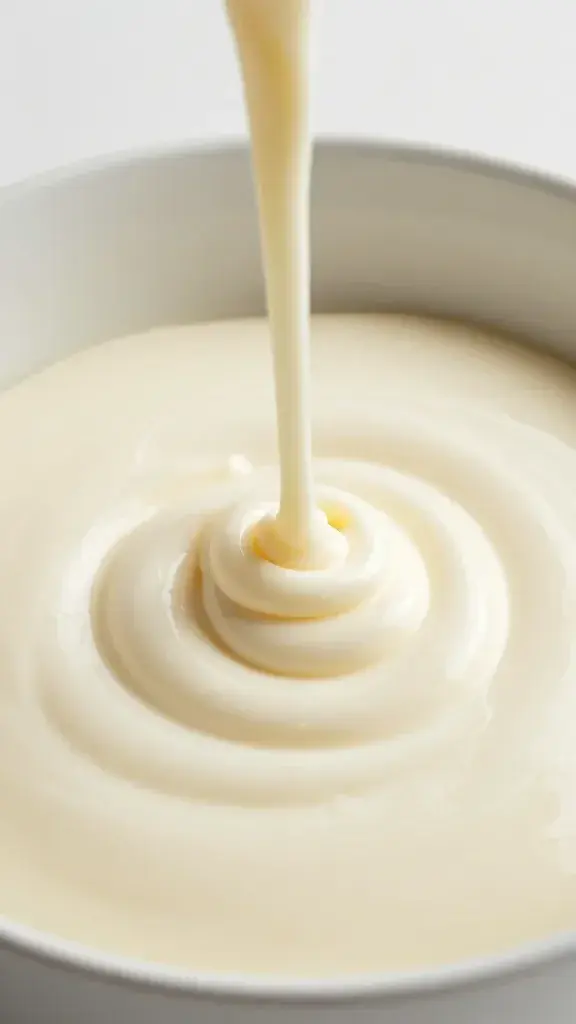
Your soap should reach what we call “light trace,” which basically means it’s the consistency of thin cake batter. You’ll know you’re there when you drizzle some soap from your spoon and it leaves a faint trail on the surface before disappearing. This sweet spot gives you enough time to work your magic without racing against the clock.
Here’s what you’ll need for most swirling techniques:
- Soap base at light trace (check!)
- Soap-safe colorants in at least 2-3 colors
- Separate containers for each color
- A swirling tool (chopstick, spoon handle, or skewer)
- Your soap mold
- Steady hands and patience (the hardest part, honestly)
The Drop Swirl: Your Gateway Drug to Soap Artistry
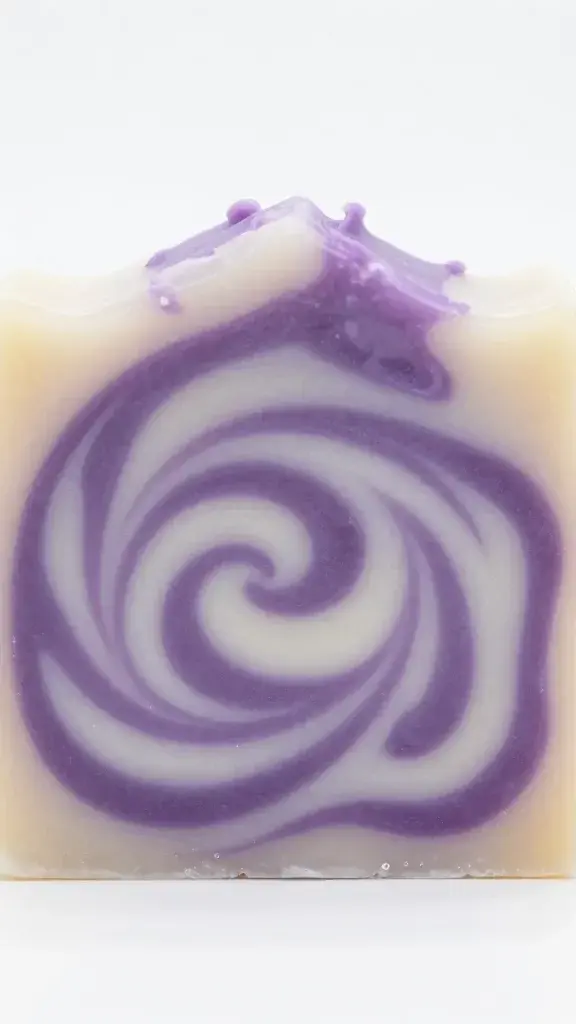
Let’s start with the easiest technique that still delivers impressive results. The drop swirl involves pouring colored soap into your base and letting gravity do most of the work. It’s literally as simple as it sounds, which is why it’s perfect for beginners.
Split your soap into however many colors you want—three works great—and pour one color as your base layer. Then, working quickly but calmly, pour small amounts of your second color directly into different spots across the surface. Watch as it sinks down through the base creating natural columns of color.
Repeat with your third color, aiming for spots you haven’t hit yet. The magic happens when these color columns interact with each other as they sink. Don’t overthink the placement—random actually looks better than perfectly spaced drops.
Pro Tips for Drop Swirls
Want to level up your drop swirl game? Pour from different heights. Pouring from higher up creates deeper, more dramatic swirls, while keeping your container close to the surface gives you more controlled, delicate patterns. You can mix both approaches in the same soap for extra visual interest.
Mastering the Hanger Swirl Technique
Ready to get a bit fancier? The hanger swirl creates those beautiful, flowing patterns you see in professional soaps. Despite looking complicated, it’s actually pretty straightforward once you understand the motion.
You’ll need to make an actual hanger tool for this one—grab a wire coat hanger and bend it into a flat, elongated loop that fits inside your mold. Some people use multiple wires or create different shapes, but a simple loop works perfectly fine for starting out.
Pour alternating colors into your mold in layers or columns. The key is creating distinct areas of color before you start swirling—think stripes or a checkerboard pattern. Once you’ve poured all your colors, insert your hanger tool vertically down to the bottom of the mold.
Now comes the fun part: drag the hanger through the soap in whatever pattern your heart desires. S-curves, figure-eights, or simple straight lines all create different effects. Pull it through slowly and steadily, and resist the urge to overwork it. Two or three passes is usually plenty.
Common Hanger Swirl Mistakes
The biggest mistake people make? Moving too fast or swirling too many times. You’re not stirring soup here—you want to gently pull the colors through each other, not blend them into oblivion. Each pass through the soap should be deliberate and controlled. FYI, if your soap is getting thick while you work, you waited too long at trace.
The In-the-Pot Swirl for Maximum Drama
This technique creates wild, unpredictable patterns that look absolutely stunning when you cut into your soap. You’ll do all your swirling before the soap even hits the mold, which gives you those gorgeous, marbled cross-sections.
Divide your soap base and add your colors to separate containers. Now pour small amounts of each color back into your main pot, alternating colors and working around the edges. Don’t stir! Just let the colors stack up on each other.
Once you’ve added all your colors back, give the pot one or two gentle swirls with a spatula or spoon. Seriously, just a couple of swirls max. Then pour the whole beautiful mess into your mold. The patterns continue to develop as you pour, creating those signature swirled cross-sections.
Taiwan Swirl: The Show-Off Technique
Okay, this one actually requires some skill, but the results are so worth it. The Taiwan swirl creates a gorgeous, symmetrical mandala-like pattern on top of your soap that’ll make people think you went to soap school or something.
You’ll pour your base color into the mold first, then add alternating colors in concentric circles working from the outside in. Use squeeze bottles for maximum control—trying to pour from containers will just frustrate you. Once you’ve created your bullseye pattern, insert a chopstick or skewer at the center and drag it outward in straight lines, creating sections like slicing a pie.
The secret is spacing your lines evenly and pulling all the way to the edge of your mold. Most people do 8-12 lines depending on the size of their mold. Each line drags the colors outward, creating those feather-like petals.
Timing Is Everything
The Taiwan swirl is super unforgiving when it comes to trace. Too thick and your circles won’t spread properly; too thin and everything blends together. You want your soap just barely at trace—almost still liquid but with the tiniest bit of thickness. Practice makes perfect here, and honestly, even your “failures” will probably look cool.
Color Selection and Combination Tips
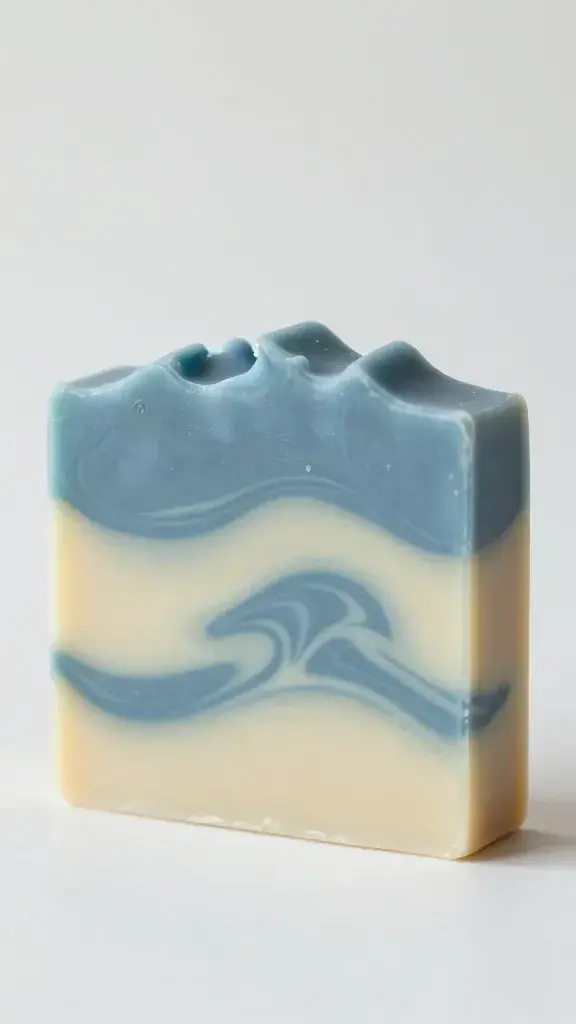
Let’s talk color strategy because picking random shades won’t always give you the results you want. Some color combinations create gorgeous contrasts, while others turn into muddy brown messes when they mix. Been there, done that, got the ugly soap to prove it.
Stick with colors that have good contrast—light and dark, warm and cool. White with any bold color looks clean and modern. Purple and yellow create stunning drama. Avoid mixing complementary colors directly (like red and green or blue and orange) unless you want brown or gray where they blend.
Consider using micas instead of liquid colorants for swirling. IMO, they hold their color better and don’t bleed into each other as much. Plus, they often add a subtle shimmer that makes your swirls pop even more.
Frequently Asked Questions
Why did my swirl turn into a muddy mess?
Nine times out of ten, this happens because you overworked it or your soap was at too thick of a trace. The colors need room to move and maintain their boundaries. If you swirl too much or your soap is too thick, the colors physically blend together like paint. Try working at a lighter trace and limiting your swirling motions next time.
Can I swirl melt and pour soap?
Technically yes, but it’s way trickier than swirling cold process soap. Melt and pour solidifies quickly, so you need to work fast and keep everything at the right temperature. Some people have success with it, but cold process is definitely more forgiving for swirl techniques. If you’re set on using melt and pour, try the drop swirl technique first since it requires less manipulation time.
How do I know if my soap is at the right trace?
Light trace looks like thin cake batter or cream. When you drizzle it from a spoon, it should leave a faint line on the surface that disappears within a second or two. If it sits on top, you’re too thick. If it disappears immediately with no trace at all, you’re too thin. The window is small but you’ll get better at recognizing it with practice.
What if my colors bleed together after I pour?
Some bleeding is normal and actually creates prettier, more natural-looking swirls. Excessive bleeding usually means your soap was too thin or you’re using colorants that migrate easily. Switch to more stable colorants (micas are great for this) and work at a slightly thicker trace. Also, some fragrance oils accelerate trace or cause colors to morph, so that might be your culprit.
Do I need special tools or can I improvise?
Improvise away! Chopsticks, skewers, spoon handles, and even straws work great for swirling. For the hanger swirl, a coat hanger works fine, but you can also use heavy wire from a hardware store. Squeeze bottles are helpful but you can carefully pour from measuring cups too. Don’t let lack of fancy tools stop you from experimenting.
How can I practice without wasting soap?
Smart question! Some people practice swirling techniques with yogurt and food coloring in similar-sized containers. It won’t behave exactly like soap, but it gives you a feel for the motions and color interactions. You can also make smaller test batches—even a single bar mold lets you experiment without committing to a huge batch.
Wrapping Up Your Swirling Journey
The beautiful thing about soap swirling is that there’s really no such thing as a mistake—just happy accidents that might become your new favorite technique. Your first attempts might not look like those perfect soaps all over Pinterest, and that’s completely fine. Each batch teaches you something about timing, trace, and color behavior.
Start with simple techniques like the drop swirl, get comfortable with your soap base and how it behaves, then gradually work your way up to more complex patterns. Take notes about what worked and what didn’t. Most importantly, cut yourself some slack and have fun with it. You’re making soap, not performing surgery. Even your “ugly” soaps still clean just fine, and honestly, they probably look better than you think they do.