
How to Make Gifts Look Professional: Wrapping Tagging and Finishing Tips

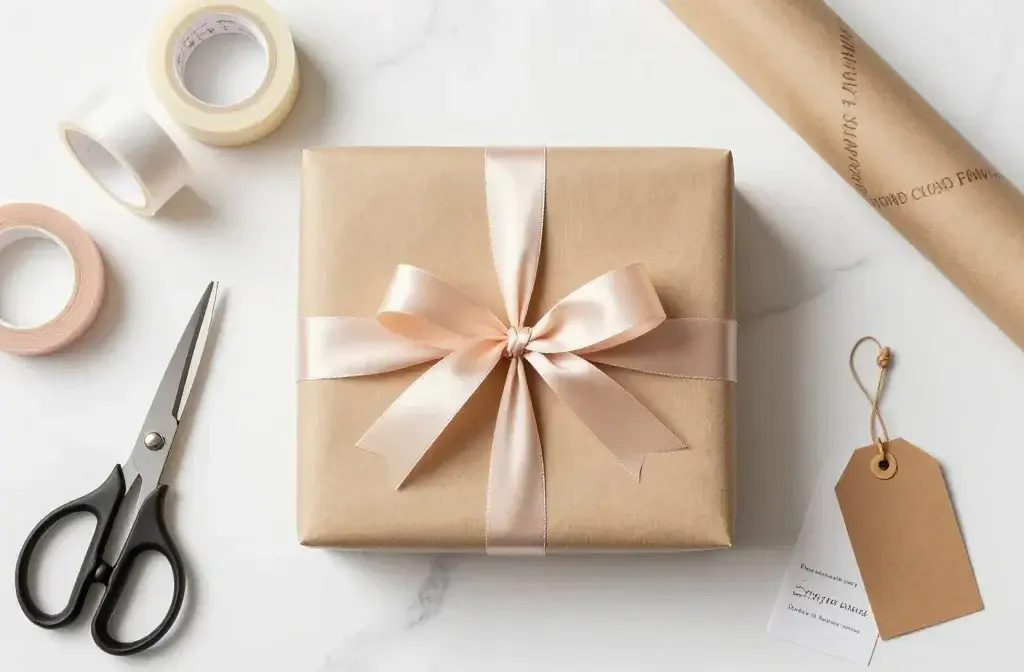
You know that sinking feeling when you’ve found the perfect gift, but your wrapping job makes it look like you did it blindfolded during an earthquake? The actual present might be amazing, but crumpled paper and crooked ribbons send a very different message.
Good news: making your gifts look professionally wrapped isn’t some dark art reserved for department store elves.
With a few simple tricks, you can transform your packages from “I tried” to “I definitely know what I’m doing.”
The Foundation: Choosing Your Materials Wisely
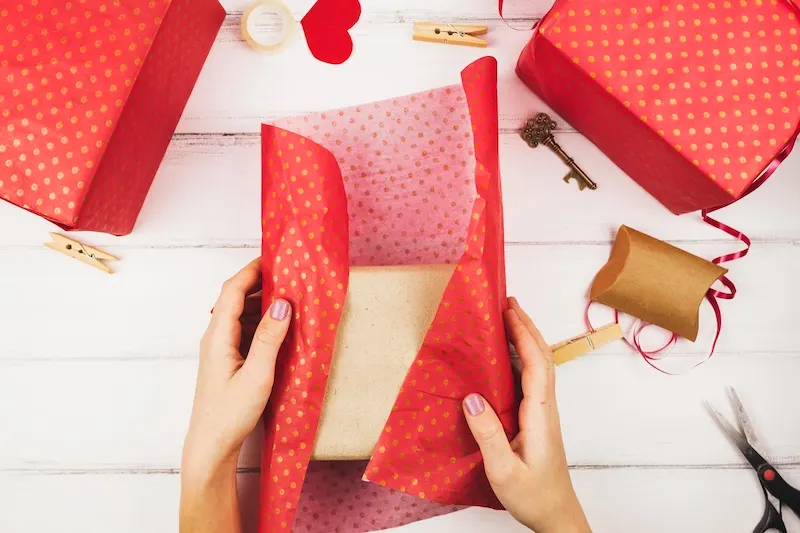
Before you even think about wrapping, you need to set yourself up for success.
And no, that doesn’t mean buying the most expensive paper you can find.
It means choosing materials that actually work together and won’t fight you every step of the way.
Quality paper matters more than you think. That super-thin stuff from the dollar store? It tears if you look at it wrong. Invest in medium-weight wrapping paper that has some body to it.
You’ll thank yourself when you’re not trying to hide rips with strategically placed bows.
Here’s what you actually need in your gift-wrapping arsenal:
- Sharp scissors (not the ones you use for everything else in your house)
- Double-sided tape (regular tape screams amateur hour)
- Quality ribbon in complementary colors
- Gift tags that match your aesthetic
- A ruler or measuring tape
The color coordination thing isn’t just me being picky. When your ribbon, paper, and tag all work together, your gift instantly looks more intentional.
You don’t need them to match perfectly, but they should at least be in the same color family or follow a theme.
Master the Wrap: Technique Makes All the Difference
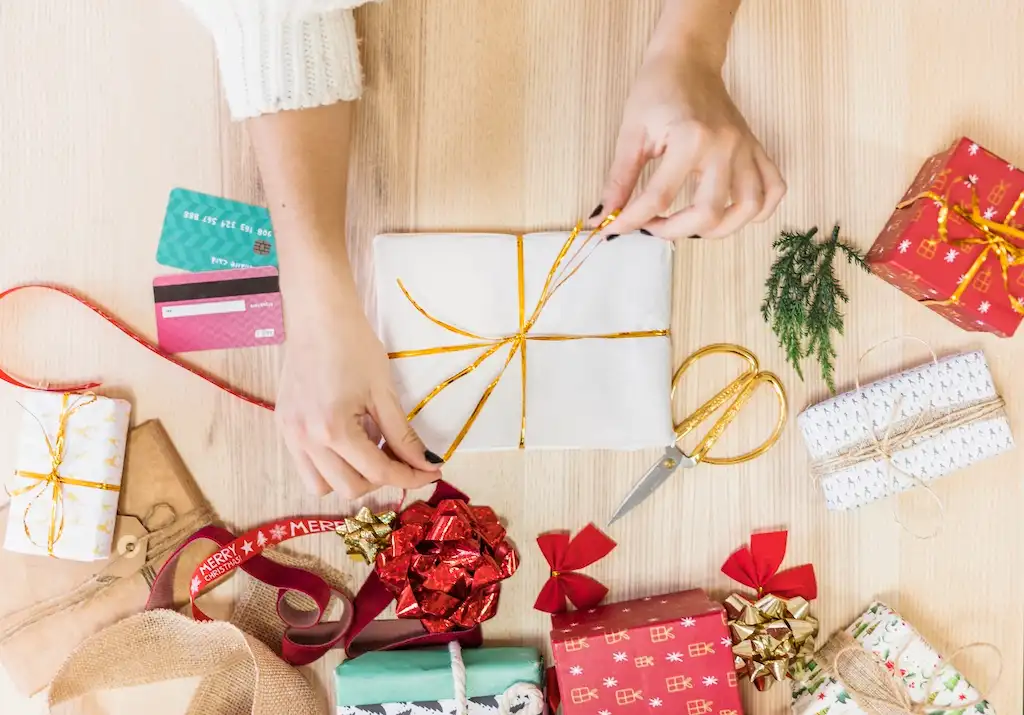
Ready for a truth bomb? The way you cut and fold your paper matters way more than the paper itself.
I’ve seen expensive metallic paper look terrible because someone just eyeballed everything and hoped for the best.
Start by measuring your paper properly. Place your gift in the center of the paper and make sure you have enough to wrap around with about 2-3 inches of overlap.
For the ends, you want enough paper to cover two-thirds of the box’s depth on each side. Too much paper creates bulky, awkward folds.
Too little, and you’re trying to stretch paper that won’t stretch.
The Clean Edge Technique
Here’s where most people go wrong: they wrap the paper around and just slap some tape on it wherever. Instead, fold one edge of the paper under about half an inch before you tape it down.
This creates a clean, finished edge that instantly elevates your wrapping game.
Pull the paper tight (but not so tight you rip it) and use double-sided tape to secure it.
The tape should be invisible, and the seam should run straight down the center or along one edge of the box.
Conquering the Ends
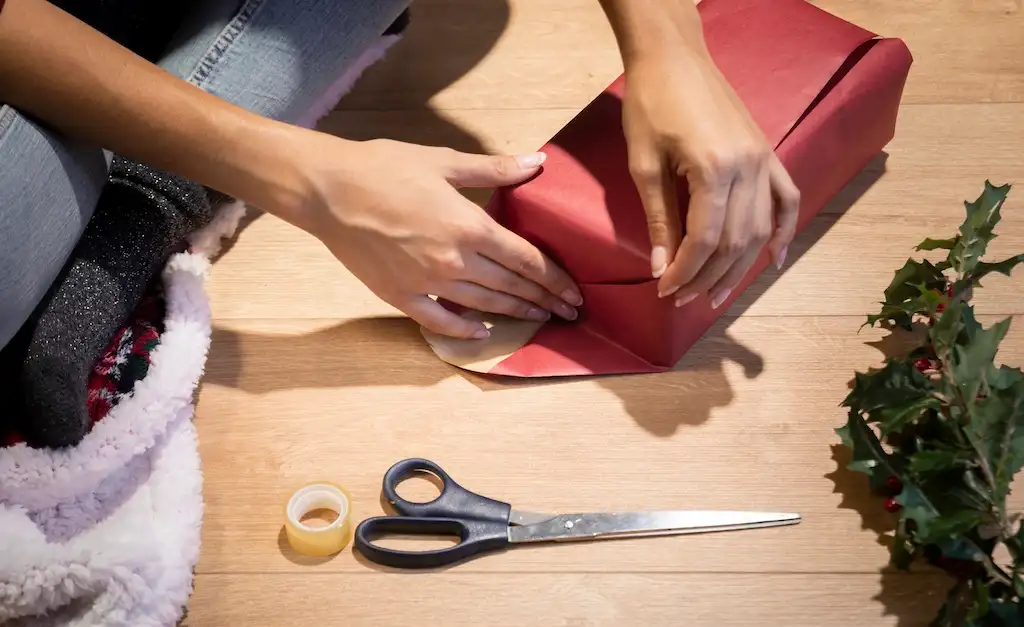
Those triangular folds at the ends trip everyone up. The secret? Crease firmly and fold in a specific order.
Leave 2 to 3 inches of overlap around the center, and two-thirds depth coverage on each side.
Fold the raw cut edge under by half an inch, then secure underneath with double-sided tape.
Push side panels inward into clean triangles, fold top flap down, and press edges with your thumbnail.
Push the paper at the ends in to create those triangle shapes on the sides, then fold the top flap down, crease it sharply, and secure with tape.
Fold the bottom flap up, creating another clean edge by folding it under, and tape it down.
Sharp creases are your best friend.
Run your thumbnail along every fold to make it crisp. Wishy-washy creases look wishy-washy
Ribbon: The Make-or-Break Moment
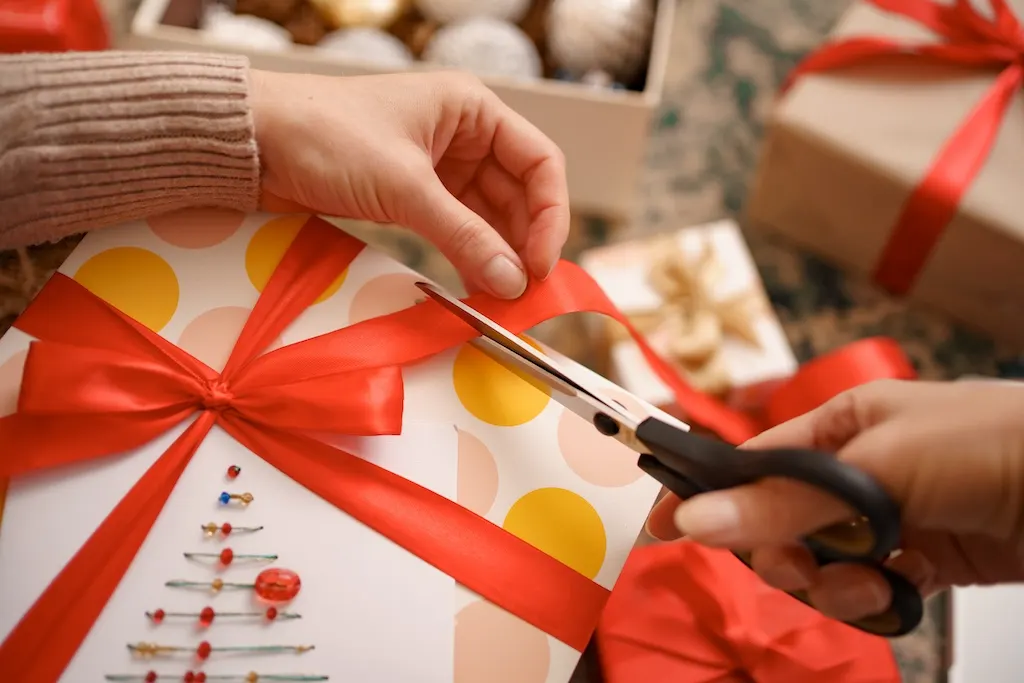
You’ve wrapped your gift beautifully, and now you’re about to ruin it with sad, limp ribbon. Don’t do that to yourself.
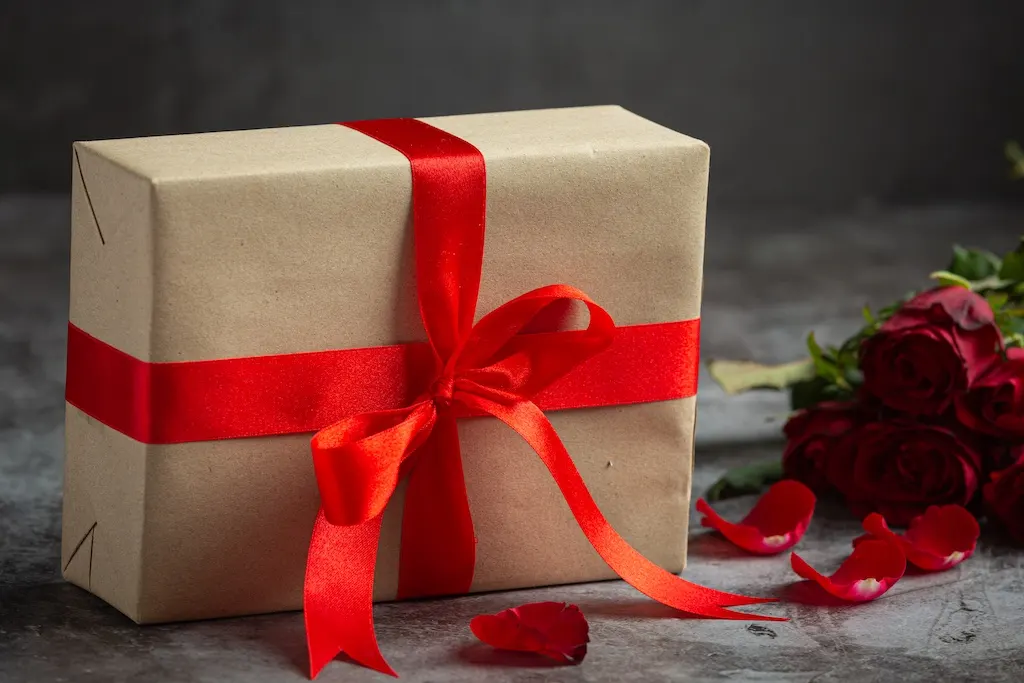
Ribbon done right can transform even simple brown kraft paper into something Instagram-worthy.
Curling ribbon is for kids’ birthday parties. For adult gifts or anything you want to look sophisticated, use fabric ribbon.
Grosgrain and satin ribbons lie flat, hold their shape, and just look more expensive. They’re worth the extra couple of bucks.
Here’s the foolproof ribbon technique: wrap the ribbon around your gift like you’re tying a package for shipping, but leave yourself enough length to tie a proper bow.
Cross the ribbon on the bottom, bring both ends up to the top, and tie a simple knot first. Then create your bow with loops on each side.
Cut the ends at an angle to prevent fraying.
Want to get fancy? Layer different widths of ribbon or add a sprig of greenery tucked under the bow.
Just don’t go overboard—you’re wrapping a gift, not creating a floral arrangement.
Tags: The Overlooked Detail That Counts
I cannot stress this enough: a beautiful gift with a tag that looks like you scribbled on a torn piece of notebook paper sends mixed signals.
Your tag should feel like part of the overall presentation, not an afterthought.
Choose tags that coordinate with your wrapping.
They don’t have to match exactly, but they should fit the vibe. Modern geometric paper? Go with a minimalist tag.
Classic plaid? A traditional rectangular tag works perfectly.
Your handwriting matters too. Take your time writing the recipient’s name.
Use a nice pen—no ballpoint scratches. If your handwriting looks like a doctor’s prescription, consider printing labels or using calligraphy pens (they make your regular handwriting look fancy, I promise).
Attach tags with the same ribbon you used for the bow, or use twine for a rustic look. Just make sure it’s secure enough that the tag won’t fall off before the gift changes hands.
Advanced Finishing Touches
Want to take things to the next level? These finishing touches separate the good from the truly professional-looking gifts.
Embellishments With Purpose
The key word here is “purpose.” Don’t just glue random stuff to your packages. Every embellishment should enhance your theme.
Pinecones and evergreen sprigs for winter holidays? Perfect. Random plastic flowers in July? Questionable.
Here are some classy options:
- Wax seals on gift tags (seriously fancy without being over-the-top)
- Fresh or dried flowers tucked into the ribbon
- Small ornaments that double as a bonus gift
- Vintage stamps or postcards as decorative elements
- Natural elements like cinnamon sticks or dried orange slices
The Presentation Platform
Think beyond the wrapped box. Place your gift in a nice basket or on a small tray with tissue paper.
Stack multiple small gifts together and wrap them as one larger package. These presentation tricks make even small gifts feel more substantial.
Common Mistakes That Scream Amateur
Let’s talk about what NOT to do, because sometimes that’s more helpful than a list of suggestions.
Stop using too much tape. If your package looks like you mummified it, you’ve gone too far. Tape should be invisible and strategic.
Double-sided tape is your friend for exactly this reason.
Avoid mixing patterns that clash. Striped paper with polka dot ribbon with a floral tag? That’s not eclectic—it’s chaotic.
Stick to one patterned element and keep everything else solid, or use patterns from the same design family.
Don’t leave price tags on your wrapping paper or ribbon. I know this seems obvious, but you’d be surprised. Check everything before you start wrapping.
And please, for the love of all that is holy, don’t reuse wrinkled paper or crushed bows.
Being thrifty is great, but save the reusing for gift bags, not crumpled materials that make your present look like you found it in a dumpster.
Use double-sided tape completely hidden under paper flaps.
Stick to a unified, monochromatic or tone-on-tone color palette.
Plastering shiny clear tape visible across outer paper seams.
Reusing heavily creased paper or flattened bow ribbons.
Frequently Asked Questions
What’s the best way to wrap oddly shaped items?
Honestly? Don’t fight it. Use a gift bag for weird shapes and dress it up with nice tissue paper and a good tag. If you’re determined to use wrapping paper, the gather-and-tie method works: place the item in the center of the paper, gather all the edges up at the top, and secure with ribbon. Add some tissue paper at the top to hide the gathered mess. It looks intentionally styled rather than like you gave up halfway through.
How do I keep my ribbon from unraveling while I work?
Use small pieces of double-sided tape to temporarily hold your ribbon in place while you tie your bow. You can also use your fingers to pin the ribbon against the package while you work. FYI, fabric scissors make cleaner cuts on ribbon and prevent fraying better than regular scissors.
Is expensive wrapping paper worth it?
Not always. Mid-range paper is the sweet spot—it’s thick enough to work with easily and looks nice without breaking the bank. Save your money for quality ribbon and embellishments instead. IMO, amazing ribbon on plain kraft paper looks better than cheap ribbon on expensive paper.
How far in advance can I wrap gifts?
You can wrap most gifts weeks in advance, but be smart about storage. Keep wrapped packages away from heat, humidity, and nosy pets. Stack them carefully so the bows don’t get crushed. If you’re using fresh greenery or flowers as embellishments, add those the day before you give the gift.
What’s the easiest way to make my wrapping look expensive?
Monochromatic color schemes, friend. All white with white ribbon and greenery? Instant elegance. All black with gold accents? Sophisticated as heck. Keeping everything in the same color family automatically makes your wrapping look more intentional and polished.
How do I wrap a gift without a box?
Gift boxes are your savior here. Buy a few in standard sizes and keep them on hand. You can also create structure by wrapping items in tissue paper first, then adding the outer wrapping paper. For soft items like clothing, the tissue-paper-and-gift-bag combo is perfectly acceptable and can look just as nice as wrapped boxes when done right.
Wrapping It All Up
Making your gifts look professionally wrapped isn’t about spending a fortune or having some special talent.
It’s about taking your time, using the right materials, and paying attention to the details that most people skip.
Sharp creases, invisible tape, coordinated colors, and thoughtful finishing touches—that’s literally all it takes.
The best part? Once you’ve practiced these techniques a few times, they become second nature. You’ll be able to wrap beautiful packages while watching TV, and people will start asking YOU for wrapping tips.
Start with the basics, master your technique, and then add your own creative touches.
Your gifts will look so good that people might actually feel bad unwrapping them. Mission accomplished.