
How to Frame Embroidery in a Hoop: Finishing and Display Tutorial

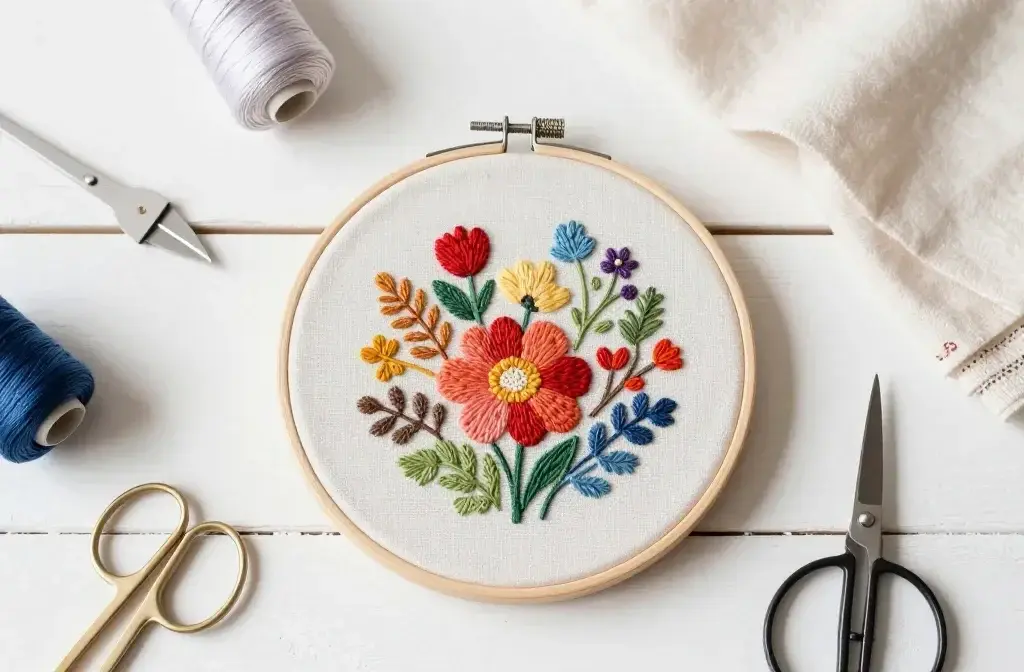
You just finished stitching a gorgeous piece of embroidery, and now it’s staring at you from your work table, slightly wrinkled and still clamped in that hoop.
What now? Let’s talk about turning that finished needlework into a proper piece of wall art that’ll make everyone ask where you bought it (and then you get to smugly say “I made it”).
Why Keep Your Embroidery in the Hoop?
Hoop framing is basically the easiest and most affordable way to display your embroidery work.
No expensive custom frames, no trips to the framing shop, and honestly? The hoop itself has become such an iconic look that it’s practically synonymous with modern embroidery.
Plus, you already have the hoop right there. You used it while stitching, so why not make it do double duty as your frame? It’s eco-friendly, budget-friendly, and takes about ten minutes to finish properly.
The hoop gives your work a casual, crafty vibe that works perfectly in most spaces.
The key difference between a working hoop and a display hoop is all in the finishing.
Nobody wants to see the messy back of your embroidery or have loose fabric flopping around. We’re going to fix all that.
Gathering Your Materials
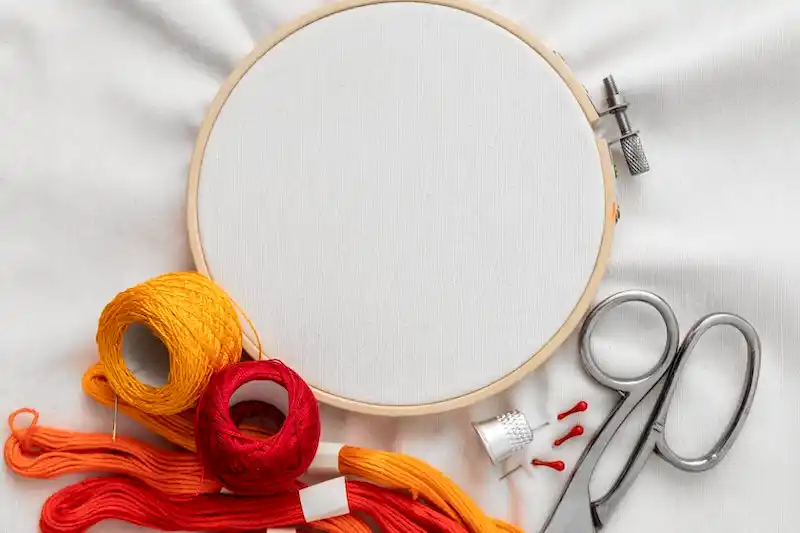
Before you dive in, make sure you’ve got everything within arm’s reach. Nothing’s more annoying than getting halfway through and realizing you need to hunt down scissors.
Here’s what you’ll need:
- Your completed embroidery (obviously)
- The embroidery hoop you want to use for display
- Sharp fabric scissors
- Needle and thread for hand-sewing
- Fabric glue or hot glue gun (optional but helpful)
- Felt or fabric backing (optional, for a polished look)
- Iron and ironing board
FYI, you don’t necessarily need to use the same hoop you stitched in. Sometimes switching to a fresh hoop in a different size or finish can really elevate the final look.
Prepping Your Embroidery
First things first: you need to press your work. I know, I know—you just want to frame it and be done. But trust me, this step makes a huge difference.
Washing and Pressing
Give your embroidery a gentle hand wash in lukewarm water with a tiny bit of mild detergent.
This removes any oils from your hands, dirt, or hoop marks that accumulated during stitching. Roll it in a towel to remove excess water—don’t wring it like you’re mad at it.
Press it face-down on a fluffy towel while it’s still slightly damp. This prevents your stitches from getting flattened.
Use a medium heat setting and press from the back, and watch those beautiful stitches puff up nicely.
Centering Your Design in the Hoop
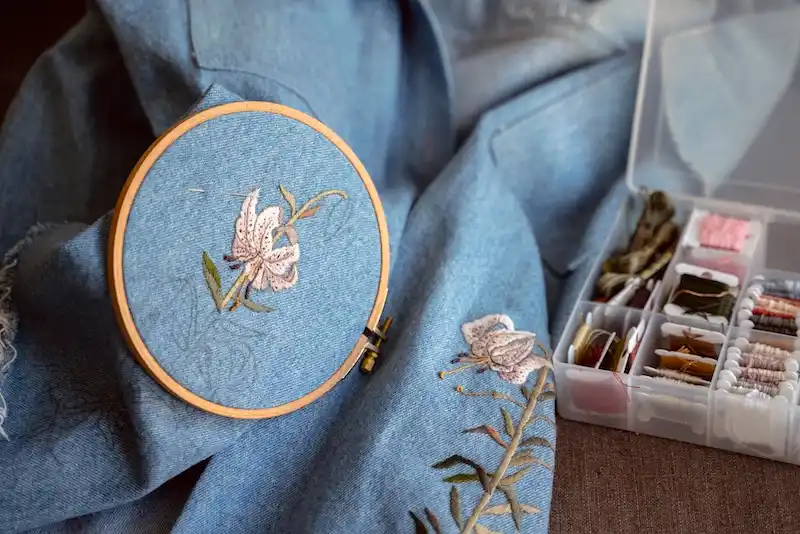
Now comes the slightly fiddly part: getting your design centered perfectly. Loosen the screw on your hoop completely and separate the inner and outer rings.
Place the inner ring on a flat surface, lay your embroidery fabric over it (right side up), and then press the outer ring down over both.
The fabric should be taut but not stretched so tight it distorts your stitches.
The Tightness Test
How tight is tight enough? Your fabric should feel like a drum when you tap it lightly. If it’s saggy, tighten that screw. If you see your stitches getting pulled out of shape, you’ve gone too far.
Keep adjusting until your design sits exactly where you want it in the hoop opening. Take your time here—this is what people will actually see, so it’s worth getting right.
Trimming and Securing the Back
Here’s where we transform this from “work in progress” to “finished piece.” Flip your hoop over so you’re looking at the back—yeah, that messy part.
Trim the excess fabric, leaving about 1 to 2 inches beyond the hoop edge all around. Don’t cut it flush with the hoop! You need that extra fabric to work with.
The Running Stitch Method
Thread a needle with strong thread (regular sewing thread works fine) and sew a running stitch all around the edge of the fabric, about half an inch from the edge. Don’t knot the end yet.
Once you’ve gone all the way around, pull both thread ends to gather the fabric like a drawstring bag. This pulls all that excess fabric toward the center.
Tie off securely with a few knots. Your fabric back should now look neat and gathered, with nothing hanging loose.
The Glue Method
If sewing isn’t your thing (no judgment), you can use fabric glue instead. Apply glue around the inner edge of the back of the hoop and press the excess fabric onto it, working in sections. Let it dry completely before handling.
Some people swear by hot glue for this, and it does work faster. Just be careful not to burn yourself or use so much glue that it seeps through to the front. That would be… not great.
Adding a Backing (Optional But Recommended)
Want your embroidery to look professional AF? Add a fabric backing. Cut a circle of felt or fabric slightly larger than your hoop’s inner ring.
Apply fabric glue around the inner back edge of your hoop (where all that gathered fabric is hanging out), then press your backing circle onto it. Trim any excess once the glue dries.
This covers all your messy gathering work and gives your piece a clean, finished look from every angle.
It’s especially nice if you’re giving this as a gift—people always flip things over to look at the back, and now they’ll be impressed instead of confused.
Hanging Your Hoop
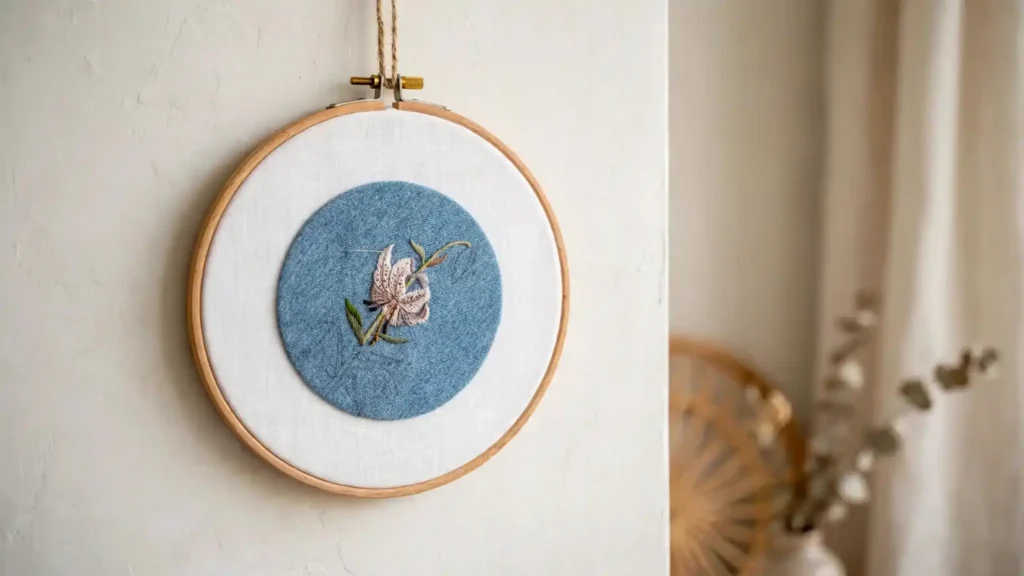
Most embroidery hoops come with a built-in hanging mechanism—that little screw hardware at the top. Just hang it on a small nail or pushpin, and you’re done.
If your hoop doesn’t have hardware or you want something more secure, you’ve got options:
- Self-adhesive picture hangers stuck to the back
- Ribbon tied through the screw hardware for a decorative touch
- Hot glue a small sawtooth hanger to the top back
IMO, the simple nail-through-the-hardware approach works perfectly for most lightweight embroidery pieces.
Save the fancy hanging methods for when you’re working with larger, heavier hoops.
Frequently Asked Questions:
Can I frame embroidery without finishing the back?
You can, but taking ten minutes to finish it prevents the fabric from slipping and gives your piece a clean, professional look.
What size hoop should I use for framing?
Choose a hoop that leaves a 1 to 2 inch fabric border so your design does not look cramped.
Will my embroidery fade in sunlight?
Yes, direct sunlight fades fabric and thread, so hang your finished piece away from bright windows.
My fabric keeps loosening in the hoop. Help?
Tighten the top screw more, use an unwarped hoop, or wrap the inner ring with twill tape to give slippery fabric extra grip.
Can I wash my embroidery after it’s framed in the hoop?
No, wash and press it before framing, then clean off future dust by gently using a lint roller or a vacuum brush attachment held near the surface.
What’s the best way to store finished hoop art?
Store it flat in a clean, dry place wrapped in acid-free tissue paper, avoiding heavy stacks or moisture-trapping plastic