
Embroidery for Beginners: How to Start Your First Project Step by Step

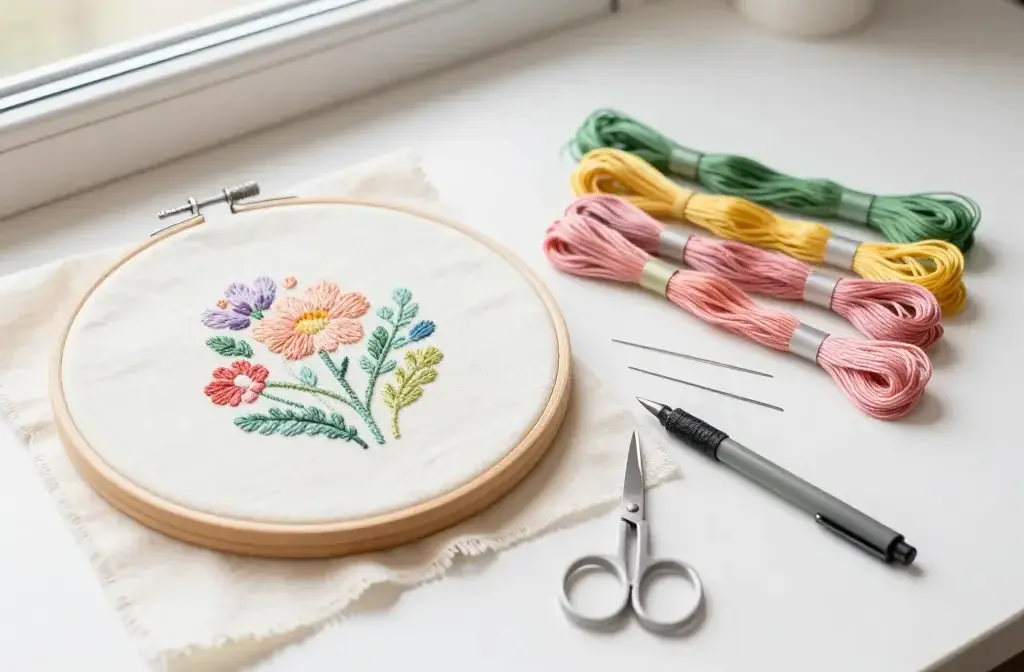
You’ve seen those gorgeous embroidered flowers on Instagram, haven’t you? The ones that make you think “I could totally do that” followed immediately by “…or could I?”
Here’s the truth: embroidery is way more approachable than you think, and you don’t need to be some craft genius to get started.
Let’s walk through exactly how to kick off your first project without losing your mind or stabbing yourself too many times.
5 Cheap Supplies You Need to Start Right Now
You do not need to spend a lot of money. Basic tools work best for beginners.
| Supply | Why You Need It | What to Buy |
| Wooden Hoop | Holds your fabric tight so stitches stay neat | 6 inch bamboo hoop |
| Cotton Fabric | Easy to push needles through without ripping | Medium weight linen or cotton |
| Embroidery Floss | Gives your design bright color and thick lines | DMC brand cotton thread |
| Size 7 Embroidery Needle | Has a long eye for easy threading | Sharps or embroidery needles |
| Small Scissors | Cuts thread clean without fraying the ends | Any small sharp scissors |
How to Setup Your Hoop in 3 Minutes
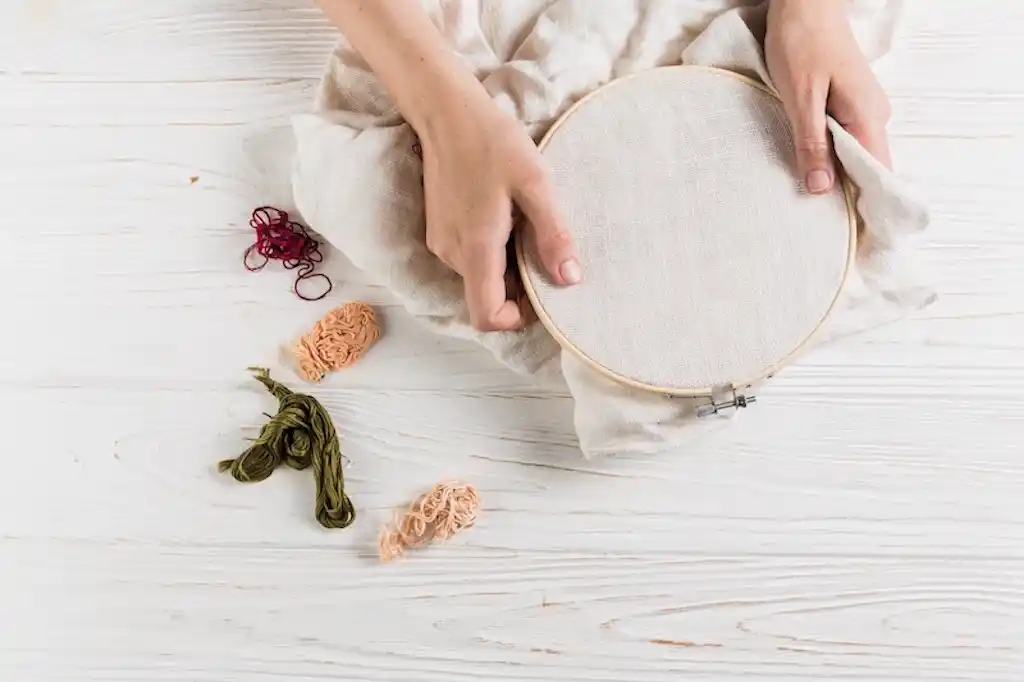
- Loosen the screw at the top of your wooden hoop.
- Separate the outer ring from the inner ring.
- Place your fabric over the inner ring.
- Push the outer ring down over the fabric and the inner ring.
- Tighten the screw while pulling the edges of the fabric.
- Tap the fabric with your finger until it sounds like a drum.
Step by Step Guide to Stitching Your First Flower
- Draw a small circle with a pencil in the middle of your fabric.
- Draw five straight lines radiating out from the center circle like a star.
- Thread your needle with three strands of floss and tie a knot at the end.
- Use the French Knot to fill the center circle with yellow thread.
- Use the Backstitch along the five lines with green thread to make stems.
- Use the Satin Stitch with pink thread to fill in leaf shapes next to the stems.
Why Your Stitches Look Loose and How to Fix It
Your fabric loses tension as you work. When the fabric sags, your stitches puck and pull unevenly.
Tighten the top screw every fifteen minutes. Pull the edges of the fabric gently to make it flat again. Keep your thread pulled snug, but do not yank it so hard that the fabric bunches up.
Picking Your First Project (Keep It Simple, Seriously)
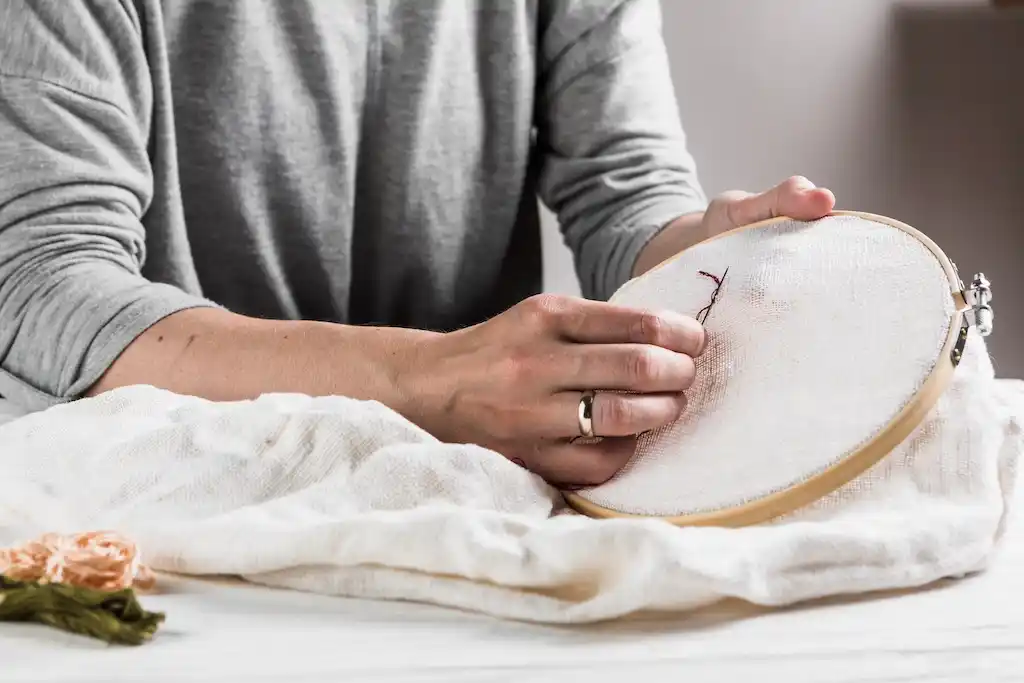
This is where beginners often sabotage themselves. You’re feeling excited and ambitious, so you pick some intricate pattern with seventeen different stitches and microscopic details. Don’t do this to yourself.
Start with something that uses 2-3 basic stitches max. Think simple shapes, basic flowers, or even just practicing letters.
A small floral design, a constellation pattern, or geometric shapes work beautifully for first-timers. You want something that’ll take you a few hours, not a few months.
Pinterest and YouTube are goldmines for free beginner patterns. Search for “simple embroidery patterns” and save yourself the frustration of biting off more than you can chew.
You’ll get to those fancy realistic portraits eventually – but not today.
Understanding Embroidery Floss
Here’s something they don’t always tell you upfront: embroidery floss comes with six strands twisted together, but you rarely use all six at once. Mind-blowing, I know.
For most beginner projects, you’ll want to separate the floss and use 2-3 strands. This gives you better control and neater stitches. Just pull out the number of strands you need and let the rest hang out for later.
Cut your working thread to about 18 inches long. Any longer and you’ll spend half your time untangling knots instead of actually stitching.
Any shorter and you’ll be re-threading your needle every thirty seconds, which gets old fast.
Transferring Your Design to Fabric
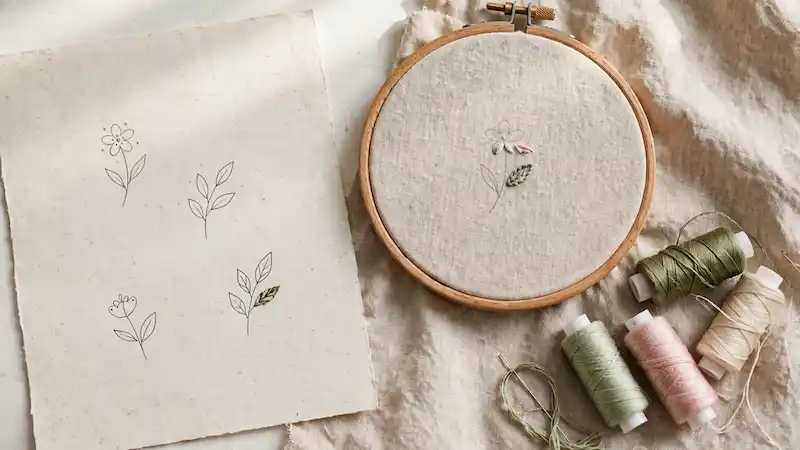
You’ve got your pattern picked out – now how do you get it onto your fabric without it looking like a toddler drew it? A few methods work brilliantly for beginners.
The Window Method
Tape your printed pattern to a bright window during the day. Place your fabric over it and trace with your fabric pen. Super simple, totally free, and surprisingly effective. Your arm might get tired holding everything in place, but hey, it’s a workout.
Transfer Paper
You can buy transfer paper specifically for fabric. Place it between your pattern and fabric, trace over the design, and boom – it transfers right onto your material. This works great for darker fabrics where the window method fails you.
The Tracing Method
Print or draw your design, place it under your fabric (which should be in your hoop already), and trace directly. This only works with lighter fabrics, FYI. If you can’t see through your fabric clearly, pick a different method.
Mastering Your First Three Stitches
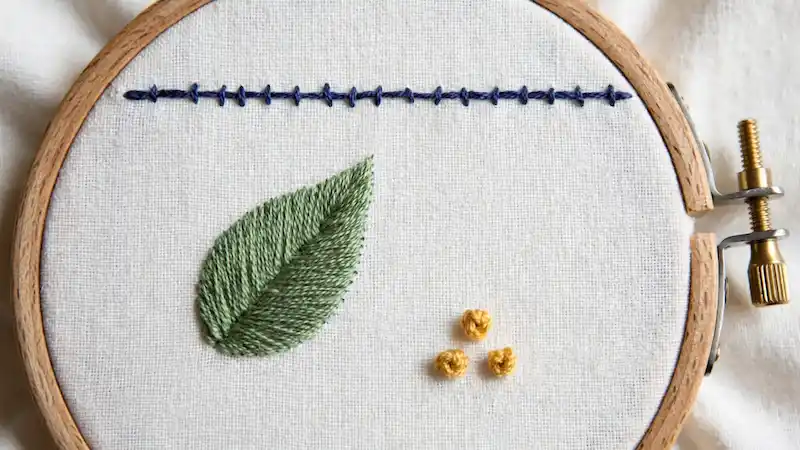
Let’s keep this manageable. You only need three basic stitches to complete tons of beautiful projects. Once you nail these, you’ve got a solid foundation.
The Backstitch
This is your bread and butter for outlines and details. You basically stitch backward to fill in spaces, creating a continuous line. Bring your needle up through the fabric, make a stitch backward, then bring the needle up ahead of where your thread is. Repeat until you’ve outlined your entire design.
Think of it like connect-the-dots, but in reverse. It creates clean, defined lines that look professional even when you’re totally winging it.
The Satin Stitch
Want to fill in shapes with smooth, solid color? The satin stitch is your friend. You make straight stitches right next to each other until the entire area is covered. Keep your stitches parallel and close together for the best results.
Warning: this stitch eats through floss faster than you’d expect. Make sure you’ve got enough thread before starting a large area, or you’ll end up with weird color variations when you have to switch mid-fill.
The French Knot
These little guys add texture and dimension. They’re perfect for flower centers, stars, or anywhere you want a raised dot. Wrap your thread around the needle twice, stick the needle back through the fabric near where it came up, and pull everything tight.
French knots have a reputation for being tricky, but honestly? Just practice a few times. They’re more finicky than difficult.
Common Beginner Mistakes (And How to Avoid Them)
Let’s talk about what usually trips people up, so you can sidestep these issues entirely.
Using too-long thread is the number one culprit behind tangled nightmares. Stick to 18 inches max. Your future self will thank you.
Ignoring the back of your work might seem fine until your stitches start looking messy from the front. Try to keep things relatively neat on the back – not perfect, just not a disaster zone. It actually helps your front stitches look better.
Giving up after the first wonky stitch is so common. IMO, your first project is supposed to look a little rough. That’s literally the point – you’re learning. Every professional embroiderer started with janky stitches and weird tension issues.
Not taking breaks is another rookie move. Your hands will cramp, your eyes will get tired, and your stitches will get progressively worse. Put it down, walk away, come back fresh.
Finishing Your First Project
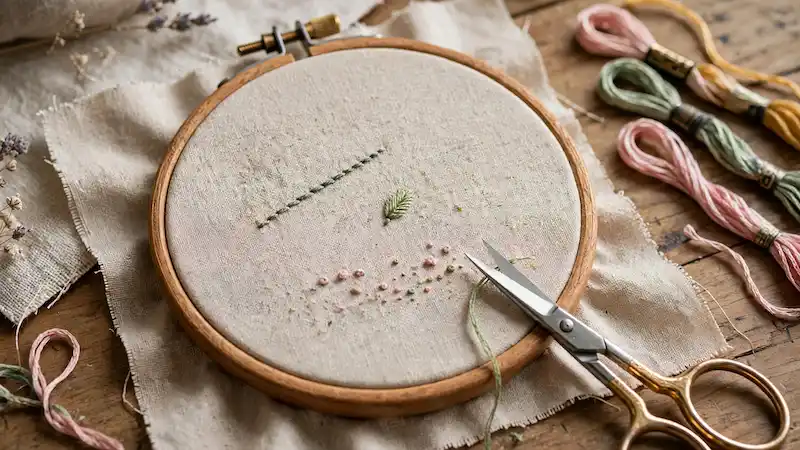
You did it! You’ve embroidered your entire design and your hand hasn’t fallen off. Now what?
First, deal with any stray threads on the back.
Trim them close to the fabric and make sure everything is secure. You don’t want your hard work unraveling the first time you touch it.
Remove your fabric from the hoop and check for any marks from your transfer pen.
Most water-soluble pens come out with a gentle dab of water, but test a small area first. Some fabrics are drama queens about getting wet.
Now you’ve got options. You can frame your embroidery in the hoop (super popular on Instagram), mount it in a traditional frame, or turn it into something functional like a patch for a jacket or tote bag. There’s no wrong answer here.
Frequently Asked Questions
How long does a beginner embroidery project actually take?
Expect 3 to 6 hours total, broken into a few sessions so you do not get frustrated.
My stitches look terrible compared to the tutorials. Am I doing something wrong?
No, beginner stitches are supposed to look imperfect, and practice will improve your tension and neatness over time.
Do I need to wash my fabric before embroidering on it?
Yes, pre-washing prevents the fabric from shrinking and warping your finished stitches later.
What do I do when I run out of thread mid-stitch?
Tie off the old thread on the back, rethread your needle, and bring it up through the same hole to keep going.
Can I use regular sewing thread for embroidery?
You can, but embroidery floss is much better because regular thread is too thin, tangles easily, and lacks color payoff.
How do I fix a mistake without starting completely over?
Carefully pull out the bad stitches with a needle or seam ripper, then restitch the area.
Final Thoughts
Embroidery isn’t nearly as intimidating as it looks from the outside. You need minimal supplies, basic skills, and some patience with yourself while you figure things out.
Your first project probably won’t be frame-worthy (though it might be!), but it’ll teach you everything you need to know to make your second project even better.
The best part? Embroidery is ridiculously forgiving. Made a weird stitch? Pull it out and try again. Don’t like your color choice? Stitch over it.
There’s something incredibly satisfying about making something beautiful with your own hands, imperfections and all. So grab your supplies, pick a simple pattern, and just start stitching. You’ve got this.