
How to Thrift Flip Jeans: Cutting Distressing and Dyeing Denim DIY

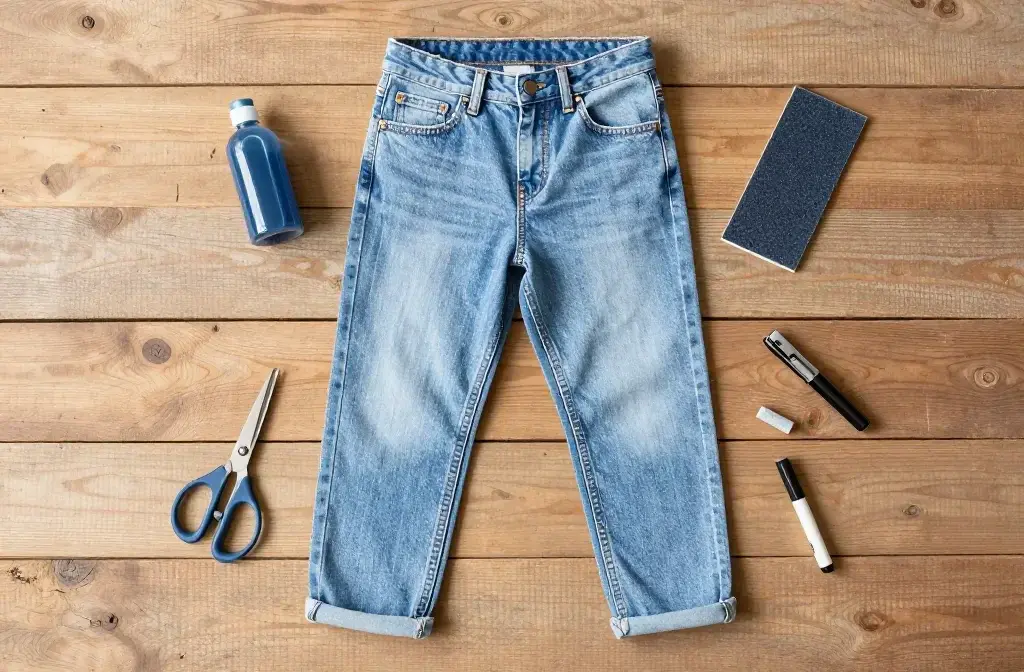
That sad pair of thrift store jeans sitting in your closet? They’re about to become your new favorite pair. Flipping thrifted denim isn’t just about saving money—though let’s be real, that’s a huge perk—it’s about creating something completely unique that nobody else will be wearing. Grab those scissors and let’s turn those boring mom jeans into something you’ll actually want to post on Instagram.
Why Thrift Flip Jeans Instead of Buying New
Look, I get it. Walking into a thrift store can feel overwhelming when you’re surrounded by mountains of denim in every wash and fit imaginable. But here’s the thing: that vintage Levi’s pair you’ll snag for $8 probably has better quality denim than most $80 fast fashion jeans you’ll find at the mall.
Thrifted jeans also give you zero guilt when you start cutting into them. Mess up a distressing technique? You’re out maybe ten bucks, not your entire paycheck. Plus, older denim tends to have that perfect worn-in softness that new jeans take forever to achieve.
The best part? You’re keeping clothes out of landfills while creating something totally custom. Sustainable fashion that doesn’t look like a burlap sack? Sign me up.
Finding the Perfect Jeans to Flip
Not all thrifted jeans deserve a second life. Some are genuinely beyond saving, and that’s okay. You want to hunt for jeans with good bones—solid stitching, minimal staining, and a fit that’s at least somewhat flattering.
What to Look For
Start with the fabric content. 100% cotton denim works best for distressing and dyeing, though a small percentage of stretch (2-5%) is fine. Anything with too much elastane or polyester won’t distress as nicely and can melt when you’re going ham with the cheese grater.
Check the brand labels too. Classic brands like Levi’s, Lee, and Wrangler typically use higher quality denim that ages beautifully. The thicker the denim, the better it’ll hold up to your DIY adventures without disintegrating.
Size Matters (Sort Of)
Don’t stress too much about finding your exact size. A slightly bigger pair can be taken in or styled oversized. Too small? Well, unless you’re a sewing wizard, probably skip those. Focus on getting the length and general proportions right—you can always crop them shorter.
Cutting Techniques: From Crops to Cutoffs
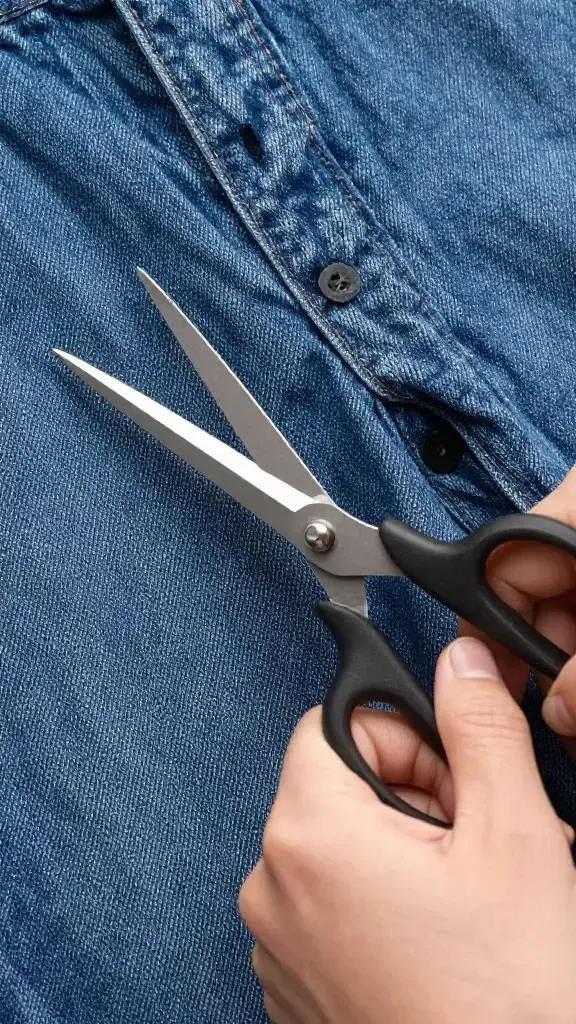
Scissors are your best friend here, but put down those flimsy craft scissors. You need sharp fabric shears that’ll cut through denim like butter. Trust me, trying to saw through thick denim with dull scissors is nobody’s idea of a good time.
Before you make any cuts, try on the jeans and mark your desired length with chalk or a washable marker. Pro tip: always cut longer than you think you need. You can always trim more, but you can’t glue denim back on (well, you can, but it won’t look cute).
The Classic Raw Hem
For that effortlessly cool raw hem, cut straight across where you want the hem to fall. Throw them in the wash and let the edges fray naturally. Want more fraying? Run a cheese grater or sandpaper along the cut edge before washing.
The Angled Cut
This one’s trickier but looks super editorial. Cut at a slight diagonal from the inner seam (longer) to the outer seam (shorter). It creates this asymmetrical vibe that looks intentional and expensive. The key is making sure both legs match—unless you’re going for chaos, in which case, live your truth.
Distressing: Making Your Jeans Look Perfectly Worn
Distressing is an art form, and like all art, you can absolutely overdo it. I’ve seen jeans with so many holes they’re basically denim lingerie. Start subtle; you can always add more destruction later.
Essential Distressing Tools
You don’t need fancy equipment. Here’s what actually works:
- Cheese grater or box grater – creates that worn, fuzzy texture
- Sandpaper (80-120 grit) – perfect for subtle fading
- Tweezers or seam ripper – for pulling horizontal threads
- Pumice stone – adds natural-looking wear
- Craft knife or razor blade – for precise cuts (be careful!)
Creating Natural-Looking Holes
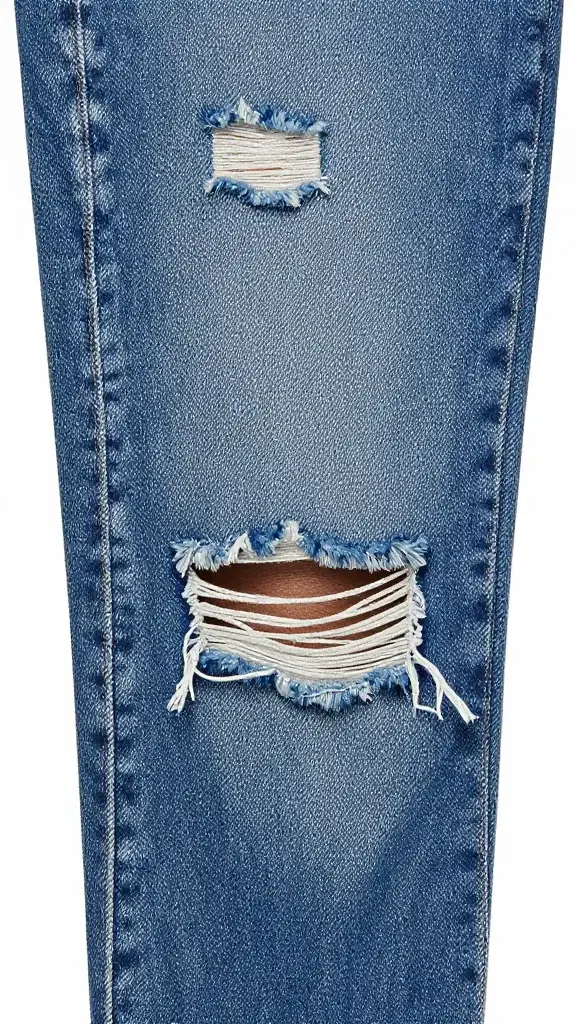
Here’s the secret: real wear patterns happen on knees, thighs, and pocket edges. Mark where you want holes with chalk, then use a craft knife to make small horizontal slits. Use tweezers to carefully pull out the vertical (white) threads while leaving the horizontal (blue) threads intact.
This creates that classic distressed look without making your jeans fall apart. For a more worn appearance, hit the edges with sandpaper to fray them up. Throw them in the wash and watch the magic happen.
Bleaching and Dyeing: Color Transformation
Ready to completely change the vibe? Bleaching and dyeing can turn boring dark wash jeans into something straight out of a designer collection. Just remember: bleach is permanent, so maybe don’t use your kitchen floor as a workspace unless you’re going for a Jackson Pollock aesthetic.
The Bleach Basics
Always work in a well-ventilated area (your lungs will thank you) and wear gloves unless you want chemical burns. Mix one part bleach to one part water in a bucket or spray bottle, depending on your desired effect.
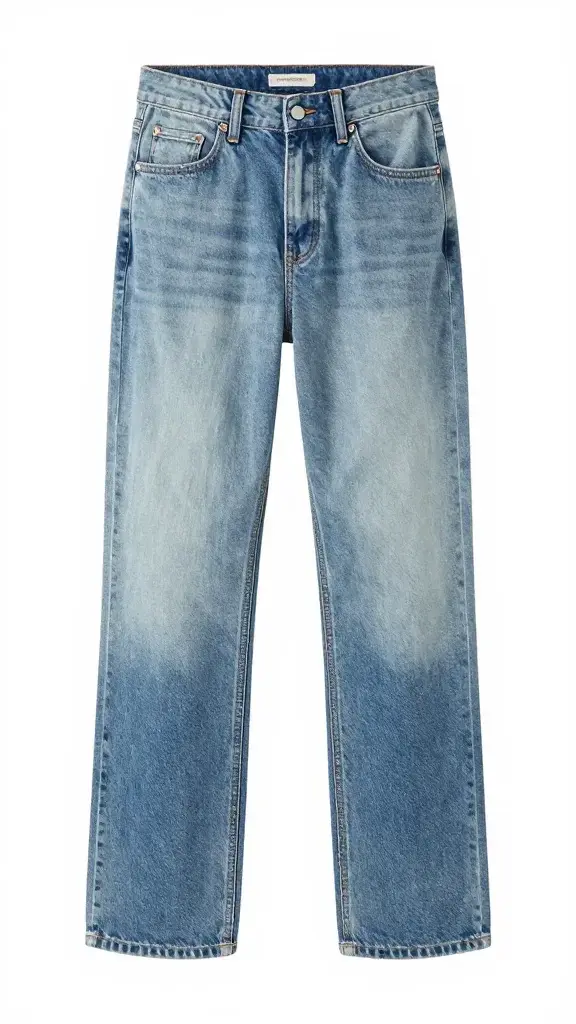
For an ombré look, dip the bottom portion of your jeans in the bleach solution and let them sit for 15-45 minutes, checking frequently. Want a tie-dye or splatter effect? Use a spray bottle and get creative. Rinse thoroughly when you hit your desired shade.
Dyeing Over Bleached Denim
Once you’ve bleached your jeans, you’ve got a blank canvas for dyeing. Rit dye is your go-to for home dyeing projects—it’s easy to find and actually works. Follow the package instructions, but FYI, dyeing in your washing machine (if you have one you don’t mind staining) gives the most even results.
Want that trendy black or charcoal look? Dye over light wash jeans. Feeling adventurous? Try unconventional colors like forest green, burgundy, or even purple. The bleached areas will take dye differently than un-bleached denim, creating cool tonal variations.
Adding Custom Details and Embellishments
Now that you’ve got the basics down, it’s time to get weird with it. Embellishments can take your jeans from “cute DIY” to “wait, where did you get those?”
Patches are the easiest way to add personality. Iron-on patches take literally two minutes, while sewn patches look more professional and won’t fall off in the wash. Hit up your local craft store or scour Etsy for unique options.
Want to try embroidery? Simple chain stitches and French knots can create flowers, stars, or abstract designs without requiring expert skills. Use embroidery floss in contrasting colors for maximum impact. Just make sure you’re not stitching through both layers of denim—nobody wants their jeans sewn shut.
Paint is another option. Fabric paint or acrylic mixed with fabric medium lets you create custom graphics, words, or splatter designs. Metallics and neons look especially cool on dark denim. Just remember to heat-set your paint with an iron so it doesn’t wash out.
Finishing Touches and Care
Before you declare your project complete, wash those jeans one more time. This sets any distressing, removes excess dye or bleach, and gives you the final look. Some fraying and fading is normal—that’s literally what you were going for.
Making Your Flip Last
Treat your custom jeans with respect. Wash them inside out in cold water to preserve the color and prevent excessive fraying. Skip the dryer when possible—air drying keeps the denim from shrinking and wearing out prematurely.
If you’ve added painted details or patches, avoid harsh detergents and never use bleach (unless you’re going for round two of customization). Your jeans have been through enough already.
Frequently Asked Questions
Can I distress jeans with stretch denim?
Yes, but proceed with caution. Stretch denim contains elastane or spandex, which can create those weird curly threads when you distress them. Stick to light distressing techniques like sanding or small holes. The synthetic fibers also won’t bleach the same way as cotton, so your results might look different than expected.
How do I prevent holes from getting too big?
The secret is in how you create them. Always leave horizontal threads intact—they’re what hold the hole in place. If a hole starts getting bigger than you want, you can stitch around the edges with matching thread to stabilize it. Avoid putting distressed jeans in the dryer, as heat accelerates fraying.
What if I bleach my jeans too much?
If your jeans go full orange instead of the light blue you wanted, don’t panic. You can always dye over bleached denim to achieve a new color. Navy or black dye works great for covering up bleach mishaps. Alternatively, lean into it and go for a full bleach-out white or cream look.
Can I fix mistakes when distressing?
Unfortunately, you can’t un-cut denim. But you can disguise mistakes pretty effectively. Patches cover unwanted holes, while strategic embroidery or paint can draw attention away from problem areas. If you’ve gone too far with distressing, adding more intentional distressing in other areas can balance things out and make it look purposeful.
Do I need a sewing machine for thrift flipping jeans?
Nope! Most thrift flipping techniques don’t require any sewing at all. Cutting, distressing, bleaching, and dyeing are all no-sew projects. If you want to take in the waist or hem them properly, hand sewing works fine—it just takes longer. Iron-on hem tape is also a legitimate option for people who hate sewing.
How much should I spend on jeans to flip?
Keep it under $15, IMO. The whole point of thrift flipping is working with affordable materials so you can experiment without fear. High-quality vintage Levi’s might run you $10-20 at a thrift store, while most regular jeans should be under $10. If you’re spending more than that, you might as well buy new jeans you actually like.
Conclusion
Thrift flipping jeans is genuinely one of the most satisfying DIY projects you can tackle. You start with something unwanted and boring, add some creativity and elbow grease, and end up with completely custom denim that fits your style perfectly. Will your first attempt be perfect? Probably not. But that’s the beauty of working with cheap thrifted jeans—you can afford to experiment, mess up, and try again.
The techniques you’ve learned here are just the beginning. Once you get comfortable with basic cutting, distressing, and dyeing, you’ll start seeing potential in every pair of jeans at the thrift store. That weird acid wash? Bleach it. Those outdated boot cuts? Crop them into trendy straight-leg jeans. Your denim possibilities are literally endless. Now get out there and start cutting.