
How to Reupholster a Thrift Store Chair: Step-by-Step Tutorial for Beginners

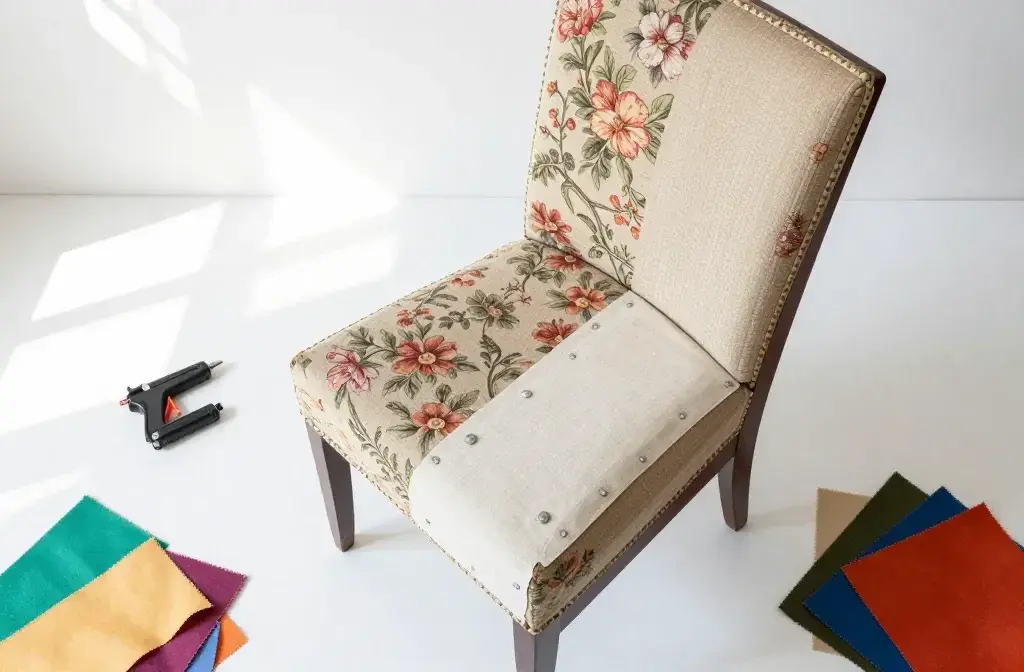
You know that sad-looking chair at Goodwill that costs twelve bucks and has fabric straight out of your grandma’s living room? That’s your next DIY goldmine. Reupholstering a thrift store chair is easier than you think, costs way less than buying new furniture, and gives you serious bragging rights at dinner parties.
Why Thrift Store Chairs Are Actually Perfect for Beginners
Here’s the thing about practicing on expensive furniture: it’s terrifying. One wrong staple and you’ve ruined Aunt Linda’s heirloom wingback chair. But that $15 yard sale find? You can absolutely mess that up without losing sleep.
Thrift store chairs also tend to have simpler construction than modern furniture. We’re talking wooden frames, straightforward cushions, and seats that actually come apart without requiring an engineering degree. Plus, if the chair was solid enough to survive decades of use and multiple garage sales, the bones are probably good.
The best part? You’re keeping furniture out of landfills while creating something custom that actually fits your style. Win-win.
Choosing the Right Chair (Not All Heroes Wear Capes)
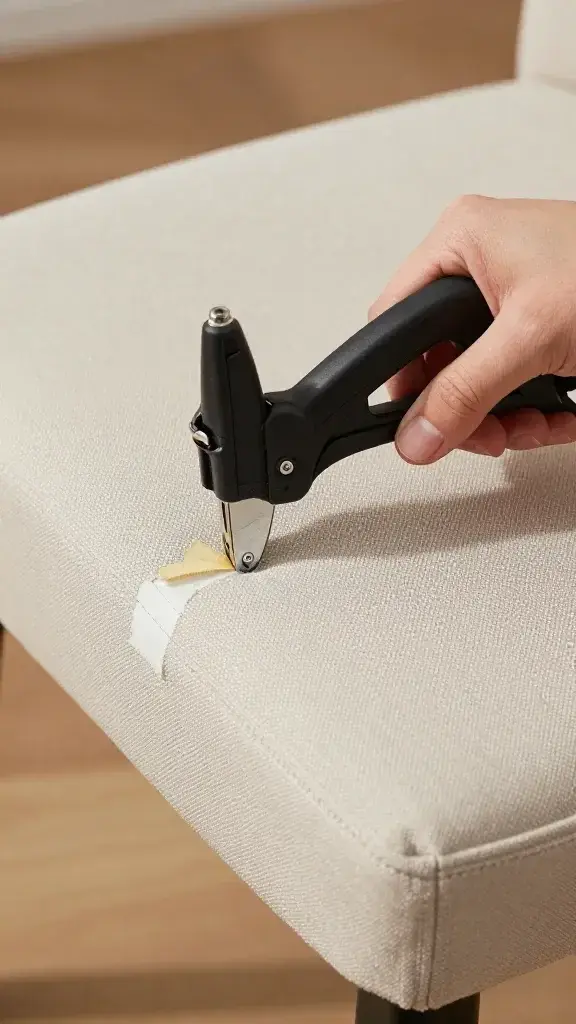
Walk into any thrift store and you’ll see approximately 47 chairs begging for adoption. Don’t grab the first one that catches your eye.
What to Look For
Check the frame stability first. Sit in it, wiggle around, and listen for creaks. A little wobble you can fix, but if it feels like it’s about to collapse, walk away. Wood frames beat particle board every single time—they hold staples better and last approximately forever.
Look for chairs with removable seats or simple attached cushions. Dining chairs with drop-in seats are basically the tutorial level of reupholstery. Skip anything with springs, tufting, or complex curves until you’ve done this at least once.
Red Flags to Avoid
Steer clear of broken joints, serious wood rot, or that mysterious smell that won’t come out. Also, if you need a hazmat suit to touch it, maybe keep browsing. Some projects aren’t worth the nightmares.
Gathering Your Supplies Without Breaking the Bank
Good news: you don’t need a workshop full of specialized tools. Most of this stuff you can grab at any hardware store, and the total investment runs way cheaper than buying a new chair.
Here’s your shopping list:
- Fabric (about 1-2 yards for a standard dining chair)
- Staple gun and staples (electric or manual—your choice)
- Screwdriver or drill
- Scissors or rotary cutter
- Pliers (for removing old staples)
- High-density foam if the cushion is trashed
- Batting or padding
- Optional: fabric spray adhesive
Pro tip: Don’t cheap out on the staple gun. A flimsy one will jam constantly and make you question all your life choices. Spend the extra $20 for something decent.
The Tear-Down: Demolition Is Therapeutic
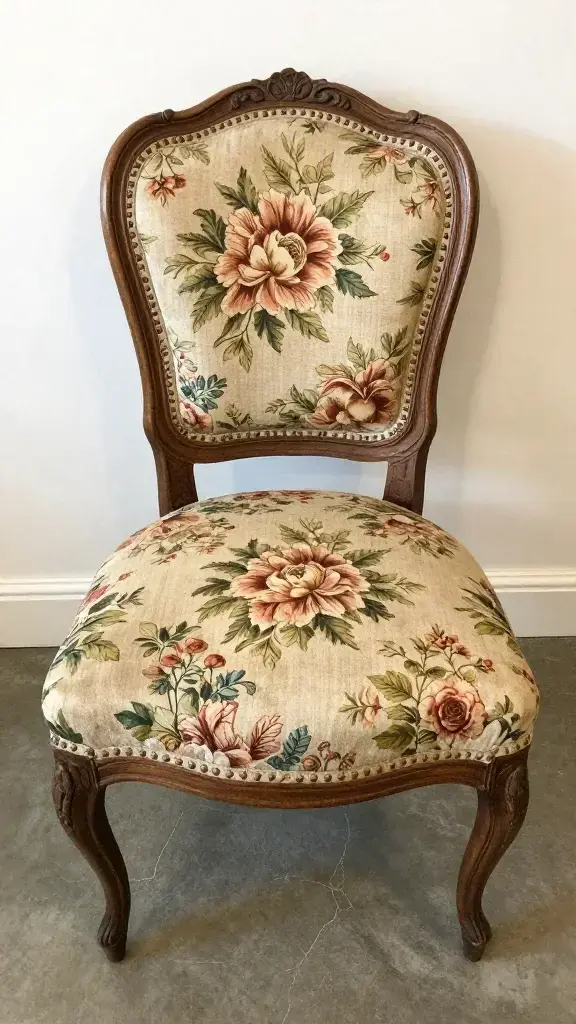
This is the fun part where you get to destroy something on purpose. Start by flipping your chair over and removing any screws holding the seat in place. Most dining chairs have four screws—easy peasy.
Now comes the archaeological dig. You’ll be removing layers of fabric, and FYI, you might find multiple generations of upholstery underneath. I once discovered fabric from the 1970s hiding under 1990s floral print. It’s like furniture history class.
Use your pliers to pull out every single staple. Yes, every one. This part is tedious and your fingers will hurt, but leaving old staples creates lumps in your new fabric. Take photos as you go—seriously, your future self will thank you when you’re trying to remember how everything went back together.
Keep the old fabric pieces as templates. They’ll show you exactly how much material you need and where to make cuts.
Prepping Your Surface: The Foundation Matters
Check out your foam situation. If it’s completely crushed, crumbly, or has suspicious stains, replace it. You can buy foam cut to size at fabric stores or online. High-density foam lasts longer and keeps its shape better than the cheap stuff.
Layer batting over your foam for that professional, slightly padded look. The batting smooths out any imperfections and gives you a softer edge. You can temporarily secure it with a few staples or spray adhesive.
Make sure your wooden base is clean and smooth. Sand down any splinters because they’ll snag your fabric faster than you can say “why didn’t I sand this?”
The Main Event: Attaching Your New Fabric
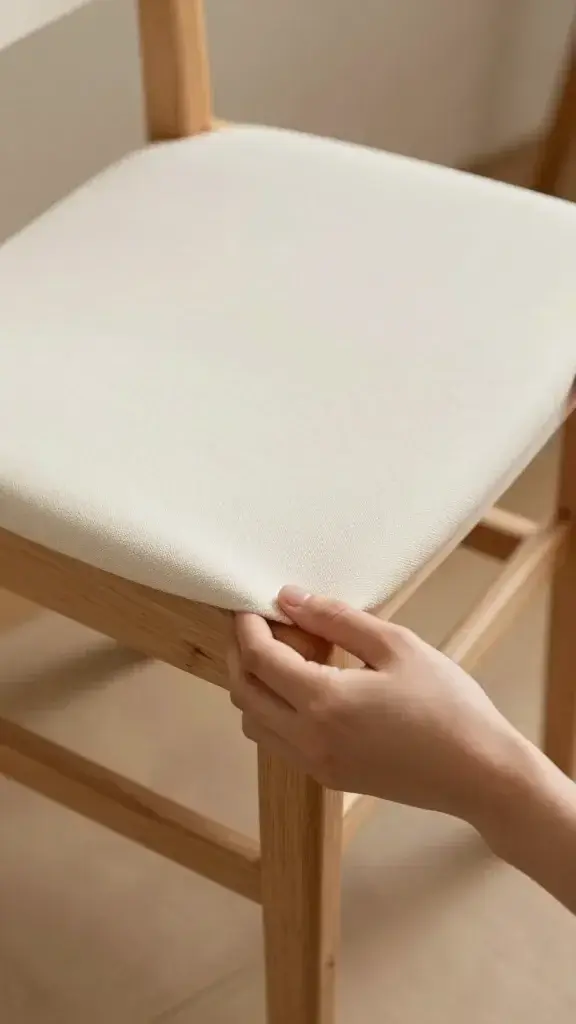
Cut your fabric at least 3-4 inches larger than your seat on all sides. It’s way easier to trim excess than to add more fabric when you’re short (learned that one the hard way).
Center your fabric pattern if it has one—nobody wants off-center stripes or wonky florals. Place your seat cushion face-down on the wrong side of your fabric.
The Stapling Technique
Start by pulling the fabric taut and stapling once in the center of each side. This creates your anchor points. Then work your way out from these center points, adding staples every inch or so.
Pull firmly but don’t go full Hulk mode. You want the fabric smooth and tight without compressing the foam into a pancake. Think “firm handshake” not “death grip.”
Dealing with Corners
Corners are where people usually panic, but they’re honestly not that bad. Pull one side of the corner taut and staple it down. Then fold the other side over it like you’re wrapping a present and staple that down too. Trim any excess bulk.
Hospital corners work great here—same technique nurses use on bed sheets. YouTube has about a million tutorials if you need a visual.
The Final Assembly and Touch-Ups
Flip your newly upholstered seat over and inspect your work. See any puckers or loose spots? Now’s the time to remove those staples and redo them. Perfectionists can spend hours on this step, but IMO, minor imperfections add character.
Trim any excess fabric from the underside, leaving about an inch past your staples. Some people add a dust cover here (basically a piece of fabric covering the bottom), but that’s totally optional.
Screw your seat back onto the chair frame, step back, and admire your handiwork. You just reupholstered a chair! Do a little victory dance—you’ve earned it.
Frequently Asked Questions
How long does reupholstering a chair actually take?
For a simple dining chair, plan on 2-4 hours for your first attempt. Half that time is removing old staples because apparently chairs were built to last through a nuclear apocalypse. Once you’ve done a few, you can knock one out in under an hour.
What’s the best fabric for beginners?
Go for medium-weight upholstery fabric or heavy-duty cotton. Avoid slippery materials like satin (nightmare to work with) and super thick fabrics that won’t fold nicely at corners. Also, patterns hide mistakes better than solid colors—just saying.
Can I use a regular stapler instead of a staple gun?
Technically yes, but why would you do this to yourself? Regular staplers don’t have the power to drive staples into wood properly. You’ll end up with bent staples, sore hands, and a strong desire to throw the chair out a window. Just get the staple gun.
What if my chair has a weird shape or arms?
Start with simple seats first, then graduate to more complex shapes. Arms and backs require more advanced techniques like pattern-making and sewing. Walk before you run and all that wisdom.
How much fabric do I actually need?
For a standard dining chair seat, 1 yard is plenty. For chairs with backs, plan on 2-3 yards. When in doubt, overestimate—leftover fabric beats running short mid-project and having to match dye lots.
My first attempt looks kind of wonky. Is this normal?
Absolutely normal! Your first chair is a learning experience. The second one will look better, and by chair number three, you’ll be unstoppable. Everyone’s first reupholstery job has a few wrinkles and crooked corners. Embrace the imperfection.
Conclusion
Reupholstering thrift store chairs transforms trash into treasure while giving you a legitimate skill that impresses literally everyone. Yeah, your first attempt might have a few lumps and the corners might not be Instagram-perfect, but you’ll have a unique piece of furniture that cost less than takeout pizza.
Start with simple drop-in seats, don’t stress about perfection, and remember that even professionals had to start somewhere. That $12 thrift store chair is waiting for you to give it a second life—go make it happen.