
How to Chalk Paint Furniture: The Complete Beginner’s Guide

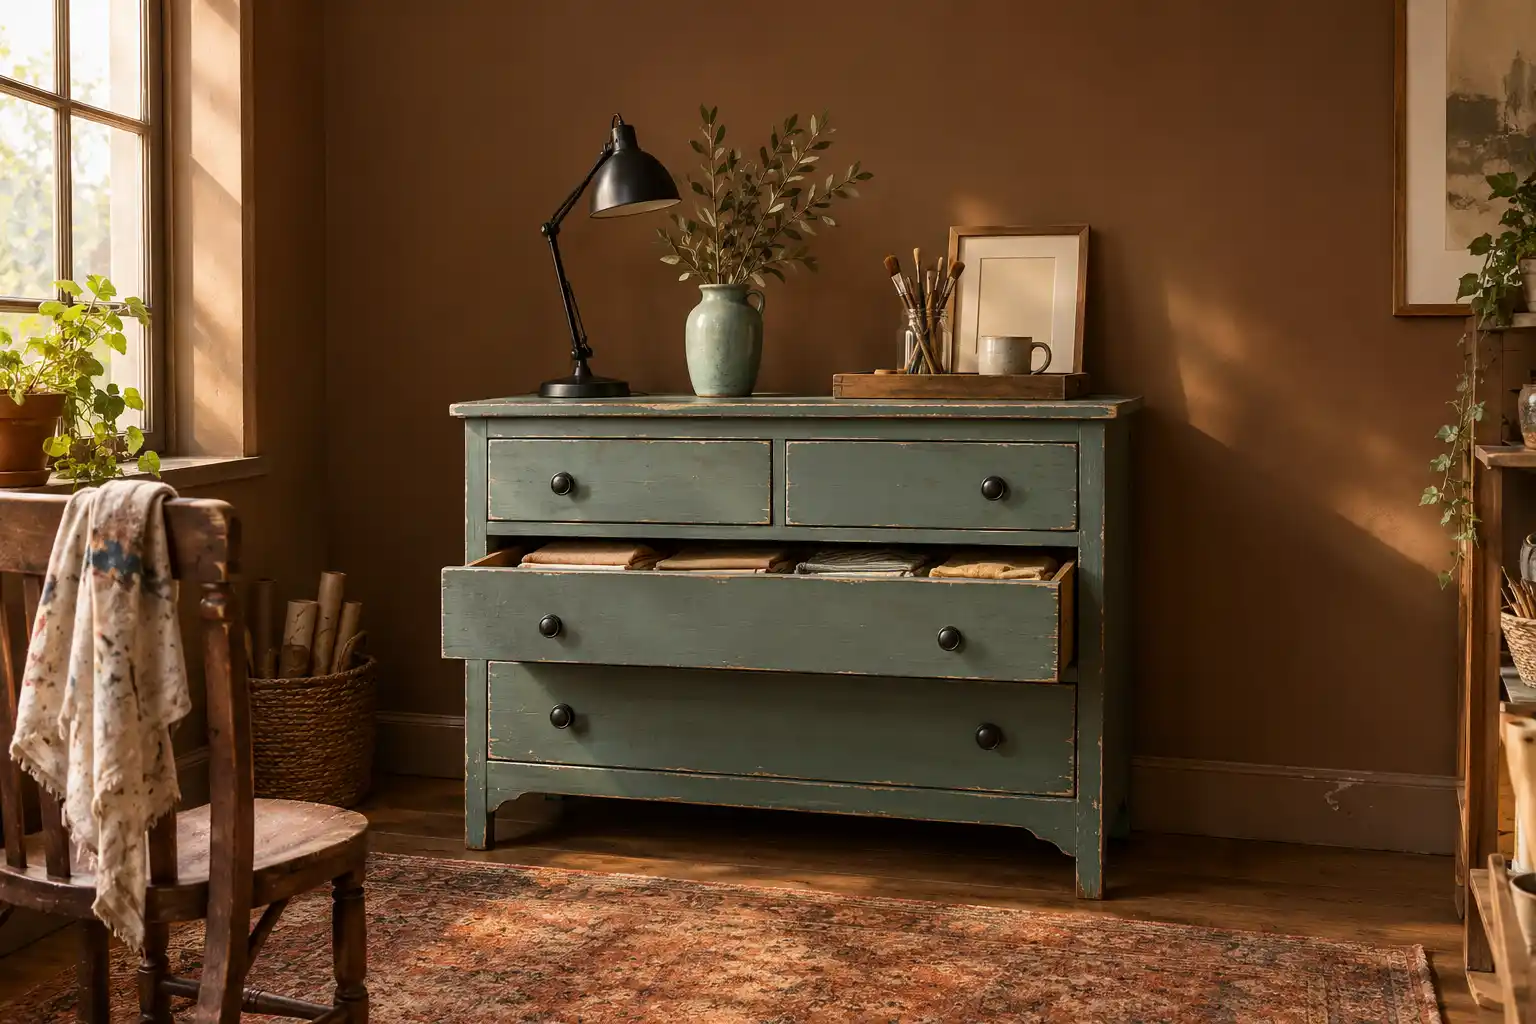
A $20 thrift store dresser can look like a $500 boutique piece with two coats of paint and a good topcoat. You have probably seen the gorgeous before-and-after photos online and heard the common myth that no prep work is ever needed.
But when you are ready to start, you might wonder: Which paint brand should you buy? What sealers actually work? And what do you do if your first attempt goes wrong?
Learning how to chalk paint furniture is easier than you think once you know the core steps.
As a beginner, you will learn how to inspect your piece for hidden issues, pick the right supplies, master the application steps, choose a durable topcoat, and fix common mistakes.
What Is Chalk Paint and Is It Right for Your Furniture?
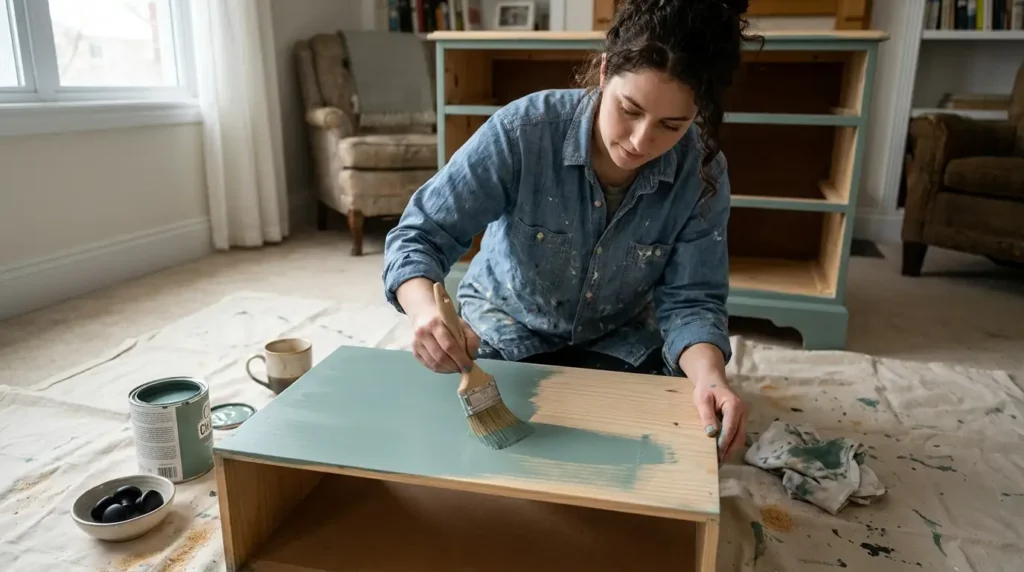
Chalk paint is a popular choice for furniture because it dries to a flat, ultra-matte finish. It is ideal if you want a soft, vintage, or distressed aesthetic.
The name “Chalk Paint” was originally trademarked by creator Annie Sloan. Because of this trademark, other paint manufacturers use descriptive labels such as “chalky finish,” “chalk-style,” or “chalk mineral” paint.
Despite the name and texture, chalked paint contains no actual chalk.
Pros and Cons of Chalk Paint
| Pros | Cons |
| Excellent adhesion to most surfaces | Highly porous surface when unsealed |
| Fast drying time between coats | Shows brush marks if applied too thick |
| Requires minimal surface sanding | Requires a topcoat to prevent stains |
| Easy to distress with sandpaper | Can absorb liquids and oils easily |
Because raw chalk paint is porous, it easily absorbs dirt, skin oils, and water. That is why applying a topcoat is an essential step rather than an optional one.
When to Pick Something Else
If you are refinishing a high-traffic item that receives heavy daily abuse, such as a kitchen table top or kitchen cabinets, traditional chalk paint might not be your best option unless you protect it with a heavy-duty polyurethane finish.
Before You Chalk Paint Furniture: Safety, Wood Type, and Surface Check
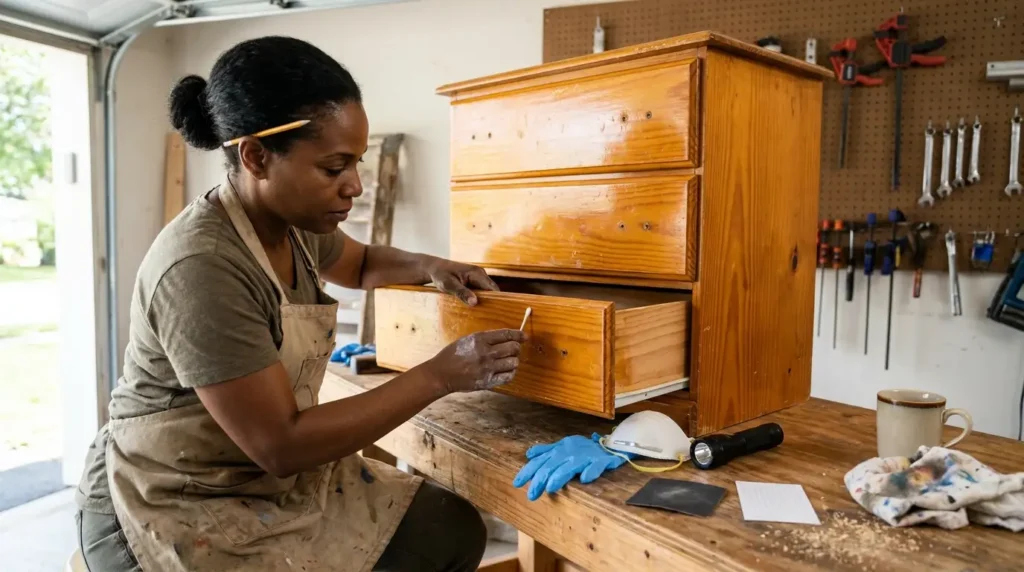
Taking five minutes to check your piece saves hours of cleanup later.
Lead Paint Safety Check
If you are refinishing an old, vintage piece, test for lead paint before sanding. Data shows that roughly 24% of homes built between 1960 and 1977 and 87% of homes built before 1940 contained lead-based paint. Old furniture can carry lead-based coatings too.
- Buy an EPA-recognized lead test kit, such as D-Lead or 3M LeadCheck, which cost around $10.
- Consumer Reports notes these test kits are about 95 percent accurate when used according to instructions.
- Important Safety Rule: If your test comes back positive for lead, do not sand, scrape, or dry-grind the surface. Sanding releases toxic dust. Instead, seal or encapsulate the lead layer directly with new paint, or consult a professional abatement service. Check current EPA guidance for safe lead handling.
Checking Wood and Surface Type
Examine your furniture to identify its surface material:
- Solid Wood vs. Laminate: Laminate and melamine surfaces are slick plastic coatings that look like real wood grain. They require a light sanding pass or a dedicated bonding primer for paint to grip properly.
- High-Tannin Woods: Woods such as mahogany, cherry, and pine contain natural oils and tannins that can bleed through light paint colors, causing yellowish spots.
- The Patch Test: Apply a quick test swatch of paint in an inconspicuous area, like the back or underside of a drawer, to check adhesion and bleed-through before painting the whole piece.
Chalk Paint Furniture Supplies: What You Actually Need
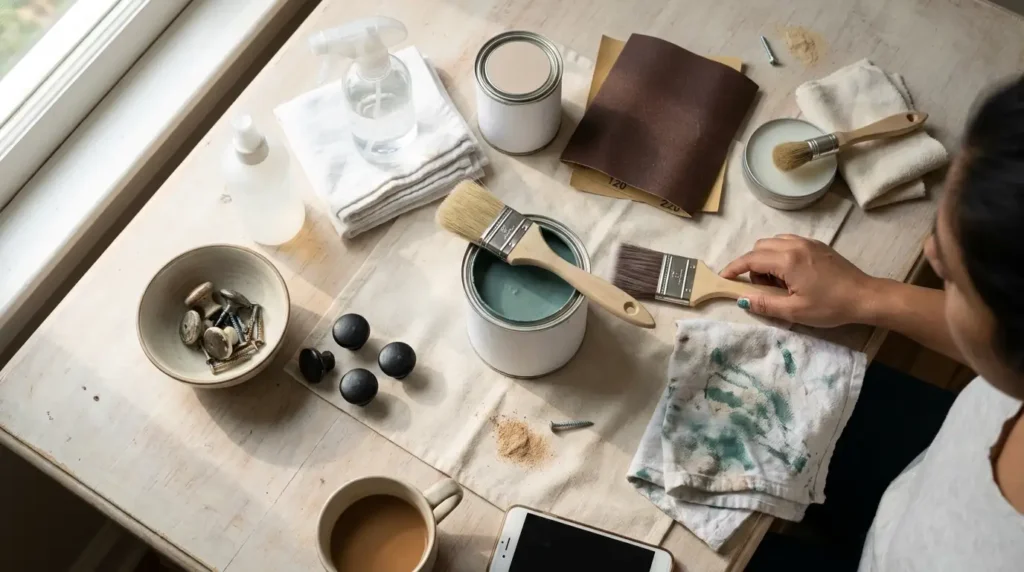
You do not need an entire aisle of specialized tools. Here is what you need to get started.
CHALK PAINT SUPPLY CHECKLIST [ ] Chalk paint (brand of your choice) [ ] Synthetic bristle paint brush or foam roller [ ] Degreasing cleaner (such as TSP alternative or dish soap) [ ] Clean microfiber cloths [ ] Fine-grit sandpaper (120-grit and 220-grit) [ ] Shellac-based primer (Zinsser BIN) *Only if painting high-tannin wood [ ] Topcoat (Clear furniture wax or water-based polycrylic) [ ] Painter’s tape and drop clothChoosing Your Brush
A specialized round chalk-paint brush with natural bristles holds a lot of paint and creates a textured, hand-painted look. However, as a beginner, you can use a standard flat synthetic brush. Synthetic brushes leave fewer visible stroke lines and work well for smooth finishes.
Primer Requirements
Most projects do not require primer. However, if you are painting over dark red woods or knotty pine, apply a shellac-based primer like Zinsser BIN first. Shellac blocks tannins and stain bleed-through better than water-based primers.
How to Chalk Paint Furniture Step by Step
Plan your project over a single weekend: perform your prep and painting on day one, then seal on day two. Here is how to chalk paint furniture step by step for a professional finish.
Step 1: Prep & Clean └─► Step 2: Light Scuff-Sand (Optional Insurance) └─► Step 3: Prime (If Bleed-Through Risk) └─► Step 4: Apply Thin Paint Coats └─► Step 5: Distress (Optional) └─► Step 6: Apply Topcoat & Cure1. Clean the Surface Thoroughly
Remove all hardware, knobs, and drawers. Clean off grease, dust, and grime using a degreaser or mild dish soap water. Wipe down with clean water to remove residue.
Common Mistake: Do not clean your furniture with silicone sprays or wax furniture polish right before painting. Wax and silicone repel water-based paint and cause cracking or peeling.
2. Lightly Scuff-Sand
Paint brands often claim no sanding is required. While chalk paint sticks well to raw or dull surfaces, a quick 2-minute pass with 120-grit sandpaper breaks the gloss on shiny varnish. It acts as cheap insurance for paint adhesion. Wipe away all sanding dust with a damp cloth.
3. Prime Spot Areas if Needed
If your piece is made of mahogany, cherry, or pine, brush one or two light coats of shellac primer onto troublesome areas or stain spots.
4. Paint Thin, Even Coats
Dip your brush tip into the paint. Apply smooth, thin coats following the wood grain. Two thin coats are standard for most projects. Allow the first coat to dry completely, usually 1 to 2 hours, before applying the second coat.
Common Mistake: Applying thick coats to cover the wood quickly leads to heavy brush drips and long drying times. Thin coats dry faster and smoother.
5. Work in a Comfortable Room
Paint indoors or in a temperature-controlled space. Chalk paint adheres best at room temperature. Cold or overly humid spaces interfere with drying.
6. Distress the Edges (Optional)
If you want a vintage look, take a piece of 220-grit sandpaper and gently rub along natural wear points like edges, corners, and drawer handles. Stop as soon as you reveal the wood underneath.
Common Mistake: Sanding too deeply during distressing can cut past old finishes and trigger tannin bleed-through.
How to Seal Chalk Paint: Wax vs. Polycrylic vs. Hemp Oil
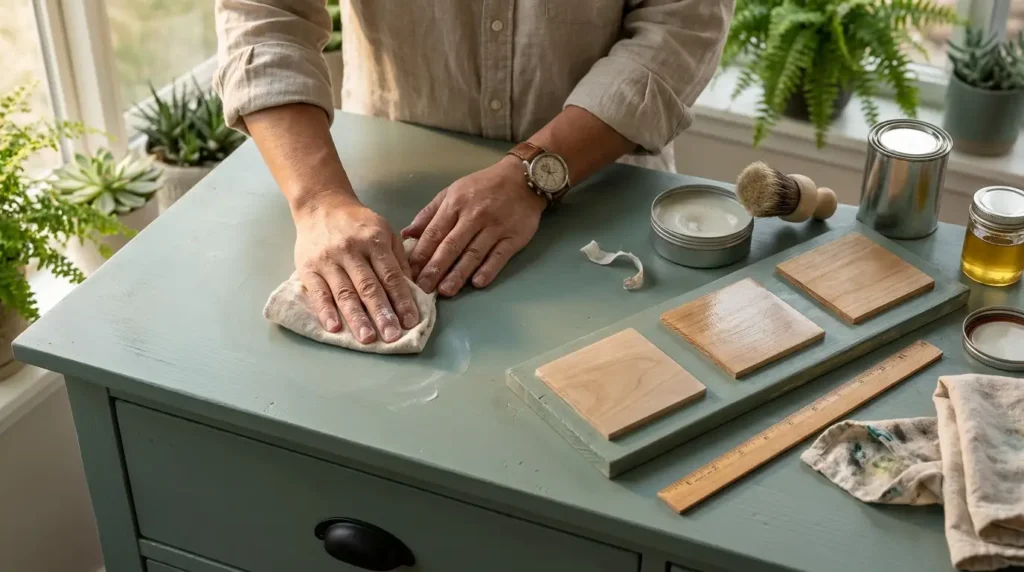
Unsealed chalk paint absorbs stains and dirt easily. Applying a topcoat locks in your color and provides durability.
| Topcoat Type | Best Used For | Durability Level | General Cure Time |
| Furniture Wax | Nightstands, side tables, decorative frames | Medium (Low-traffic pieces) | Touch dry in hours; 2 to 3 weeks full cure |
| Water-Based Polycrylic | Dining tables, dressers, desks, kids’ furniture | High (Wipeable and scratch-resistant) | 7 to 10 days full cure |
| Hemp Oil | Restoring raw wood, antique accent pieces | Medium (Low-to-moderate wear) | 30 days full cure |
Wax Finish
Clear furniture wax gives a rich, soft-touch matte finish. You brush or wipe wax on with a cloth, let it haze over, and buff away the excess. Wax feels touch-dry quickly, but it requires up to two to three weeks to cure fully to maximum hardness.
Water-Based Polycrylic Finish
For pieces that see heavy everyday use, clear liquid polycrylic is more durable and easier to wipe clean than wax. Apply it with a clean synthetic brush or foam sponge.
Caveat: Water-based liquid topcoats can reactivate tannins in unprimed wood, dragging brown stains up through light paint. Always prime stain-prone wood before applying water-based paint or polycrylic. Always read and follow the manufacturer’s label instructions on the exact product you buy for accurate cure times.
Common Chalk Paint Problems and How to Fix Them
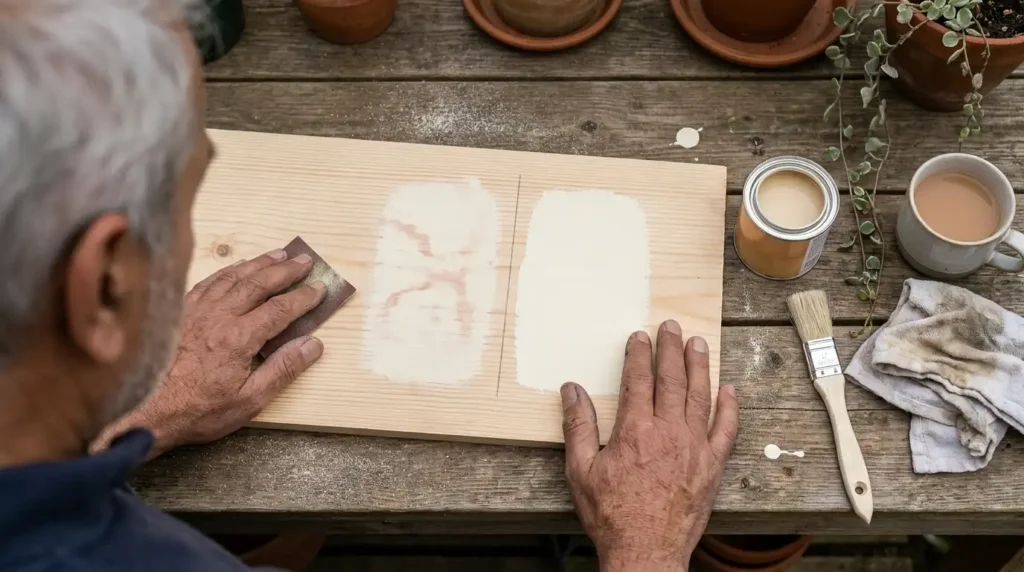
Bleed-Through Stains
- Problem: Yellow or brown spots showing through white or light paint.
- Cause: Wood tannins or old stain dyes bleeding through the paint layer.
- Fix: Lightly sand the area with 220-grit sandpaper. Coat the spot with a shellac-based primer, let it dry overnight, and repaint. Alternatively, painting a piece black or dark charcoal hides bleed-through instantly.
Cracking or Peeling Paint
- Problem: Paint flaking off or cracking as it dries.
- Cause: Uncleaned grease on the furniture, wax polish underneath, or painting directly on smooth melamine without scuffing.
- Fix: Sand down the flaking area to sound material, clean thoroughly with a degreaser, let dry, and reapply paint in thin coats.
Brush Strokes and Patchy Finish
- Problem: Rough brush marks or uneven color coverage.
- Cause: Applying paint too thick or working with paint that dried too quickly on the brush.
- Fix: Add a tiny splash of clean water to thin your paint container. Sand visible stroke ridges smooth with 220-grit sandpaper before applying your final coat.
Surface Feels Soft or Tacky
- Problem: Finish feels sticky weeks after painting.
- Cause: Wax applied too thickly without buffing off excess, or the piece has not fully cured yet.
- Fix: Wipe down excess wax with a clean rag. Keep the piece in a warm, ventilated room until the recommended cure time on the product label has passed.
Chalk Paint Furniture FAQ
Do I have to sand before using chalk paint?
No, full sanding down to bare wood is rarely necessary. However, a 60-second scuff-sand with fine sandpaper removes gloss and helps paint stick much better over glossy varnish.
Do I have to seal chalk paint?
Yes. Raw chalk paint is porous and will stain if left unsealed. You must apply clear furniture wax, polycrylic, or oil to seal out moisture and hand oils.
Can I paint over waxed chalk paint later?
Yes, but you must remove the old wax coat first. Wipe the surface down thoroughly with mineral spirits and a cloth, let it dry completely, and scuff-sand lightly before applying new paint.
How long does chalk paint take to dry?
Chalk paint usually feels dry to the touch in 30 to 60 minutes. However, drying is not the same as curing. Wait 2 hours before painting additional coats, and allow topcoats several days to fully cure before heavy use.
Can I use chalk paint on outdoor furniture?
Standard chalk paint with wax will not hold up outdoors against harsh rain and sun. If you paint outdoor pieces, skip the wax and use a specialized outdoor sealer or exterior-rated lacquer topcoat.
Transforming Your Next Piece
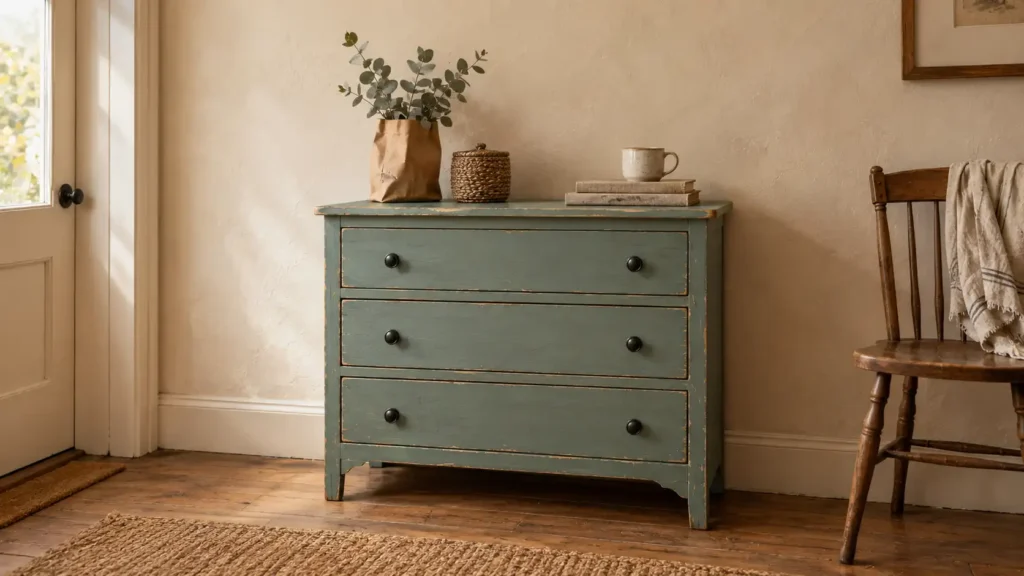
Refreshing furniture does not have to be intimidating. By checking your piece for safety, cleaning the surface properly, applying thin coats of paint, and protecting it with a reliable topcoat, you can turn second-hand finds into stunning home decor.
If you are just getting started, pick a small, low-stakes project like a picture frame or side table first. Once you master how to chalk paint furniture on a smaller scale, you will have the confidence to tackle larger dressers and cabinets.
Save this guide to your Pinterest board or bookmark it for your next weekend project!