
Melt and Pour Soap Making for Beginners: Step-by-Step First Batch Tutorial

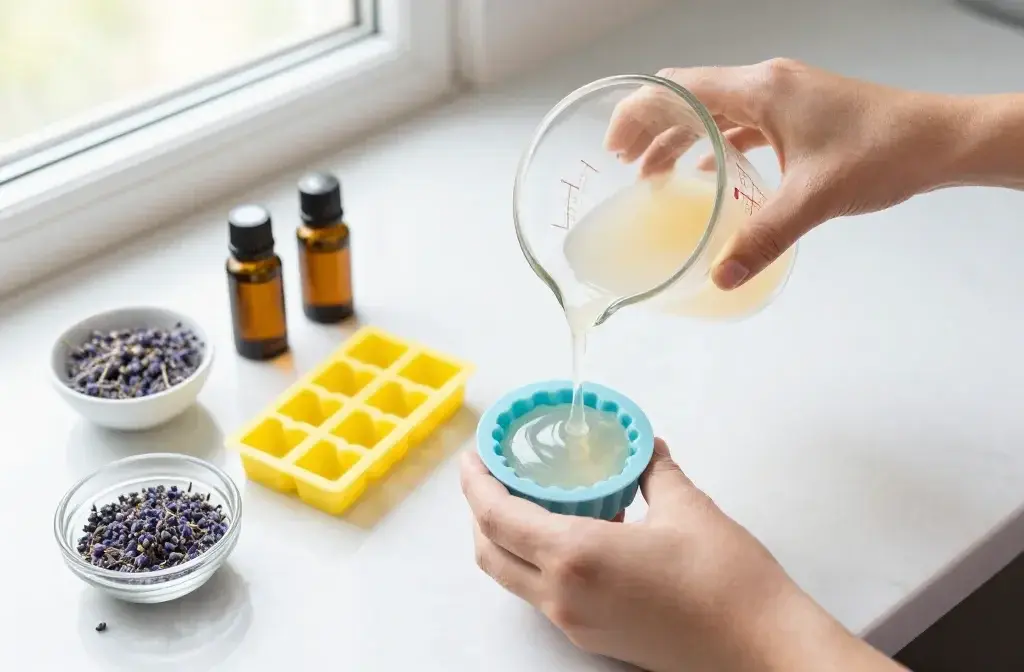
You know what’s awesome? Making soap that doesn’t involve dealing with caustic lye that could, theoretically, burn your face off. Melt and pour soap making lets you skip the chemistry degree requirement and jump straight to the fun part—creating gorgeous, custom soaps that actually work. If you can microwave leftovers without starting a fire, you’ve got the skills to make your first batch today.
Why Melt and Pour is Perfect for Soap-Making Newbies
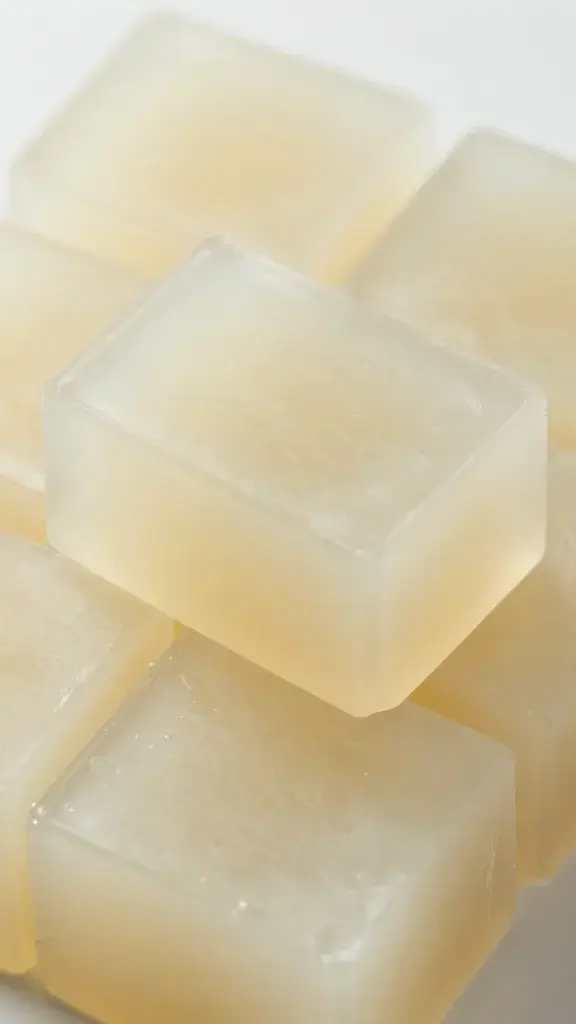
Let me be real with you: traditional cold process soap making intimidates the heck out of most people. You’re mixing lye with oils while wearing safety goggles like you’re in a Breaking Bad episode, waiting weeks for the soap to cure, and one wrong calculation can turn your batch into chunky disaster soup.
Melt and pour? You literally melt pre-made soap base, add whatever makes you happy, pour it into molds, and boom—usable soap in a few hours. The soap base already went through saponification (the chemical reaction that makes soap, well, soap), so you’re just the creative director here.
Plus, it’s way more forgiving. Messed up your color? Remelt it. Don’t like the fragrance ratio? Remelt it. Accidentally created something that looks like a science experiment gone wrong? You guessed it—remelt it.
What You’ll Actually Need to Get Started
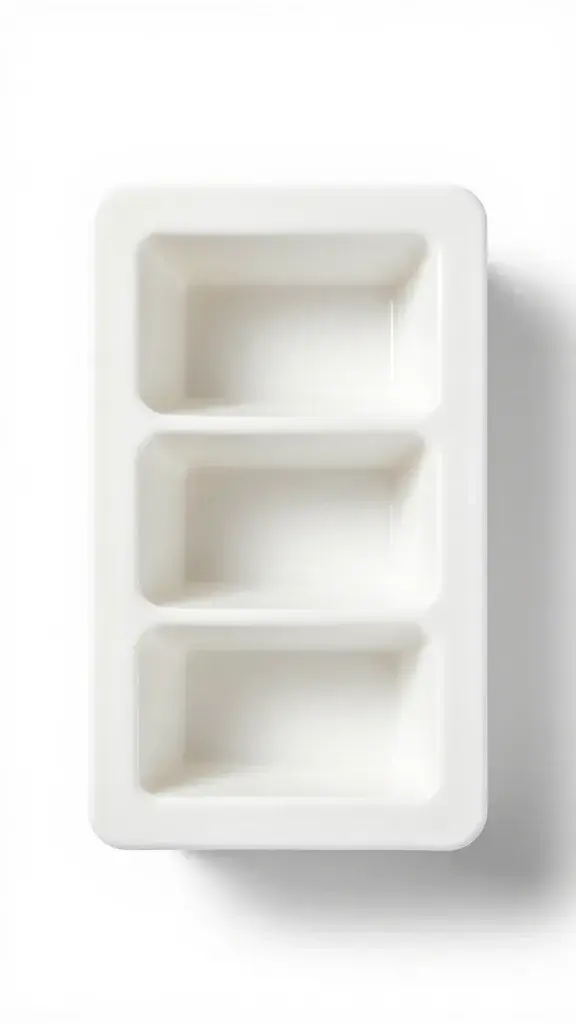
The shopping list for your first batch is refreshingly short. You don’t need to raid a specialty store or take out a small loan.
The Absolute Essentials
- Melt and pour soap base (1-2 pounds for your first go)—glycerin, shea butter, goat milk, whatever calls to you
- Microwave-safe container (a large glass measuring cup works perfectly)
- Soap molds (silicone molds are your best friend, but you can use clean yogurt containers in a pinch)
- Rubbing alcohol in a spray bottle (this gets rid of bubbles like magic)
- A knife or soap cutter for chopping up the base
The Fun Extras
Once you’ve got the basics, you can start playing around with:
- Fragrance or essential oils (start with 0.3 ounces per pound of soap base)
- Soap-safe colorants (mica powders, liquid dyes, or natural options like turmeric)
- Add-ins like dried flowers, exfoliating ingredients, or biodegradable glitter
FYI, don’t go wild with additions your first time. A simple scented, colored soap will give you more satisfaction than an overambitious project that looks like craft store vomit.
Making Your First Batch: The Actual Process
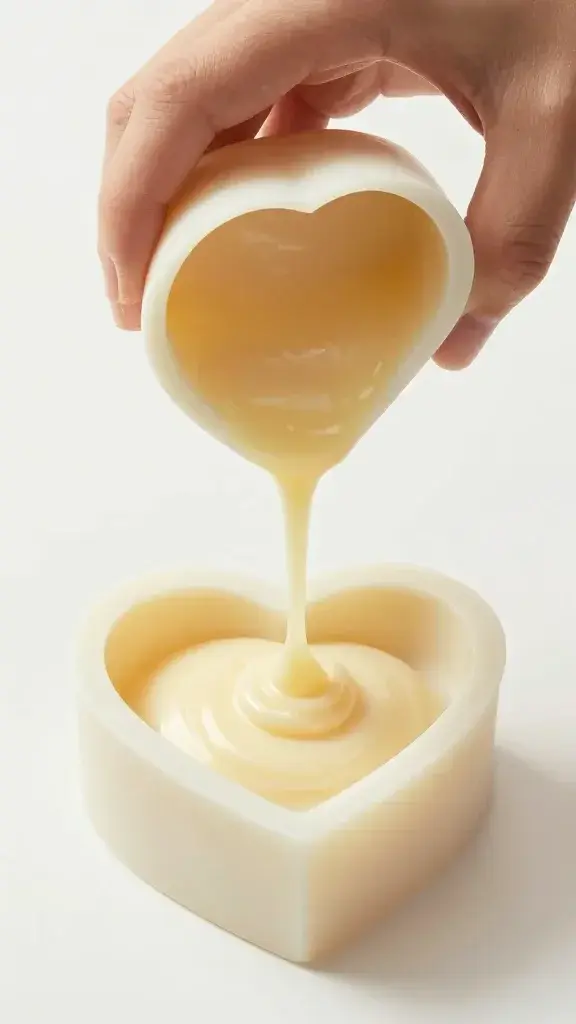
Alright, let’s do this thing. Clear off some counter space and channel your inner soap artisan.
Step 1: Chop and Measure
Cut your soap base into roughly 1-inch cubes. Smaller chunks melt faster and more evenly—nobody wants a molten lava exterior with a solid ice cube center. Measure out however much you need based on your mold size. Most standard cavity molds hold about 4 ounces per bar.
Step 2: Melt That Base
Toss your cubes into your microwave-safe container and zap them in 30-second intervals, stirring between each round. This is not the time to get impatient and microwave for three minutes straight. You’ll end up with a boiling, possibly scorched mess.
The soap is ready when it’s completely liquid with no chunks. It should look like melted honey. The temperature should be around 120-130°F if you’re checking with a thermometer, but honestly? If it’s fully melted and not smoking, you’re good.
Step 3: Add Your Goodies
Let the base cool for about a minute (you don’t want to burn off your fragrance), then add your colorant and fragrance oil. Start conservative—you can always add more, but you can’t un-add. Stir gently but thoroughly. No need to whip it like you’re making meringue; you’ll just create bubbles.
Step 4: Pour and Spritz
Pour your soap into the molds at a steady pace. Don’t stress about getting it perfect—rustic charm is totally in. Immediately spritz the surface with rubbing alcohol to pop any bubbles that formed. This is oddly satisfying, and you’ll probably spray more than necessary because watching bubbles disappear is mesmerizing.
Step 5: The Waiting Game
Here’s the hardest part: leave it alone. Your soap needs 2-4 hours to fully harden, depending on the size of your bars. I know you want to touch it every five minutes to check if it’s ready, but resist the urge. Go watch Netflix or something.
Common Rookie Mistakes (And How to Avoid Them)
Everyone screws up their first few batches. Here’s how to screw up less than I did.
Overheating the base is mistake number one. If your soap starts boiling or develops a skin on top, you’ve gone too hot. The soap can still work, but the texture gets weird and glycerin might evaporate out.
Adding too much fragrance seems like a good idea until your soap won’t harden properly or irritates your skin. Stick to the recommended 0.3 ounces per pound ratio. Your soap shouldn’t smell like you dumped an entire Bath & Body Works store into it.
Not securing multi-layer soaps properly leads to layers that separate like a bad relationship. If you’re getting fancy with layers, spritz each layer with alcohol before adding the next, and make sure the previous layer has a slight skin on top but isn’t completely hard.
Creative Ideas for Your Second (or Third) Batch
Once you’ve nailed the basics, the possibilities get ridiculous in the best way.
Try making layered soaps with contrasting colors—they look way more impressive than the effort required. Or embed small objects like toy dinosaurs for kids’ soaps (they’ll actually want to wash their hands). You can create swirls by pouring different colored bases simultaneously and dragging a chopstick through them.
Embeds and inclusions take things up a notch too. Pour a thin layer of soap, let it partially set, place dried flower petals on top, then pour another layer. Boom—botanical soap that looks like you paid $12 for it at a farmers market.
IMO, coffee grounds make an excellent exfoliating addition and help neutralize odors. Perfect for a kitchen soap that tackles garlic and onion hands.
Frequently Asked Questions
How long does melt and pour soap last?
Your finished bars will last about a year if you store them properly—wrapped in plastic wrap or shrink wrap in a cool, dry place. The glycerin in melt and pour attracts moisture from the air, which can make unwrapped soap weepy or sticky over time. Not harmful, just kind of gross-looking.
Can I use food coloring to color my soap?
You can, but you probably shouldn’t. Food coloring can stain skin and towels, and it tends to fade quickly or turn weird colors. Soap-specific colorants cost a bit more but actually perform like you want them to. Trust me on this one—nobody wants temporarily blue hands.
Do I need to add preservatives?
Nope! The high pH of soap makes it naturally self-preserving. Bacteria and mold don’t really dig that environment. Just don’t add fresh ingredients like cucumber slices or fruit chunks (yes, people have tried this). Dried botanicals are fine; fresh stuff will turn your soap into a science experiment.
Why did my soap turn cloudy or developed white spots?
Cloudiness usually happens when the soap gets too cool before you pour it. The white spots? That’s probably glycerin dew—totally harmless moisture that the glycerin pulled from the air. Just wipe it off. If you want to prevent it, wrap your soap once it’s completely cooled.
Can I add fresh aloe vera or honey?
Small amounts of honey (about a teaspoon per pound) work fine and add nice properties to your soap. Fresh aloe is trickier—it can introduce moisture that messes with your soap’s stability. Stick with powdered aloe or aloe-infused base for better results.
Is melt and pour soap “real” soap?
This question comes up a lot, usually from cold process soap snobs. Yes, it’s absolutely real soap. It went through the same saponification process; you just didn’t personally do that part. Your bars will clean just as effectively as any handmade cold process soap.
Final Thoughts on Your Soap-Making Journey
Making your first batch of melt and pour soap feels kind of like magic, doesn’t it? You start with chunks of weird waxy stuff and end up with actual functional soap that you created. Sure, it’s not as complex as cold process, but who cares? You made soap with your own hands without needing protective equipment or a chemistry background.
The best part about melt and pour is that it removes all the scary barriers to entry while keeping the creative fun intact. You can experiment with colors, scents, and designs without worrying about lye calculations or safety hazards. Start simple, learn what works, and let your inner soap artist run wild. Your bathroom is about to get a serious upgrade.