
Best Soap Making Supplies for Beginners: Complete Starter Kit Guide

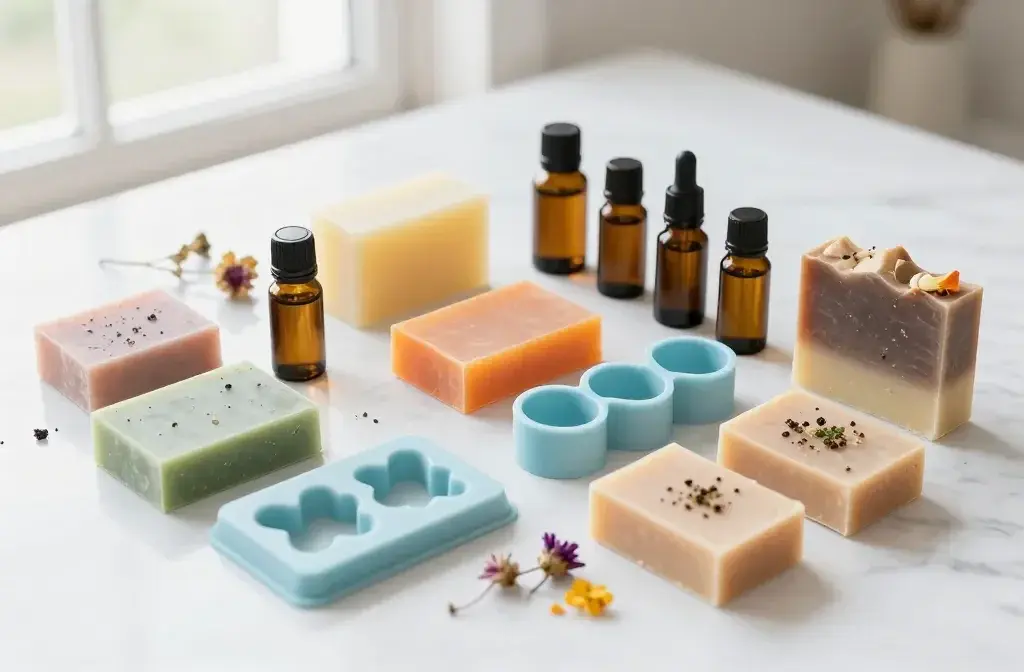
Ever scrolled through those satisfying soap-making videos and thought, “I could totally do that”? Spoiler alert: you absolutely can!
Getting started with soap making doesn’t mean dropping hundreds of dollars on fancy equipment. You just need the right essentials to create gorgeous, Instagram-worthy bars from day one.
Let’s break down the five must-have supplies that’ll have you churning out beautiful handmade soaps faster than you can say “lather up.”
1. Melt and Pour Soap Base – Your New Best Friend
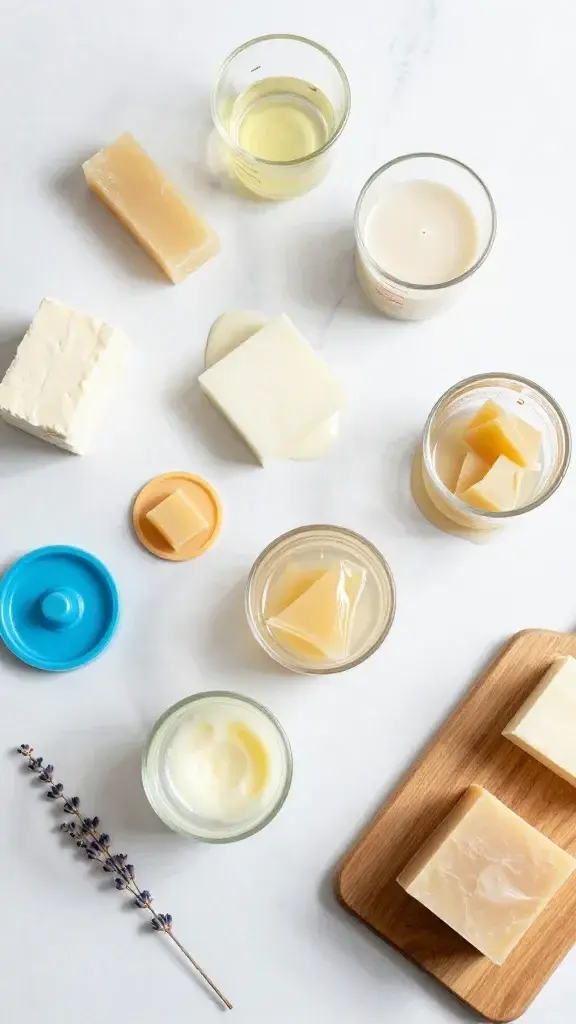
This is hands-down the easiest way to start your soap-making journey without getting into the whole lye situation. Melt and pour bases come pre-made, so you literally just melt them down, customize them, and pour into molds.
You can choose from glycerin, shea butter, goat milk, or clear bases depending on what vibe you’re going for. Clear bases are perfect for embedding dried flowers or creating those layered rainbow soaps you’ve been drooling over online.
Why Beginners Love It:
- No scary chemicals or complex measurements required
- Ready to use in about 15 minutes
- Practically impossible to mess up (seriously)
- Safe enough to make with kids around
Start with a basic two-pound block of white or clear glycerin base. You’ll get about 8-10 bars from that, which is perfect for testing out different colors and scents.
2. Silicone Molds – Where the Magic Happens
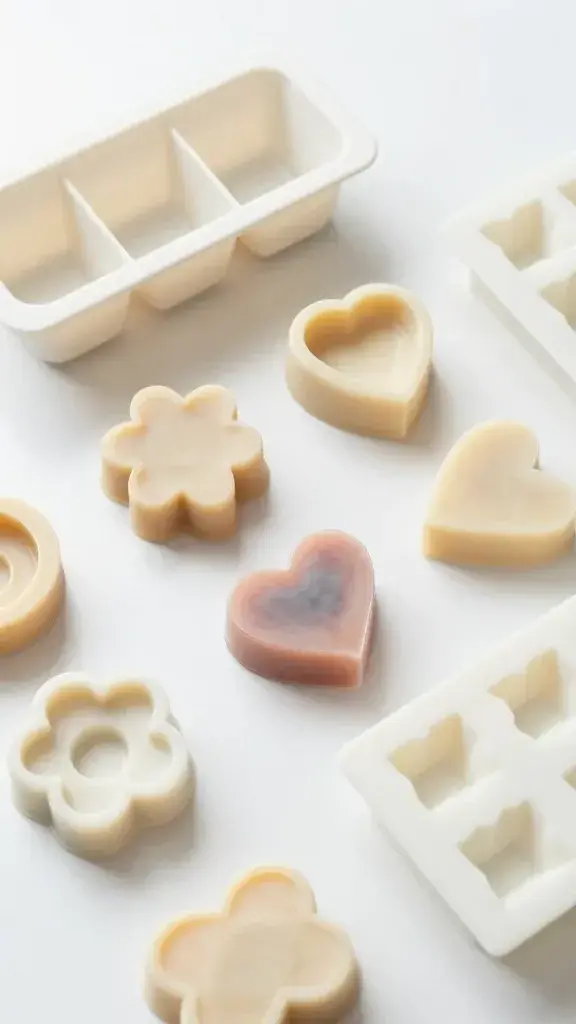
Trust me, you don’t want to skimp on molds. Cheap plastic ones will crack, warp, and make you want to throw your whole soap-making kit out the window.
Silicone molds are flexible, non-stick, and last forever. They make popping out your finished soaps so satisfying you’ll probably record it for your stories.
Must-Have Mold Types:
- Basic rectangular loaf mold for classic bars
- Individual cavity molds in fun shapes (flowers, hearts, geometric designs)
- Guest-size molds for smaller trial batches
FYI, you can find mold sets that include multiple shapes so you’re not stuck making the same boring rectangles every time. Variety keeps things fun when you’re experimenting with different recipes.
3. Essential Oils and Fragrance Oils – Make It Smell Amazing
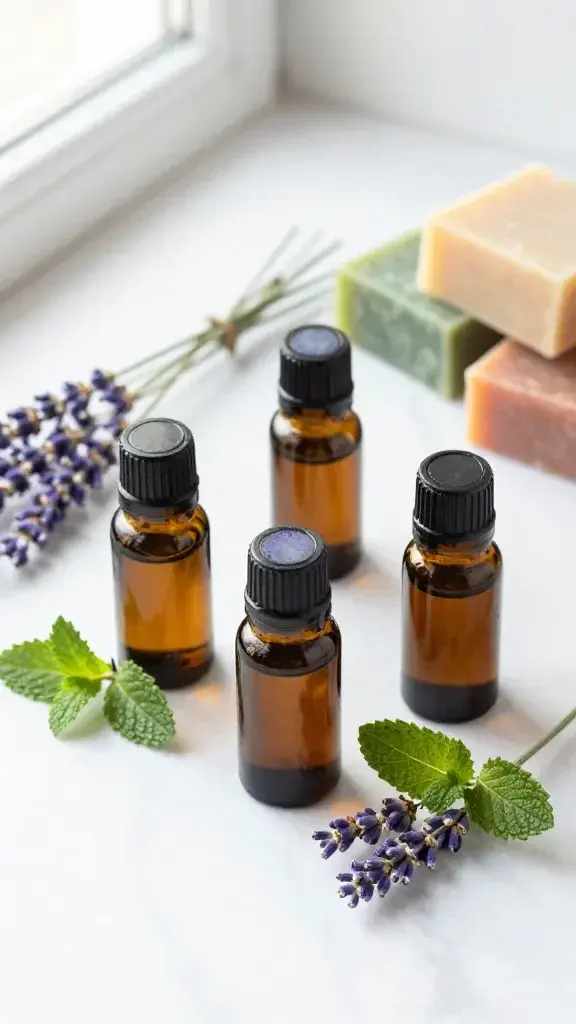
Here’s the deal: unscented soap is fine, but scented soap is what makes people actually want to use what you make. Plus, picking fragrances is honestly the most fun part of the whole process.
Essential oils give you natural scents like lavender, peppermint, and eucalyptus. Fragrance oils let you get wild with options like vanilla cupcake, ocean breeze, or basically anything you can imagine.
Starter Scent Collection:
- Lavender essential oil (calming and universally loved)
- Peppermint essential oil (refreshing and tingly)
- Vanilla fragrance oil (warm and cozy)
- Citrus blend (energizing and clean)
A little goes a long way – you typically only need about 1-2% of your total soap weight in fragrance. Start light because you can always add more, but you can’t take it back once it’s mixed in.
4. Colorants – Because Who Wants Boring Beige Soap?
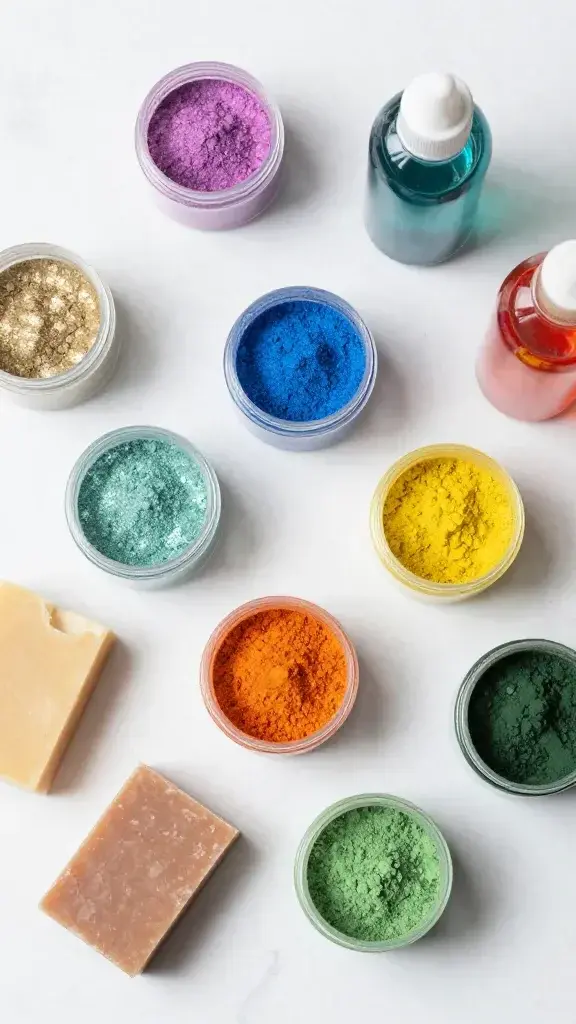
Plain soap is like vanilla ice cream without toppings. Sure, it works, but why not make it pop?
Soap-safe colorants come in three main types: micas (shimmery and gorgeous), liquid dyes (super concentrated), and natural colorants like spirulina or turmeric. Each gives you different effects and intensity levels.
Micas are IMO the best choice for beginners because they’re easy to work with and give you that professional-looking finish. Plus, they come in basically every color imaginable, including metallics and neons.
Color Tips:
- Start with primary colors (red, blue, yellow) so you can mix custom shades
- Add color gradually – a tiny bit goes a long way
- Test colors in small batches first before committing to a full loaf
Natural colorants are awesome if you want to keep things chemical-free, but heads up – they can be unpredictable and might fade over time.
5. Basic Tools Kit – The Unsung Heroes
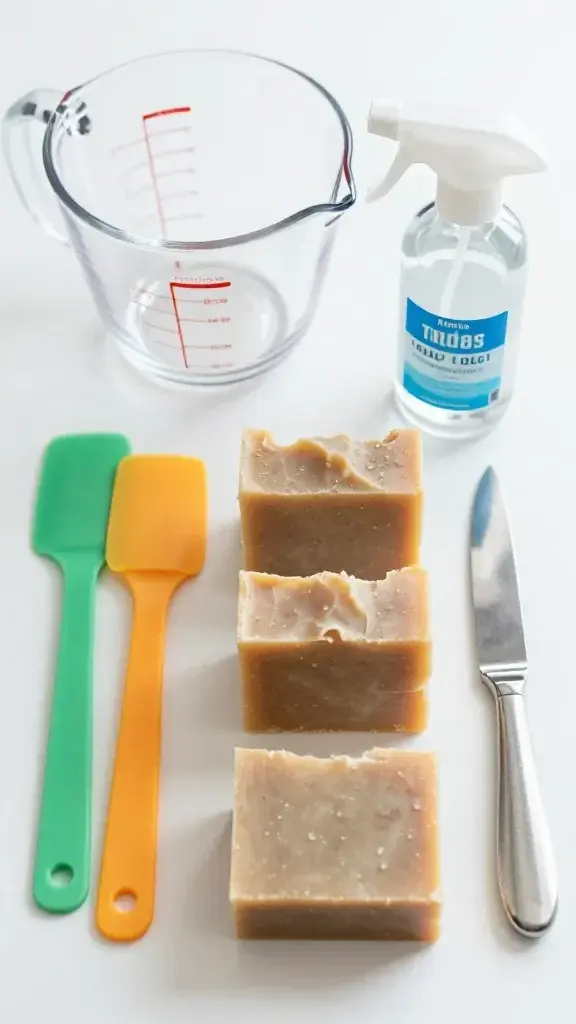
You can’t make soap with just your bare hands and good intentions. You need a few simple tools that’ll make the whole process smooth and stress-free.
A heat-safe measuring cup for melting your base, silicone spatulas for stirring and scraping, a spray bottle with rubbing alcohol for eliminating bubbles, and a sharp knife for cutting loaf soaps into bars. That’s literally it.
Complete Tool Checklist:
- Glass or plastic measuring cups (at least 4-cup capacity)
- Silicone spatula or spoon
- Spray bottle filled with 70% rubbing alcohol
- Sharp knife or soap cutter
- Digital scale for precise measurements
- Thermometer (optional but helpful)
You probably already have most of these in your kitchen. Just make sure you dedicate them to soap-making only – you don’t want fragrance oil accidentally ending up in your next batch of brownies.
There you have it – the five essentials that’ll get you creating beautiful handmade soaps without overwhelming yourself or your budget. Start with these basics, experiment like crazy, and before you know it, everyone you know will be getting handmade soap for every single holiday. Happy soap making!