
Embroidery Hoop Sizes Guide: Which Size to Use for Every Project

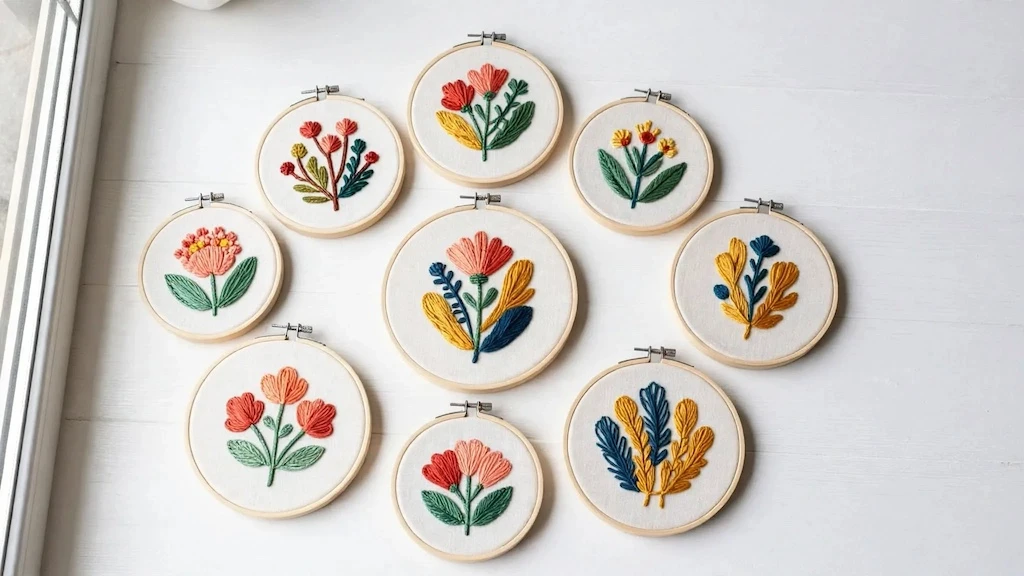
Starting an embroidery project with the wrong hoop size is like wearing shoes two sizes off. It makes every single step frustrating.
Pick a hoop that is too large, and your hands will cramp while trying to keep the fabric tight.
Pick one that is too small, and you will constantly re-hoop your fabric, which crushes your finished stitches.
Finding the right tool balance is the key to smooth stitching.
This embroidery hoop sizes guide breaks down standard hoop dimensions, provides a quick measurement chart, explains fabric allowance calculations, and shares project recommendations.
If you are looking for the best hoop size for beginners or simply learning how to choose embroidery hoop size for complex designs, this guide covers everything you need.
Embroidery Hoop Sizes: Interactive Selection Guide
Standard Dimensions: Hand Embroidery Hoop Size Chart
Standard hoops range from 3 inches up to 12 inches (7.5 cm to 30 cm) in 1-inch increments. Matching your project scope to these dimensions keeps your work neat and prevents hand strain.
| Hoop Size (Inches) | Metric Size (cm) | Ideal Project Type |
| 3″ – 4″ | 7.5 – 10 cm | Patches, monograms, small detailed work, pockets |
| 5″ – 7″ | 12.5 – 18 cm | Beginner kits, botanical motifs, portraits, standard art |
| 8″ – 10″ | 20 – 25 cm | Samplers, floral wreaths, medium cross-stitch |
| 12″+ | 30+ cm | Large wall hangings, quilting, table runners |
- Small Embroidery Hoop (3″ to 4″): Best for tiny detail work, monogram patches, baby clothes, and collar accents. They are easy to hold for long periods.
- Medium Embroidery Hoop (5″ to 7″): The standard range for most patterns. A 6-inch hoop sits comfortably in most hands while offering plenty of stitching area.
- Large Embroidery Hoop (8″ to 12″+): Best for large wall displays, complex floral wreaths, samplers, and quilting. These larger frames hold big pieces of fabric without constant repositioning.
Using an accurate embroidery hoop size chart takes the guesswork out of setup. Once you know your project dimensions, selecting your frame takes seconds.
How to Choose Embroidery Hoop Size: The 1-to-2-Inch Margin Rule
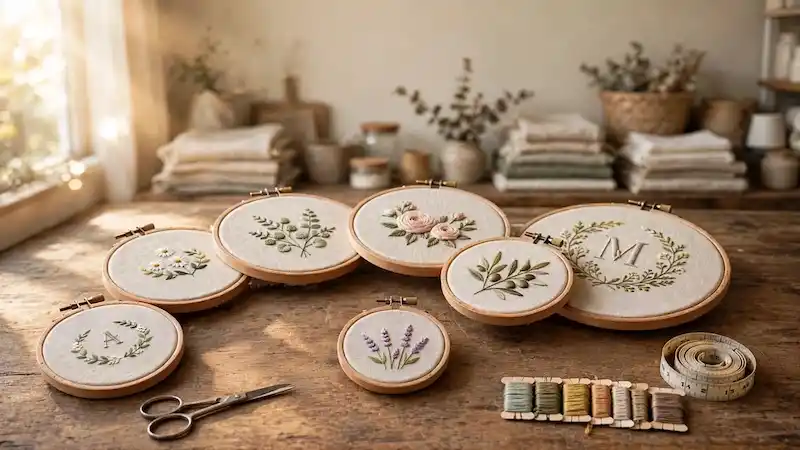
Use this main calculation rule for every project: Design Size + 2 Inches = Minimum Hoop Size.
To calculate your exact layout needs, follow these steps:
- Measure your completed design at its widest point.
- Measure your completed design at its tallest point.
- Add 1 to 2 inches (2.5 to 5 cm) of clear space around every edge.
For example, a 4″ × 4″ design requires a 6-inch round hoop. This extra space ensures your needle has room to move near the edges without hitting the wooden frame.
Minimum Fabric Square = Hoop Diameter + (2 × 1.5 inches)Always leave 1.5 inches (3.8 cm) of extra fabric sticking out past the outer ring.
Cutting your fabric size for embroidery hoop projects too close to the edge causes fabric slippage.
Without enough overhang, the inner ring cannot clamp down tightly, resulting in loose, saggy stitches.
Matching Your Hoop Size to Your Specific Craft Project
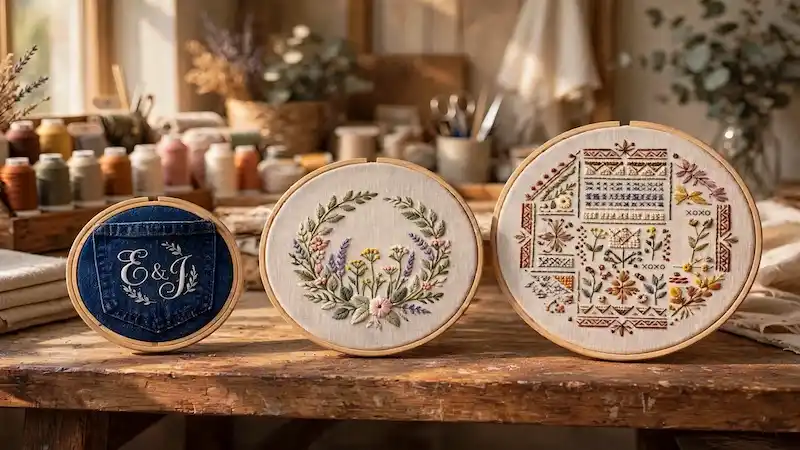
Selecting the correct size depends heavily on what you are making and your experience level.
Beginner Projects
A 6-inch beechwood hoop is the best hoop size for beginners. It fits comfortably in average-sized hands, requires minimal wrist adjustment, and holds enough fabric area to practice basic stitches without frequent re-hooping.
Clothing and Garments
Stitching on denim jackets, pocket cuffs, or sleeves requires smaller tools. A 4-inch to 5-inch hoop isolates small target areas without pulling or stretching the surrounding garment out of shape. Smaller frames also slip inside pockets easily.
Wall Frame Displays
If your hoop doubles as the final picture frame, choose a size that matches your design width plus a 1-inch margin. A 7-inch hoop frames a 5-inch pattern cleanly, leaving a nice border of bare fabric around your work.
Hoops vs. Frames: Materials and Shapes That Impact Tension
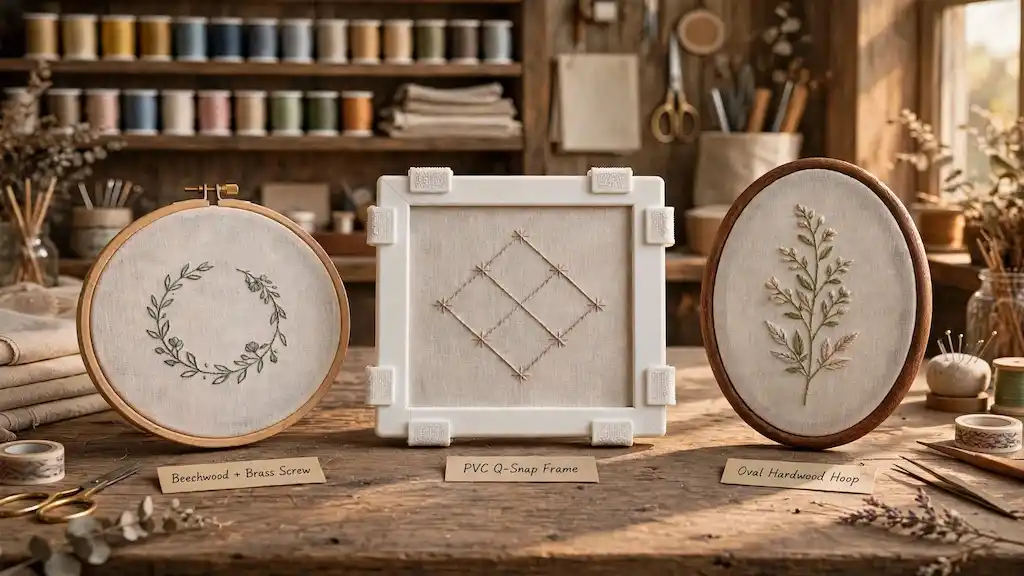
Size is only half the battle. Frame material and shape directly affect how well your fabric stays tight while you stitch.
- Oval and Square Hoops: Perfect for rectangular designs, long text banners, or tall botanical stems. They eliminate unused space on the sides.
- Q-Snap Frames: Made of smooth PVC tubes with outer clamps. These square frames excel at large cross-stitch projects and tapestries because they clamp down without leaving deep ring creases on finished stitches.
- Beechwood vs. Plastic: Quality beechwood hoops offer dense grain and rough texture that grips linen and cotton securely. Cheap plastic hoops often let fabric slip out of place.
When shopping for hardware, test these 3 checkpoints:
- Look for solid brass closure screws that allow screwdriver tightening.
- Check for a smooth inner ring free of wood splinters that could snag threads.
- Verify warp resistance by laying the hoop flat on a table to ensure both rings lie completely flush.
Knowing your Q-snap frame vs hoop options ensures you pick the best embroidery hoop material for your specific fabric thickness.
Conclusion
Finding the right frame comes down to measuring your pattern width, leaving a solid 1.5-inch fabric margin, and choosing a size that feels light in your hands.
Matching your design to the proper frame prevents puckered fabric, protects finished stitches, and keeps your hands comfortable.
Check your pattern measurements, grab your fabric, and start your next project with perfect tension using this embroidery hoop sizes guide.