Best Candle Making Kits for Beginners: Tested and Ranked


Creating custom-scented, boutique-quality candles at home is deeply satisfying—until a bad DIY setup leaves you with sunken wax centers, zero scent throw, or a smoke-alarm-triggering mess.
First-time crafters face confusing wax types (soy vs. coconut vs. paraffin), bad wick ratios, and incomplete kits that omit crucial tools like digital thermometers or pouring spouts.
We stress-tested top-rated options across wax clarity, fragrance load, ease of assembly, and safety to bring you the best overall setups in 2026.
Whether you are looking for a complete soy candle making starter kit or want to learn how to make candles at home DIY.
This guide will help you find the best candle making kits for beginners without wasting money on low-quality supplies.
What Makes a Beginner Candle Kit Worth Buying? (Criteria & Testing)
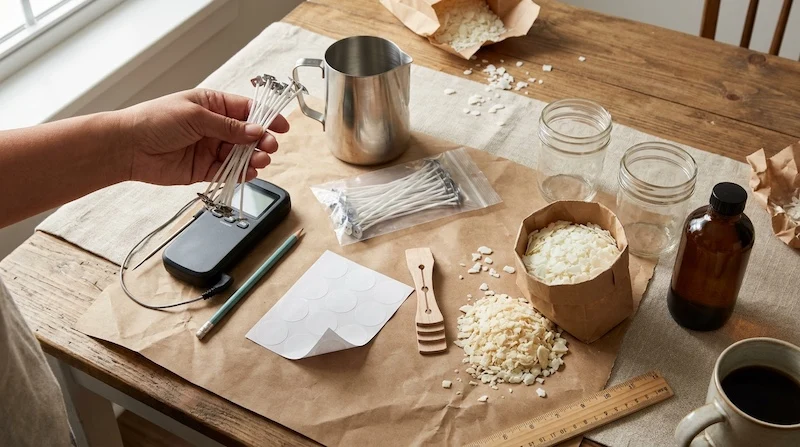
Not all candle kits are created equal; many cheap sets skip essential safety tools or supply poor-quality materials.
When evaluating a candle making starter set, four core factors dictate whether your first pour will look like a luxury boutique find or end in disappointment.
Essential Kit Components
A true starter kit must contain complete, functional hardware. You should never need to make an emergency run to the craft store mid-process. Every complete kit requires:
- Digital or Metal Dial Thermometer: Temperature control is non-negotiable. Over 75% of beginner failures stem from pouring wax at incorrect temperatures (pouring soy wax above 135°F causes surface cracking and sinkholes).
- Pouring Pitcher: An insulated aluminum or stainless steel pouring pitcher with a precision spout prevents dangerous wax spills.
- Pre-Tabbed Cotton Wicks & Wick Stickers: Pre-tabbed wicks stay anchored to the bottom of the vessel when hot wax is added.
- Wick Centering Bars: These metal or wooden clips hold wicks perfectly centered while the wax cools and contracts.
- Safety & Warning Labels: Mandatory for any finished candle, especially if you plan to gift or sell them.
Wax Choice: Soy vs. Coconut-Soy vs. Paraffin
Wax selection directly dictates burn time, soot output, and fragrance throw:
- 100% Soy Wax (e.g., Golden Wax 464): The industry standard for a clean, non-toxic burn. Soy wax burns slower than paraffin, though it requires precise cooling to avoid visual “frosting.”
- Coconut-Soy Blends: Premium blends that combine soy’s long burn time with coconut’s superior scent throw and smooth surface tops.
- Paraffin Wax: Derived from petroleum. While it holds color and scent easily, it produces more soot and lacks the eco-friendly appeal of soy wax candle kits.
Safety and Heat Control
Controlling heat is the most critical safety factor when handling hot wax. Traditional kits rely on a double boiler setup (a metal pitcher rested inside a pot of simmering water on your stovetop).
However, modern candle making kits with electric melter hardware have transformed the craft for apartment dwellers and beginners, providing direct, dial-controlled heating that eliminates stove management entirely.
Ranked: The 5 Best Candle Making Kits for Beginners in 2026
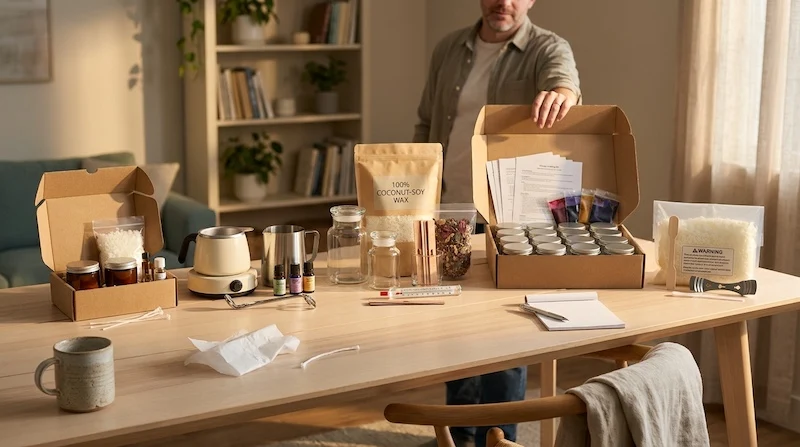
We evaluated these kits based on wax quality, scent throw, clear instructions, hardware safety, and overall cost per candle.
1. Best Overall & Scale Potential: Makesy Starter Kit
- Best For: Crafters who want luxury, boutique-grade results right out of the box.
- Wax Type: Premium Coconut-Soy Blend.
- Heating Method: Double boiler pitcher (requires stove/hot plate).
- Included Candles: 4 high-end ceramic or glass vessels.
- Price Point: ~$75 – $90.
The Makesy Starter Kit is designed for beginners who want professional-grade candles from day one. Instead of cheap metal tins, Makesy includes heavy ceramic vessels, wooden or cotton wicks, and phthalate-free fragrance oils crafted to match high-end retail brands.
The coconut-soy blend is remarkably forgiving, yielding smooth, flawless tops with minimal heat-gun work.
- Pros:
- Exceptional cold and hot fragrance throw.
- Luxury-grade vessels you will actually want to display.
- Clear step-by-step documentation and videos.
- Cons:
- Higher initial investment per kit.
- Smaller batch size compared to bulk kits.
2. Best for Convenience (No Stovetop Needed): ToAuto / HOWFIELD Kit with Electric Melter
- Best For: Apartment crafters, safety-focused beginners, and non-stovetop setups.
- Wax Type: 100% Golden Wax 464 Soy Wax.
- Heating Method: Standalone Electric Temperature-Controlled Melter.
- Included Candles: 6 to 8 metal tins.
- Price Point: ~$85 – $110.
If you don’t want to mess with stovetop pots or water baths, this top rated soy candle kit with an electric melter is a game-changer. The included electric wax melter lets you dial in the exact melting temperature (up to 230°F) with built-in spout dispensing.
It reduces preparation time by half and lowers safety risks associated with open flame melting.
- Pros:
- No stovetop or double-boiler pot required.
- Fast, controlled melting with built-in spout pouring.
- Includes a complete set of essential candle making supplies.
- Cons:
- Requires dedicated storage space for the melter unit.
- Melter spout needs thorough cleaning while still warm between scent batches.
3. Best Value & Group Crafting: Banter & Bliss DIY Candle Kit
- Best For: Budget-conscious makers, crafting parties, and gift building.
- Wax Type: 100% Natural Soy Wax.
- Heating Method: Metal Pouring Pitcher (Double boiler method).
- Included Candles: 4 amber glass apothecary jars.
- Price Point: ~$45 – $55.
Banter & Bliss provides incredible value for money. By packing bulk soy wax and amber glass jars into a clean, simple starter box, this kit brings your finished cost down to approximately $11.50 per candle—compared to $38+ for comparable retail luxury candles.
The included fragrance oils bind cleanly with the soy wax at 185°F, delivering rich scent diffusion without chemical harshness.
- Pros:
- Unbeatable price-to-quality ratio.
- Classic amber glass aesthetic.
- Pre-measured fragrance bottles eliminate math for beginners.
- Cons:
- Thermometer included is basic (dial analog); digital upgrades are recommended.
4. Best Eco-Friendly / Refill Model: Siblings Candle Box
- Best For: Low-waste conscious crafters and quick weekend projects.
- Wax Type: Coconut-Soy Wax Blend with Essential Oils.
- Heating Method: Microwave-safe plant-based pouch.
- Included Candles: Refill bag (utilizes your own existing glass jars or mug).
- Price Point: ~$26 – $30.
Siblings disrupts the traditional kit model by eliminating metal pitchers and extra hardware. Their plant-based bag contains pre-scented coconut-soy wax and a wick.
You heat the pouch directly in the microwave for 2 minutes, secure the wick in any vessel you already own (an old candle jar, ceramic mug, or glass container), and pour.
- Pros:
- Zero metal vessel or pitcher waste.
- Takes less than 10 minutes of active prep time.
- Excellent essential oil fragrance combinations.
- Cons:
- Does not teach traditional temperature control skills.
- Vessel not included (requires vessel upcycling).
5. Best Budget-Friendly Starter: Hearth & Harbor / Make Market Starter Kit
- Best For: Absolute beginners testing the waters without a big commitment.
- Wax Type: 100% Soy Wax Flakes.
- Heating Method: Standard Pouring Pitcher.
- Included Candles: 6 metal travel tins.
- Price Point: ~$30 – $40.
For crafters who want to test the hobby on a budget, this kit packs a full hardware set—pitcher, thermometer, tins, wicks, dye blocks, and scents—for under $40.
While the fragrance oils are simple synthetic blends, the kit provides all the basic mechanical tools you need to learn the core mechanics of melting, scenting, and pouring.
- Pros:
- Low financial barrier to entry.
- Generous hardware set with reusable tools.
- Includes dye blocks to experiment with colored wax.
- Cons:
- Scents lack complex top/bottom notes.
- Dye blocks can cause minor flame sputtering if overused.
Beginner Kit Comparison Table
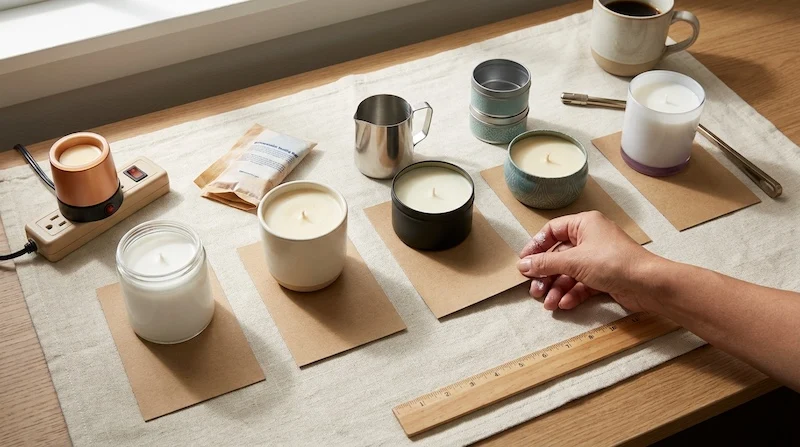
| Kit Name | Wax Type | Heating Method | Included Candles | Cost per Finished Candle | Best For |
| Makesy Starter Kit | Coconut-Soy | Double Boiler Pitcher | 4 Luxury Vessels | ~$20.00 | Boutique / Future Selling |
| ToAuto Electric Kit | 464 Soy Flakes | Electric Melter | 6-8 Metal Tins | ~$13.50 | Convenience & Apartment Crafting |
| Banter & Bliss | 100% Soy | Double Boiler Pitcher | 4 Amber Glass Jars | ~$11.50 | Value & Group Crafting |
| Siblings Refill Box | Coconut-Soy | Microwave Pouch | 1 Refill Batch | ~$26.00 | Eco-Friendly Upcycling |
| Hearth & Harbor | 100% Soy | Double Boiler Pitcher | 6 Travel Tins | ~$6.00 | Low-Budget Experimentation |
Step-by-Step: Your First Candle Pouring Session
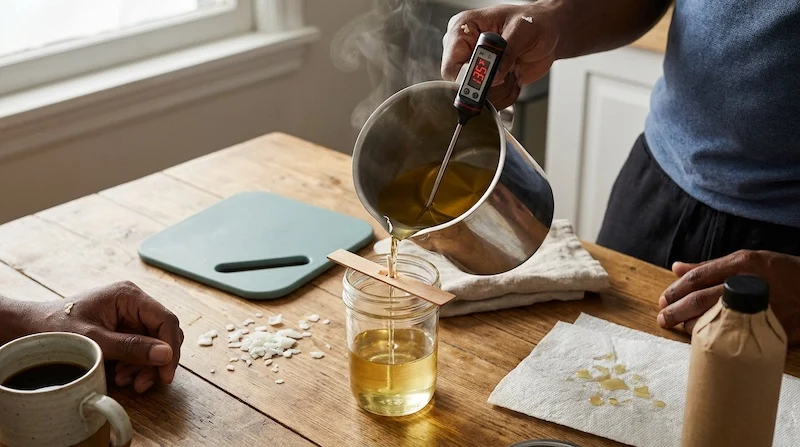
Step 1: Prep Your Workspace & Secure Wicks
Clean your work area thoroughly and lay down parchment paper or aluminum foil. Wipe the inside of your candle vessels with isopropyl alcohol to remove dust and oils. Apply a wick sticker to the metal tab of your cotton wick, press it firmly into the dead-center bottom of the jar, and slide a wick centering bar over the top to keep it taut and upright.
Step 2: Melt the Wax Safely
Weigh out your soy wax flakes using a digital kitchen scale (a standard ratio is ~2.7 oz of solid soy flakes per 3 oz vessel volume). Place the wax into your pouring pitcher over a double boiler setup or inside your electric melter. Heat slowly until the wax completely liquefies, reaching a candle wax melting temperature of 180°F–185°F (82°C–85°C).
Step 3: Add Fragrance Oils at the Exact Flash Point
Remove the pitcher from the heat source once it hits 185°F. Measure your fragrance oil according to the 6%–10% fragrance load rule (1 oz of fragrance oil per 1 lb of soy wax).
Critical Tip: Always stir fragrance oil gently into the hot wax for 2 full minutes. Stirring too fast introduces unwanted air bubbles, while mixing below 170°F prevents the fragrance from properly binding to the wax molecules, resulting in weak scent throw or oil pooling on top.
Step 4: Cool & Pour
Allow the wax to cool down in the pitcher to 130°F–135°F (54°C–57°C). Pouring at this lower temperature minimizes shrinkage, sinking, and surface cracking as the wax solidifies. Pour slowly into your prepared jars, leaving 1/2 inch of space at the rim.
Step 5: Curing Times
Set your poured candles in a draft-free room at standard room temperature (70°F/21°C). Resist the urge to move or touch the jars while they cool. While paraffin candles cool quickly, soy candle curing time requires a minimum of 48 hours before lighting, with peak scent throw achieved after 7 to 14 days of curing. Trim the wick to 1/4 inch before your first burn.
Common Beginner Candle Making Mistakes (And How to Fix Them)
Even with a top-rated kit, minor environment or temperature variations can cause visual flaws. Here is how to troubleshoot the most common issues:
Common Issue Root Cause Quick Fix ———————————————————————————————– Sinkholes / Cracks Poured wax too hot (>140°F) Smooth the surface using a heat gun on low fan setting.Soy Frosting Natural polymorphism in soy wax Cosmetic only! Cool candles slowly in a warm room; avoid cool drafts.Tunneling Burn Wick diameter is too small Burn for 2-3 hours on first lighting to melt full edge-to-edge pool.Weak Hot Throw Fragrance added below 170°F Add oil strictly at 180°F-185°F and stir gently for 2 minutes.1. Sinkholes and Surface Roughness
If your candle sets with a sunken center around the wick or a rough, bumpy surface, the wax cooled too quickly or was poured above 135°F.
- The Fix: You don’t need to throw the candle away! Pass a craft heat gun over the top surface on low speed for 15 seconds until a thin layer melts. Let it cool slowly to reveal a smooth, factory finish.
2. Soy Frosting
Frosting appears as a white, crystalline film on the top and sides of pure soy candles. This is a natural characteristic of 100% soy wax as it tries to return to its natural botanical state.
- The Fix: Frosting does not affect burn quality or scent throw. To reduce it, ensure your curing space remains at a steady room temperature without cool window drafts.
3. Tunneling vs. Over-Wicking
If your candle burns straight down the center without melting the wax to the outer glass edges (tunneling), the wick diameter is too small for that jar size. Conversely, a flame that dances wildly, produces black soot, or creates a deep melt pool within minutes is over-wicked.
- The Fix: Always test your kit’s recommended wick sizes against vessel diameter before making large batches. To fix minor tunneling, wrap aluminum foil around the top edges of the jar like a dome for 30 minutes during a burn to reflect heat back to the outer edges.
Final Summary & Recommendations
Choosing the right kit turns a complex, chemical craft into an enjoyable, rewarding weekend project. By removing the guesswork behind wax ratios, wick sizing, and heating temperatures, starter kits let you focus on mastering scent creation and pouring technique.
- If you want convenience without stovetop cooking: Choose the ToAuto Kit with Electric Melter.
- If you want luxury, gift-worthy boutique results: Choose the Makesy Starter Kit.
- If you want maximum value and clean soy performance: Choose the Banter & Bliss DIY Candle Kit.
Grab a soy candle making starter kit today, follow exact temperature parameters during your pour, and enjoy high-quality homemade candles crafted entirely by you!