
Cold Process Soap Making for Beginners: A Safe Step-by-Step Tutorial

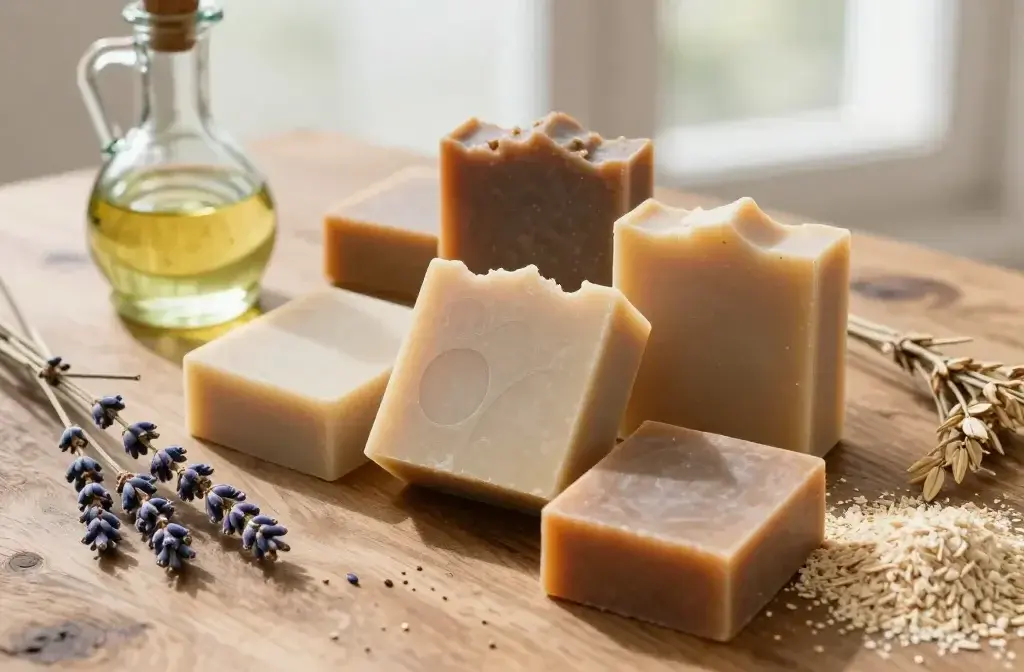
Making soap from scratch sounds intimidating, right? Like something your great-grandmother did in a cauldron while wearing a bonnet. But here’s the thing: cold process soap making is actually super accessible, and once you nail the basics, you’ll wonder why you ever bought those $8 bars at the farmers market. Let’s walk through exactly how to make beautiful, skin-loving soap without burning your house down or creating a Fight Club situation.
Why Cold Process Instead of Other Methods?
Cold process soap making gives you complete control over your ingredients, and honestly, it produces the best quality bars. Unlike melt-and-pour (which is basically playing with pre-made soap Play-Doh), cold process lets you create something truly from scratch.
The magic happens through saponification—a fancy chemistry term for when oils and lye get together and transform into soap and glycerin. You don’t need external heat to make it happen, hence the “cold” in cold process. The reaction generates its own heat, which is pretty cool when you think about it.
Plus, you get to keep all that gorgeous glycerin in your soap. Commercial soap manufacturers often extract it to sell separately, leaving you with drying bars that feel like rubbing chalk on your skin. Your homemade soap? It’ll be moisturizing and luxurious.
Safety First (Seriously, Don’t Skip This Part)
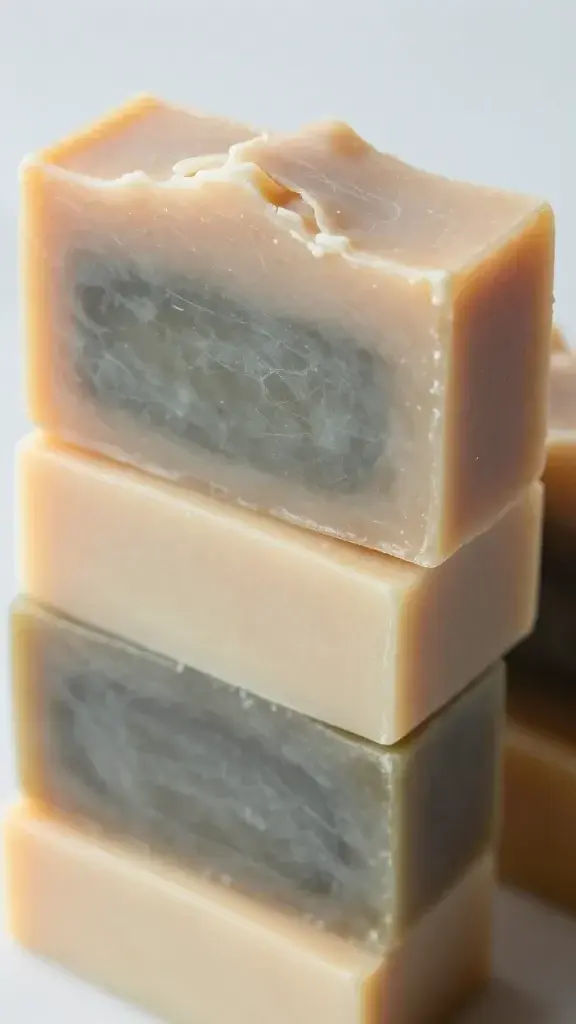
Let’s talk about lye because it freaks people out. Sodium hydroxide (lye) is caustic, meaning it can burn your skin and damage your eyes. But before you close this tab and run away, remember that when handled properly, it’s perfectly safe.
Essential Safety Gear
You absolutely need these items before you start:
- Safety goggles (not just glasses—actual goggles that protect from splashes)
- Rubber or nitrile gloves that cover your wrists
- Long sleeves and closed-toe shoes
- Well-ventilated workspace (open windows, turn on fans)
Keep white vinegar nearby. If you get lye on your skin, rinse with cool water for 15 minutes, then neutralize with vinegar. And please, please work in an area away from kids and pets. FYI, this isn’t the time to have your curious toddler “help” in the kitchen.
Gathering Your Supplies and Ingredients
Good news: you don’t need a ton of fancy equipment. Most of this stuff is probably already in your kitchen.
Equipment You’ll Need
- Digital kitchen scale (measuring by weight is non-negotiable)
- Stick blender (trust me, hand-stirring for hours is medieval torture)
- Two heat-safe containers (stainless steel or heat-safe plastic)
- Thermometer
- Soap mold (silicone loaf pans work great)
- Spatulas and spoons (dedicated to soap making only)
Basic Beginner Recipe Ingredients
Here’s a simple recipe that’s nearly foolproof:
- 10 oz coconut oil
- 10 oz olive oil
- 5 oz sunflower oil
- 9 oz distilled water
- 3.3 oz sodium hydroxide (lye)
Notice we’re using distilled water, not tap water. Minerals in tap water can mess with your soap, so don’t get creative here.
The Step-by-Step Process
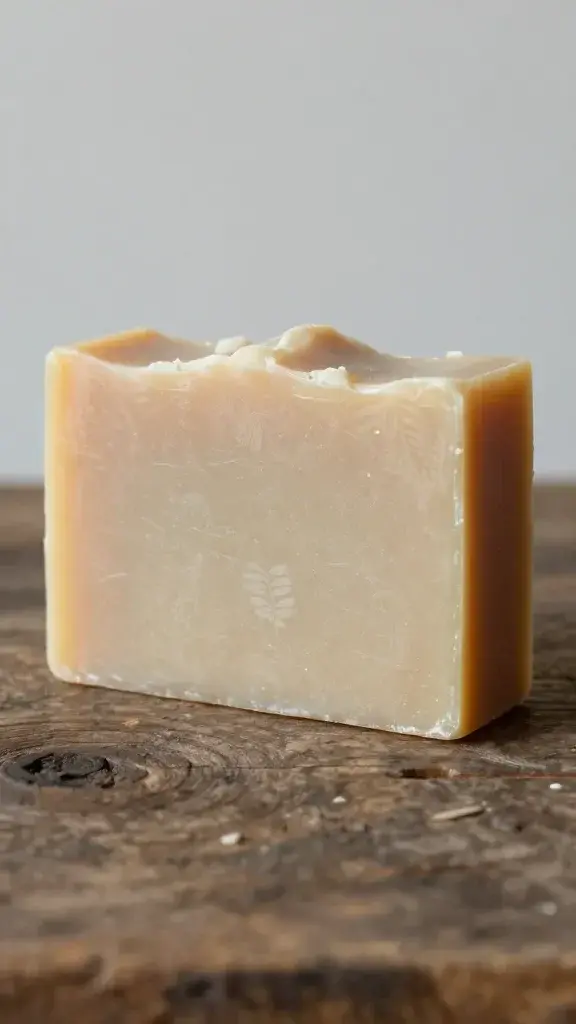
Ready to actually make some soap? Let’s do this.
Step 1: Prepare Your Lye Solution
Suit up in your safety gear. Measure your distilled water into a heat-safe container. Measure your lye separately. Working in a well-ventilated area, slowly add the lye to the water—never the other way around. Remember: “snow floats on the lake” (lye into water).
The mixture will heat up dramatically and release fumes. Don’t panic—this is normal. Stir gently until the lye dissolves completely, then set it aside to cool to around 100-110°F.
Step 2: Prep Your Oils
While your lye solution cools, measure and combine your oils. If you’re using solid oils like coconut oil, melt them gently first, then add your liquid oils. Let this mixture cool to roughly the same temperature as your lye solution (100-110°F).
Temperature matching isn’t an exact science, but getting them within 10 degrees of each other helps everything blend smoothly.
Step 3: Combine and Blend
Put your goggles and gloves back on. Slowly pour the lye solution into your oils. Pick up your stick blender, and here’s a pro tip: pulse it rather than running it continuously. You’re looking for “trace”—when the mixture thickens to a pudding-like consistency and leaves trails on the surface.
Light trace happens in about 2-5 minutes with a stick blender. Once you see it, you’re golden.
Step 4: Add Extras and Pour
If you want to add fragrance oils, colorants, or dried herbs, now’s the time. Stir them in quickly but thoroughly. The soap will continue thickening, so don’t dawdle.
Pour your soap into your mold. Tap it on the counter a few times to release air bubbles. Smooth the top with a spatula if you care about aesthetics.
Step 5: The Waiting Game
Cover your mold with a towel or cardboard. Your soap will go through gel phase—it might get warm and translucent in the middle. This is totally normal and actually desirable.
Leave it alone for 24-48 hours. I know waiting is hard, but patience, young grasshopper.
Unmolding and Curing Your Soap
After a day or two, your soap should be firm enough to unmold. If it’s still squishy, give it more time. Cut your loaf into bars using a sharp knife or soap cutter.
Here’s the hard part: you can’t use your soap yet. Fresh soap is still caustic and needs to cure for 4-6 weeks. During this time, water evaporates and the saponification process completes, leaving you with mild, long-lasting bars.
Place your bars on a rack or piece of parchment paper with space between them for air circulation. Flip them occasionally. IMO, this waiting period is harder than the actual soap making, but it’s absolutely necessary.
Common Mistakes to Avoid
Everyone screws up their first batch. Or their fifth batch. Here’s how to avoid the most common pitfalls:
Don’t eyeball measurements. Soap making is chemistry, not cooking. You need precise measurements by weight, not volume.
Don’t substitute lye. You can’t use baking soda or anything else. No lye, no soap. End of story.
Don’t use glass containers for lye. The heat can cause glass to shatter. Stick with stainless steel or heavy-duty plastic.
Don’t pour unused lye solution down the drain. Neutralize it first with citric acid or let it sit for several days until it’s completely cool.
Frequently Asked Questions
Can I make soap without lye?
Nope. All real soap requires lye for saponification. The good news? By the time your soap is cured, no lye remains—it’s been completely transformed through the chemical reaction. If someone tells you they make soap without lye, they’re either using melt-and-pour base (which was made with lye) or making detergent, not actual soap.
What if my soap doesn’t trace?
First, make sure you measured everything correctly. If your measurements are good, keep blending. Some oil combinations take longer than others. If you’ve been blending for 15 minutes and nothing’s happening, your recipe might be off, or you might have forgotten the lye (yes, people do this).
Why did my soap crack or separate?
Cracking usually happens from overheating. If you insulate your soap too much or if the ambient temperature is high, the soap can overheat and crack. Separation typically means your temperatures were off or you didn’t blend to proper trace. The good news? You can often rebatch separated soap.
How do I know if my cured soap is safe to use?
After 4-6 weeks, test your soap’s pH. You can use pH strips (aim for 8-10) or do the tongue test—yes, really. Touch your tongue to the soap. If it zaps like a 9-volt battery, it needs more time. No zap? You’re good to go.
Can I use fragrance oils from the craft store?
Not all fragrances are skin-safe. Look for fragrances specifically labeled for soap and body products. Essential oils work too, but you’ll need more than you think—usually 0.5-1 oz per pound of oils. Some fragrances (especially vanilla-based ones) will turn your soap brown, which is totally fine but worth knowing ahead of time.
What do I do with soap that didn’t turn out right?
If it’s just ugly but still safe, use it anyway! Soap doesn’t have to be Instagram-worthy to get you clean. If it’s lye-heavy or otherwise problematic, you can try rebatching it by grating it up, adding water, and melting it down to start over. Worst case? Some mistakes become expensive lessons. We’ve all been there.
Conclusion
Cold process soap making combines science, creativity, and just enough danger to keep things interesting. Your first batch might not be perfect, and that’s completely okay. You’re learning a skill that people have practiced for thousands of years, just with better safety equipment and temperature control.
Start with this basic recipe, master the process, and then branch out into fancy designs, exotic oils, and creative additives. Before you know it, you’ll have enough soap to supply your entire neighborhood (and you probably will, because homemade soap makes excellent gifts).
Now get out there and make some soap. Your skin—and your Instagram feed—will thank you.