
How to Make DIY Goat Milk Soap: Easy Recipe for Beginners

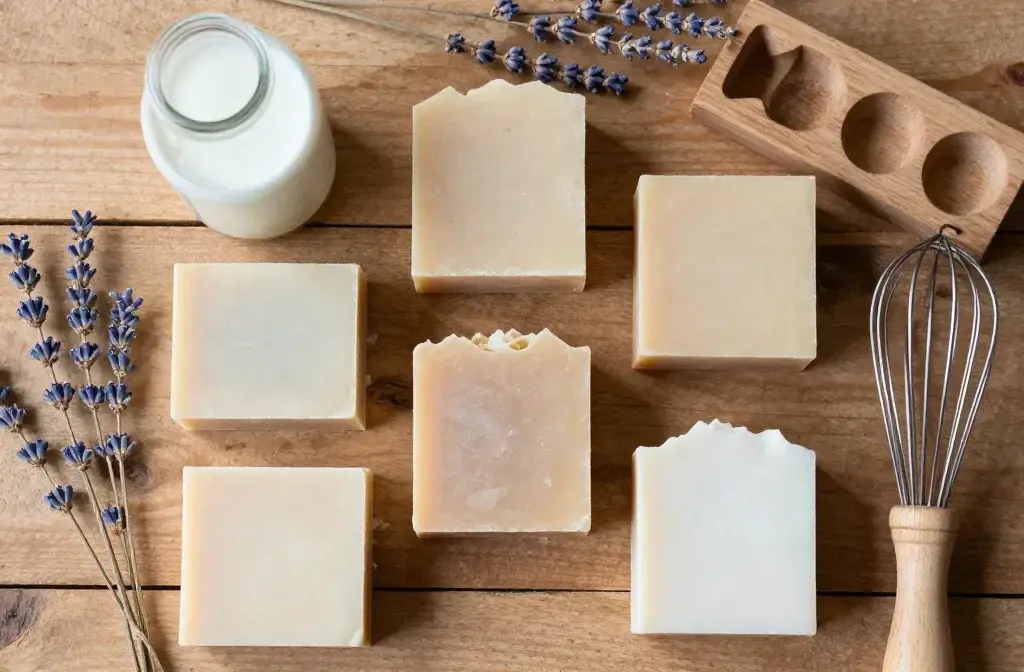
There’s something almost magical about watching your first batch of homemade goat milk soap cure on the shelf. You made this, with your own hands, and it’s actually something you’ll use every single day. Plus, you get to casually drop “Oh, I make my own soap” into conversations, which honestly never gets old.
Why Goat Milk Soap Is Worth the DIY Effort
Listen, I get it. You can buy soap literally anywhere for a few bucks. But goat milk soap hits different, and here’s why you should care about making your own.
Goat milk contains lactic acid, which gently exfoliates your skin without being harsh. It’s packed with vitamins A, D, and B6, plus it’s naturally moisturizing thanks to all those creamy fats. People with sensitive skin or conditions like eczema often swear by it because it’s so gentle.
When you make it yourself, you control exactly what goes in it. No mysterious ingredients you can’t pronounce, no unnecessary additives. Just pure, simple soap that your skin will actually thank you for. And honestly? It’s kind of therapeutic to make, which is a bonus in our chaotic world.
What You’ll Actually Need
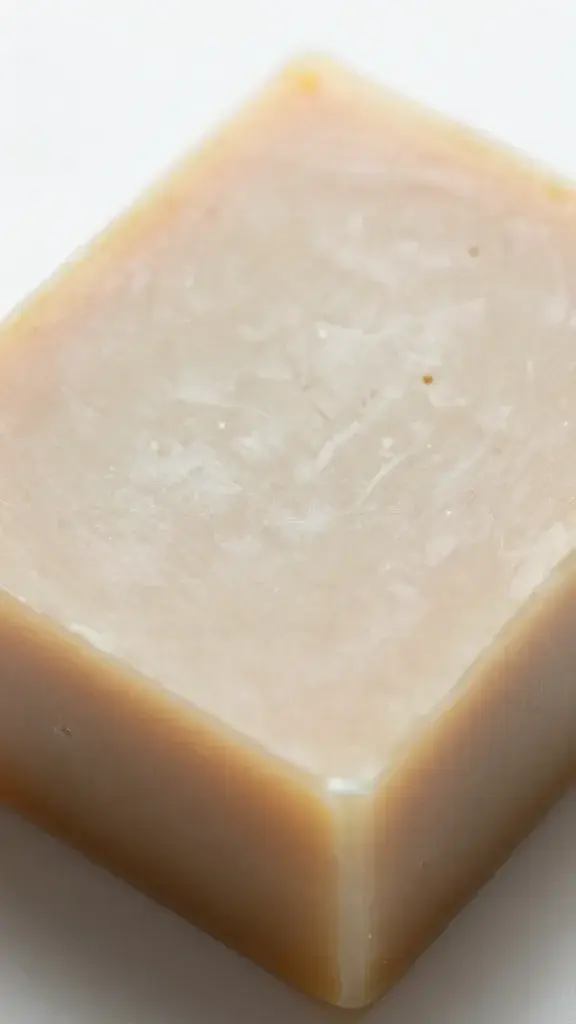
Before we dive in, let’s talk supplies. Don’t panic—most of this stuff is easier to find than you think.
Essential Equipment
You probably have some of this already:
- Digital kitchen scale – This is non-negotiable. Soap making is chemistry, and you need precise measurements
- Stainless steel or heat-safe glass bowl – Never use aluminum or non-stick pans
- Stick blender – Trust me, hand-stirring will take forever
- Thermometer – A candy thermometer works great
- Silicone spatula and spoons
- Soap mold – You can use a silicone loaf mold or even a lined wooden box
- Safety gear – Gloves and safety glasses (seriously, wear them)
The Ingredients
Here’s your shopping list for a basic beginner batch:
- 10 oz coconut oil – Creates a hard bar with good lather
- 10 oz olive oil – Adds moisturizing properties
- 5 oz sweet almond oil – Makes it extra gentle
- 3.5 oz lye (sodium hydroxide) – Yes, you need this. No, there’s no substitute
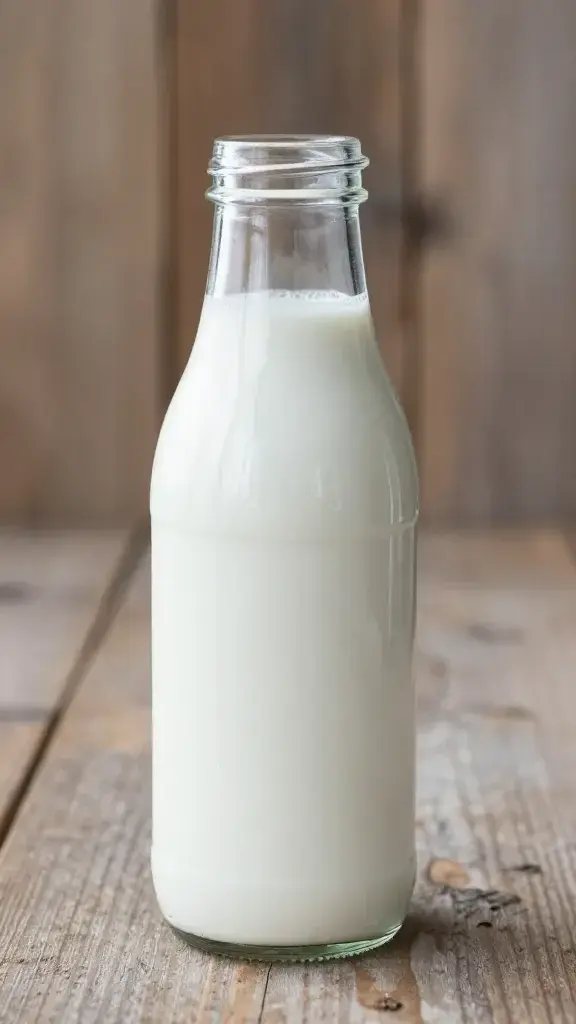
- 8 oz frozen goat milk – The star of the show
- Essential oils – Optional, for scent
FYI, you can find lye at some hardware stores or online. Make sure it says 100% sodium hydroxide and nothing else.
The Step-by-Step Process (It’s Easier Than You Think)
Alright, let’s actually make some soap. Clear your workspace, put on your safety gear, and let’s do this.
Step 1: Prep Your Goat Milk
Freeze your goat milk into cubes ahead of time. This is crucial because when you add lye to liquid, it heats up fast—we’re talking volcanic levels. Frozen milk keeps the temperature down and prevents the milk from scorching and turning orange.
Break up your frozen milk into small chunks and put them in your heat-safe container. Set this up in an ice bath (a larger bowl filled with ice water) for extra insurance.
Step 2: Mix the Lye Solution
Here’s where things get real. Take your work outside or make sure you’re in a well-ventilated area. Lye fumes aren’t fun to breathe.
Slowly add the lye to the frozen milk, stirring constantly. Never, ever do it the other way around. The mantra is “snow falls on the lake” – lye (snow) goes into liquid (lake). Stir gently until all the lye dissolves. The mixture will heat up despite the frozen milk, which is totally normal.
Let this cool to around 100-110°F. This might take 30-45 minutes, so be patient.
Step 3: Prepare Your Oils
While your lye solution cools, measure out your oils. Melt the coconut oil if it’s solid, then combine all oils in your mixing bowl. You want them at roughly the same temperature as your lye solution—around 100-110°F.
Step 4: The Magic Moment
Once both your lye solution and oils are at the right temperature, pour the lye solution into the oils. Not the other way around. Are you seeing a pattern here?
Grab your stick blender and pulse it in short bursts while stirring. Don’t turn it on continuously right away or you’ll create a bubbly mess. After a minute or so, you can blend more steadily.
You’re looking for “trace”—that’s when your soap mixture thickens to the consistency of thin pudding. When you drizzle some across the surface, it leaves a trail before sinking back in. This usually takes 3-5 minutes with a stick blender.
Step 5: Pour and Cure
Add any essential oils now if you’re using them (about 1 oz for this recipe). Give it a quick stir, then pour your soap into the mold. Tap the mold gently on the counter to release air bubbles.
Cover your mold with plastic wrap or a light towel. The soap will go through a heating phase called “gel phase” over the next 24 hours. This is normal and actually good for the final product.
The Waiting Game (AKA Patience Building Exercise)
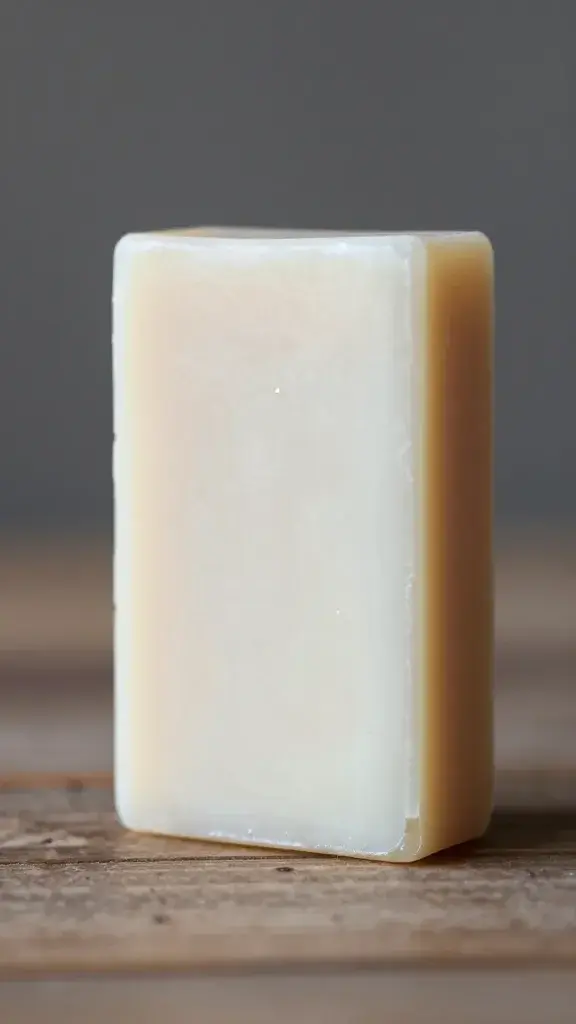
After 24-48 hours, you can unmold your soap and cut it into bars. Use a sharp knife or a bench scraper for clean cuts.
Now comes the hard part: waiting. Your soap needs to cure for 4-6 weeks in a cool, dry place with good air circulation. I know, it’s torture. But this curing time allows excess water to evaporate and the saponification process to fully complete, creating a harder, longer-lasting bar.
Place your bars on a rack or paper, and flip them occasionally so air reaches all sides. Mark your calendar because you will definitely forget when you made them.
Troubleshooting Common Beginner Mistakes
Even with the best instructions, things can go sideways. Here’s what might happen and how to fix it.
Your Soap Turned Orange or Brown
The milk overheated when you added the lye. It’s still safe to use, just not as pretty. Next time, make sure your milk is completely frozen and work in an ice bath.
It Won’t Trace
Temperature matters. If your oils and lye solution are too cool, trace takes forever. Warm them up slightly and keep blending. Also, double-check that you actually added the lye—yes, people forget sometimes.
The Bars Are Soft and Crumbly
You might have measured incorrectly. This is why the digital scale is so important. If your soap is lye-heavy, don’t use it. If it’s oil-heavy, give it extra curing time.
Getting Creative With Your Soap
Once you’ve nailed the basic recipe, the fun really begins. You can customize your soap in endless ways.
Try adding dried lavender buds, oatmeal for exfoliation, or honey for extra moisturizing. Swap out some oils for shea butter or cocoa butter. Experiment with essential oil blends like lavender-peppermint or tea tree-lemon.
Just remember: add extras at trace, and don’t go overboard. A tablespoon or two of additives per batch is plenty. IMO, simplicity often wins with soap making. You want enhancements, not a chunky mess that falls apart.
Frequently Asked Questions
Can I use fresh goat milk instead of frozen?
You can, but it’s trickier. Fresh milk is more likely to scorch and turn brown when you add the lye. If you do use fresh milk, work in an ice bath and add the lye even more slowly. Most experienced soap makers prefer frozen milk for better color and easier handling.
Is lye soap actually safe for skin?
Absolutely. Here’s the thing: there’s no soap without lye. Even products labeled “lye-free” use pre-made soap base that was originally made with lye. During the curing process, a chemical reaction called saponification occurs where the lye completely transforms into soap. Properly made and cured soap contains zero lye in the final product.
How long will my homemade soap last?
A well-cured bar will last 4-6 weeks in the shower with proper care. Keep it in a draining soap dish so it dries between uses. If you store unused bars in a cool, dry place, they’ll stay good for up to a year. They actually get better with age, kind of like cheese but way less smelly.
Can I make this without goat milk?
Sure, but then it’s just regular soap. You can substitute water, coconut milk, or regular cow’s milk. Each liquid brings different properties. Water makes the most basic soap, while coconut milk adds similar creaminess to goat milk. The process stays the same regardless.
What if I don’t have all these specific oils?
You can adjust the recipe, but you’ll need to run it through a lye calculator first. Different oils require different amounts of lye. Websites like SoapCalc or The Sage let you plug in your oils and calculate the exact lye amount needed. Never wing it with soap recipes—chemistry doesn’t appreciate creativity.
My soap has white powder on it. Is it ruined?
That’s called soda ash, and it’s purely cosmetic. It happens when the soap reacts with carbon dioxide in the air. You can prevent it by spraying your freshly poured soap with rubbing alcohol, or just scrape it off the cured bars. The soap underneath is perfectly fine.
Final Thoughts
Making your first batch of goat milk soap feels like a big deal, and honestly, it kind of is. You’re creating something genuinely useful from scratch, and that’s pretty satisfying in our buy-it-now world.
Start with this basic recipe, follow the safety guidelines, and be patient with the curing process. Once you’ve got the basics down, you can experiment and create custom bars that are exactly what you want. Your skin will probably thank you, your friends will want some, and you’ll have a new hobby that’s actually practical. Not bad for an afternoon project, right?