
Soap Making for Beginners: Everything You Need to Know Before Your First Batch

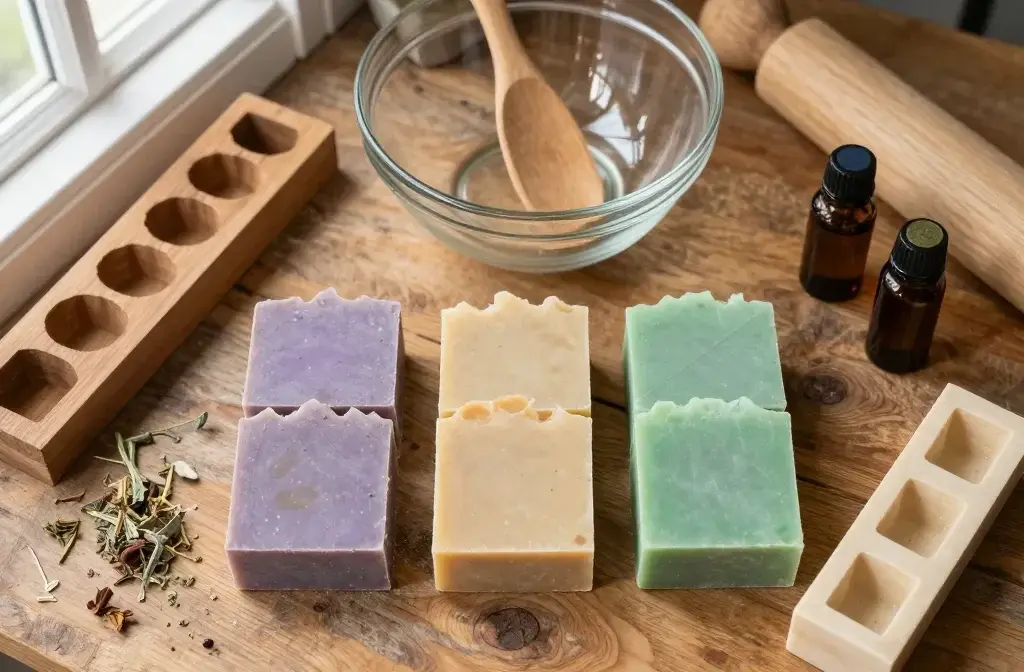
Ever looked at a beautifully wrapped bar of artisan soap and thought “I could totally make that”?
You’re absolutely right, and it’s way easier than you think. Making your own soap means you control exactly what touches your skin, plus you’ll save serious money in the long run.
Ready to turn your kitchen into a mini soap factory? Let’s break down everything you need to know before you dive in.
1. Choose Your Soap-Making Method (Because Yes, There Are Options)
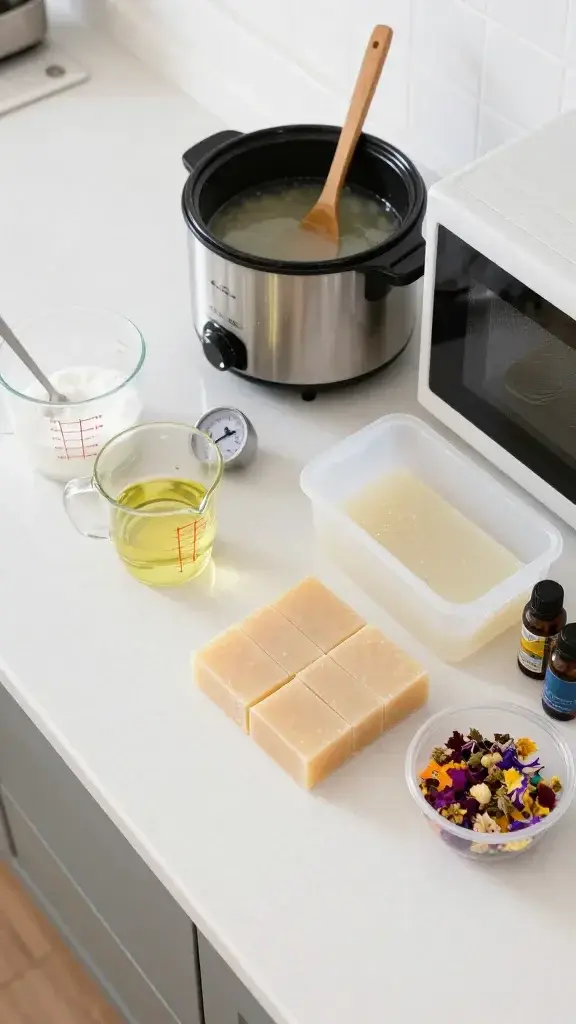
Here’s the deal: you’ve got three main methods to pick from, and each one has its own vibe. Cold process is the classic method that gives you total creative control but requires patience. Hot process speeds things up but trades some smoothness for convenience. Melt and pour is basically the training wheels version, perfect if you want instant gratification.
For your first batch? Go with melt and pour, seriously. You’ll skip the scary chemical reactions and jump straight to the fun part: adding colors, scents, and getting creative. Once you’ve nailed that and caught the soap-making bug (and trust me, you will), level up to cold process.
Each method works beautifully for different situations. Melt and pour rocks for last-minute gifts, while cold process creates those stunning swirls you see on Instagram.
2. Gather Your Essential Equipment (No, You Don’t Need a Chemistry Lab)
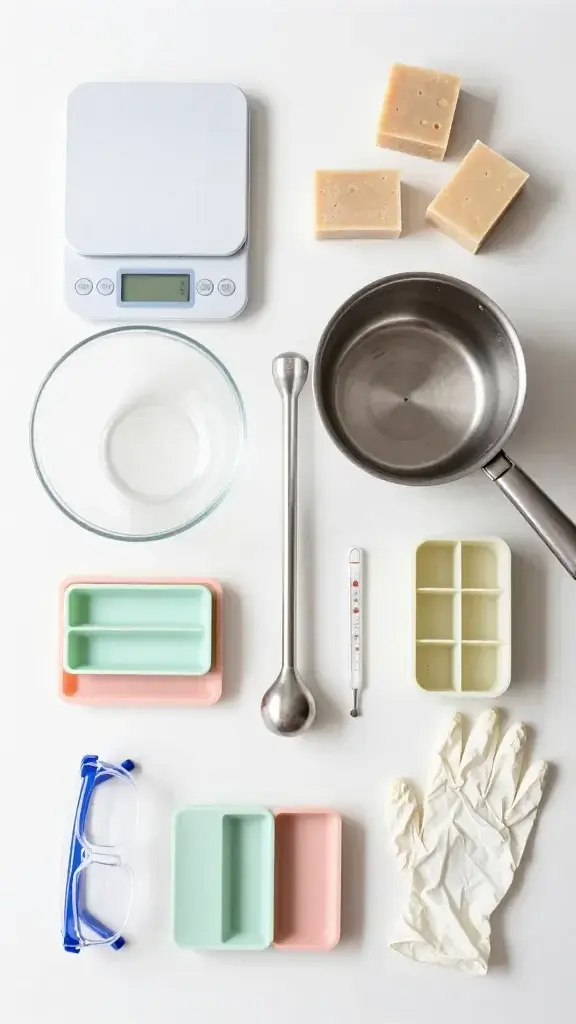
Good news: you probably already own half this stuff. Bad news: you need to dedicate it to soap making only because lye residue isn’t something you want near your dinner plates.
Your Starter Kit:
- Digital scale (accuracy matters here)
- Heat-safe containers (glass or stainless steel)
- Stick blender (game-changer for mixing)
- Silicone molds or a loaf pan lined with parchment
- Safety gear: gloves and goggles
- Thermometer for monitoring temperatures
Don’t cheap out on your scale. Soap making is basically baking that cleans you, and precision keeps your bars safe and effective. A good digital scale costs maybe twenty bucks and prevents disasters.
3. Understand Your Ingredients (It’s Simpler Than You Think)
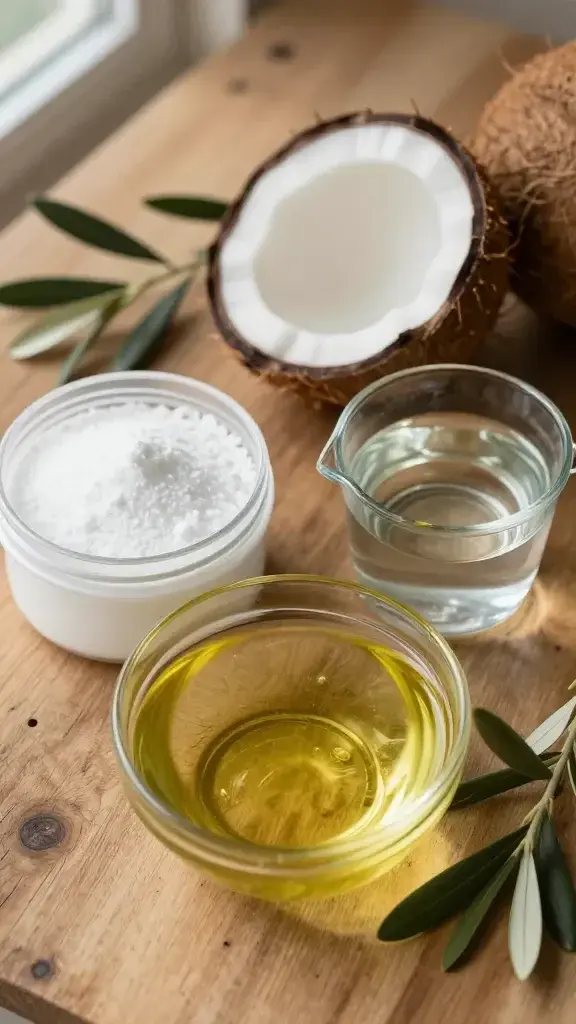
At its core, soap needs just three things: oils, lye, and water. That’s it. Everything else is just making it fancy.
Different oils bring different superpowers to your soap. Coconut oil creates amazing lather and hardness. Olive oil makes bars gentle and moisturizing. Palm oil (or sustainable alternatives) adds longevity so your bars don’t turn to mush after two showers.
The Lye Situation:
Let’s address the elephant in the room. Yes, sodium hydroxide (lye) sounds scary. But here’s the thing: no lye, no soap. Period. The chemical magic (called saponification, FYI) transforms oils and lye into something completely new and totally safe.
Once your soap cures properly, there’s zero lye left. It’s all converted into the sudsy goodness you wash with. Just respect it during the mixing process, wear your safety gear, and you’ll be fine.
4. Master The Basic Process (Step By Step)
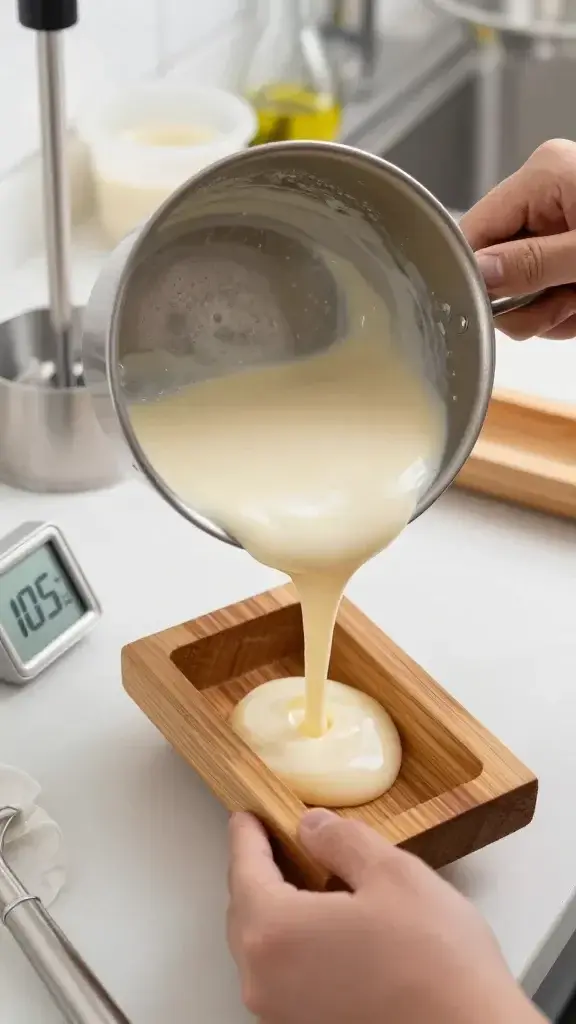
Cold process soap follows a pretty straightforward rhythm once you get the hang of it. You’ll measure everything precisely, mix your lye solution carefully (always add lye to water, never the reverse), and heat your oils to the right temperature.
When both your lye solution and oils hit around 100-110°F, you combine them and blend until you reach trace. Trace looks like thin pudding, and it means your mixture is ready for the mold. Pour it in, cover it up, and let chemistry do its thing.
The Waiting Game:
Here’s where patience becomes your best friend. Your soap needs 24-48 hours in the mold, then 4-6 weeks to cure. Yeah, weeks. This curing time lets excess water evaporate and creates a harder, longer-lasting bar that’s gentler on your skin.
Use this time to plan your next batch. Because one batch is never enough.
5. Avoid These Rookie Mistakes (Learn From Others’ Fails)
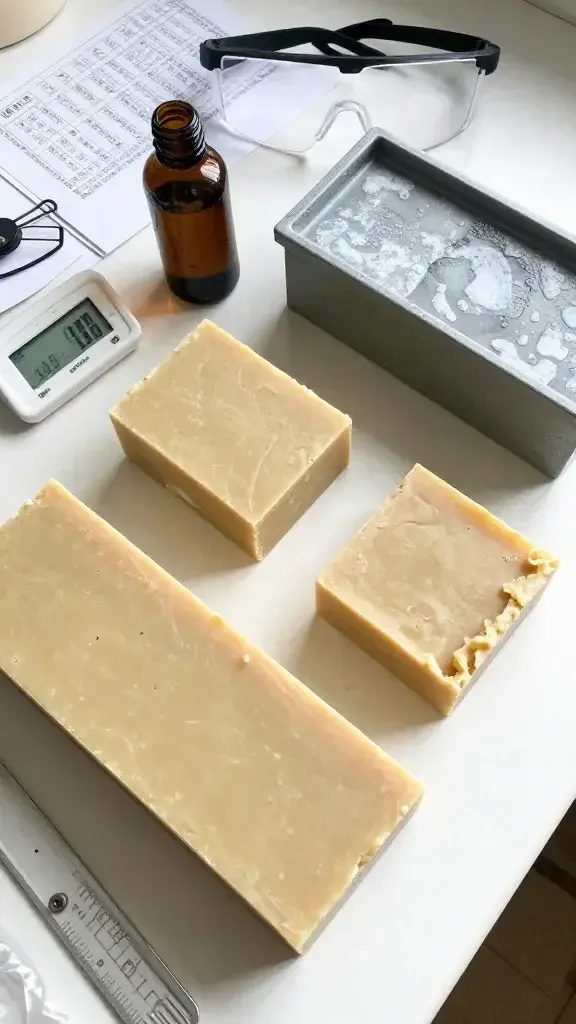
Every soap maker has disaster stories, and you can skip most of them by knowing the common pitfalls. Don’t eyeball measurements, don’t substitute ingredients without running the numbers through a lye calculator, and seriously, don’t skip the safety equipment.
Common Oops Moments:
- Adding fragrance oils at too high temperatures (kills the scent)
- Not insulating your mold properly (creates texture issues)
- Cutting bars before they’re firm enough (hello, smooshed edges)
- Testing your soap before it’s fully cured (harsh and crumbly)
Also? Start small. Making a single loaf is way smarter than tripling a recipe you’ve never tried before. You’ll waste less if something goes wrong, and you’ll learn faster through practice.
Soap making might seem intimidating at first glance, but it’s honestly one of the most rewarding DIY hobbies out there. Your first batch might not be Instagram-perfect, and that’s completely okay. You’ll be making bars that rival anything from fancy boutiques in no time, and you’ll wonder why you didn’t start sooner!